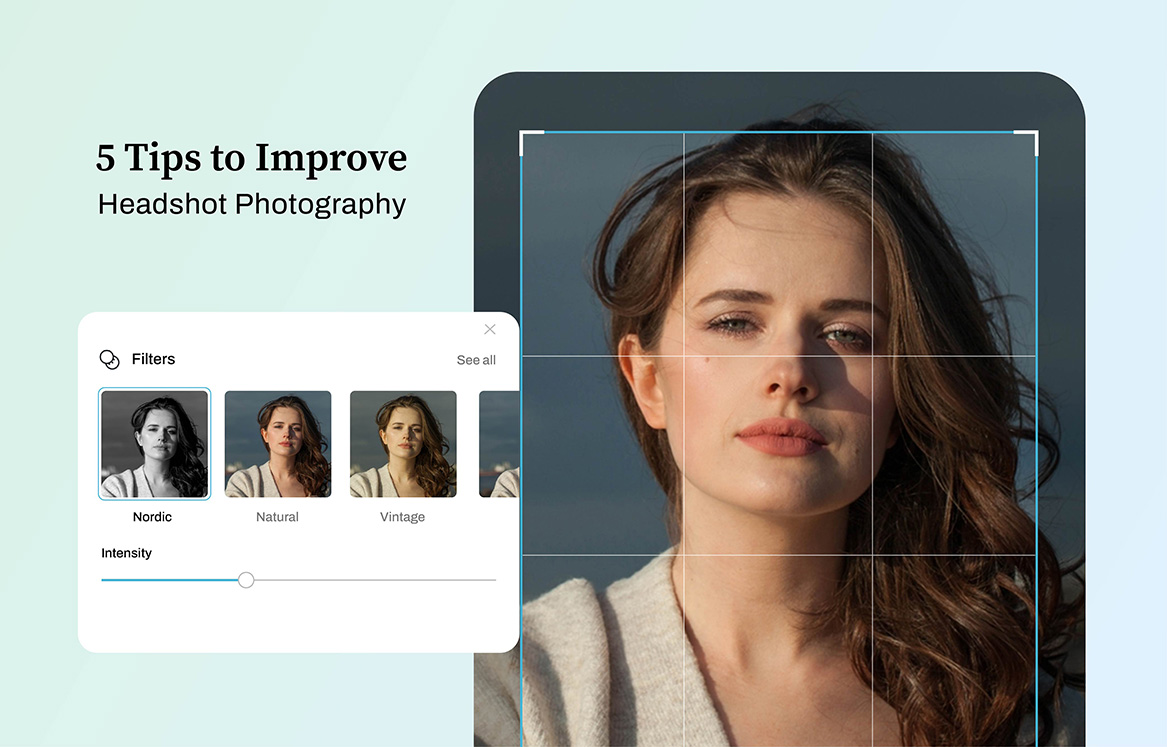
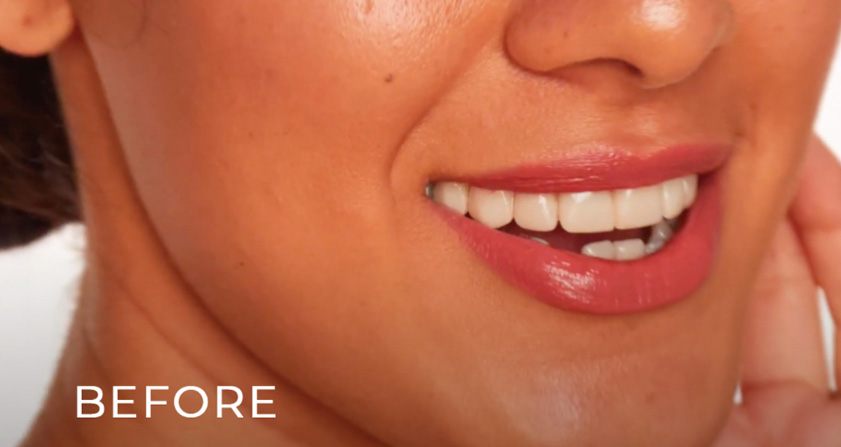
You can capture great portraits for sure, but you don’t want the color of the teeth to take away the goodness of the picture. When do you need to whiten teeth in Photoshop? It’s when you want to have a good commercial photo for advertisement or professional picture for an application or simply an ID picture. Yes. It is possible and yes it is acceptable. Beauty portraits and photography utilize this technique as part of image post-processing and it is normal for this line of work.
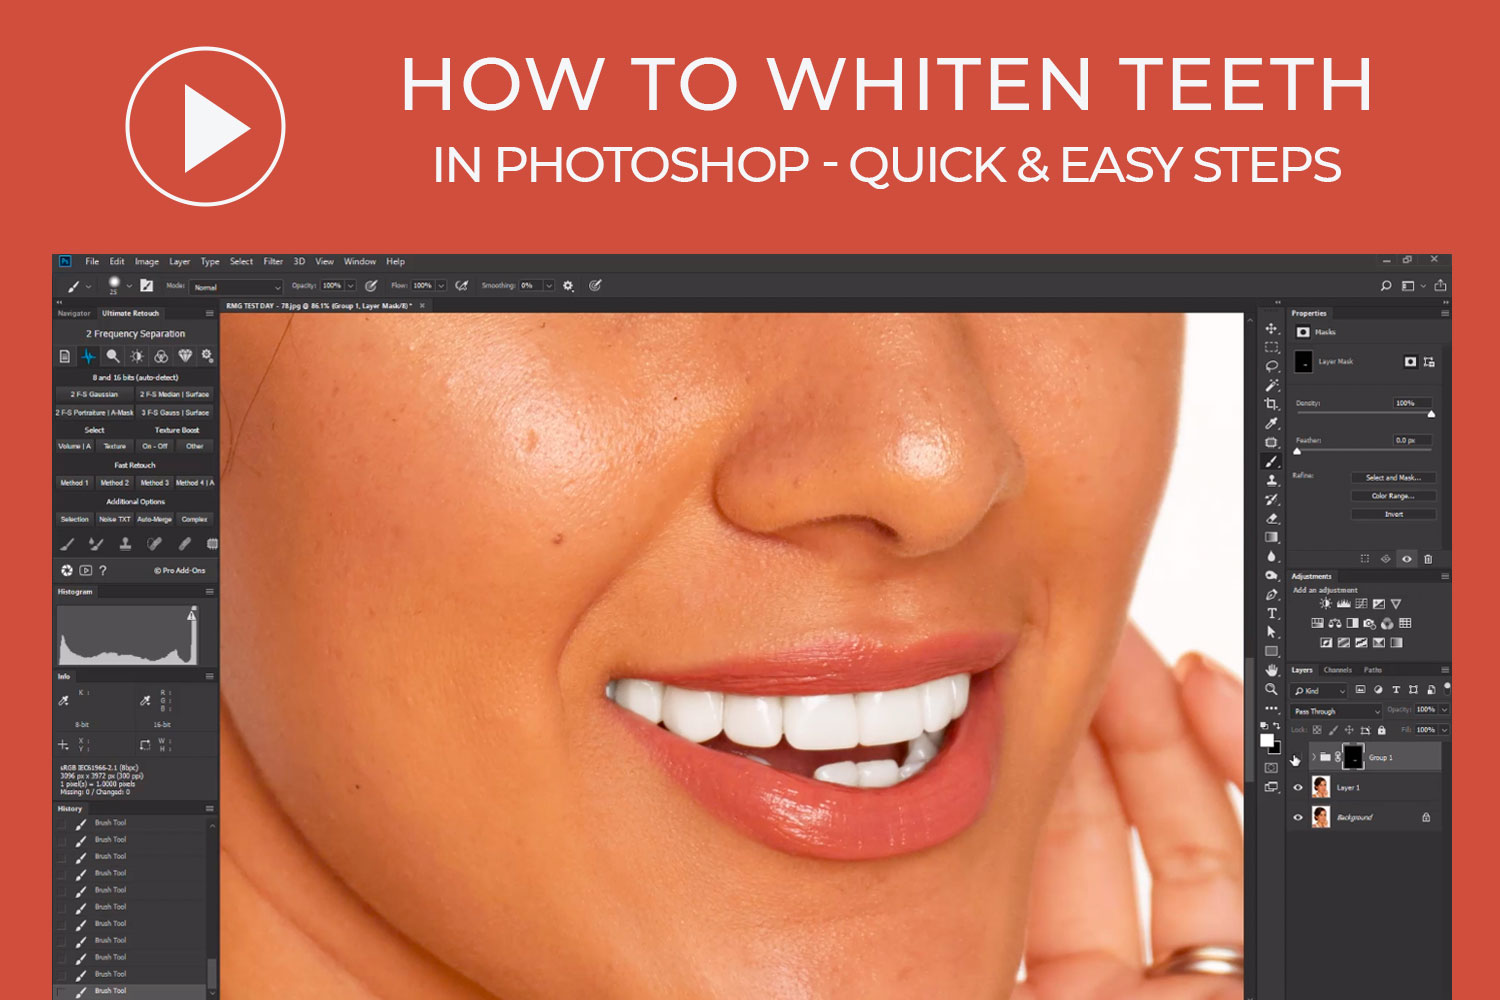
Steps to Easily and Effectively Whiten Teeth in Photoshop
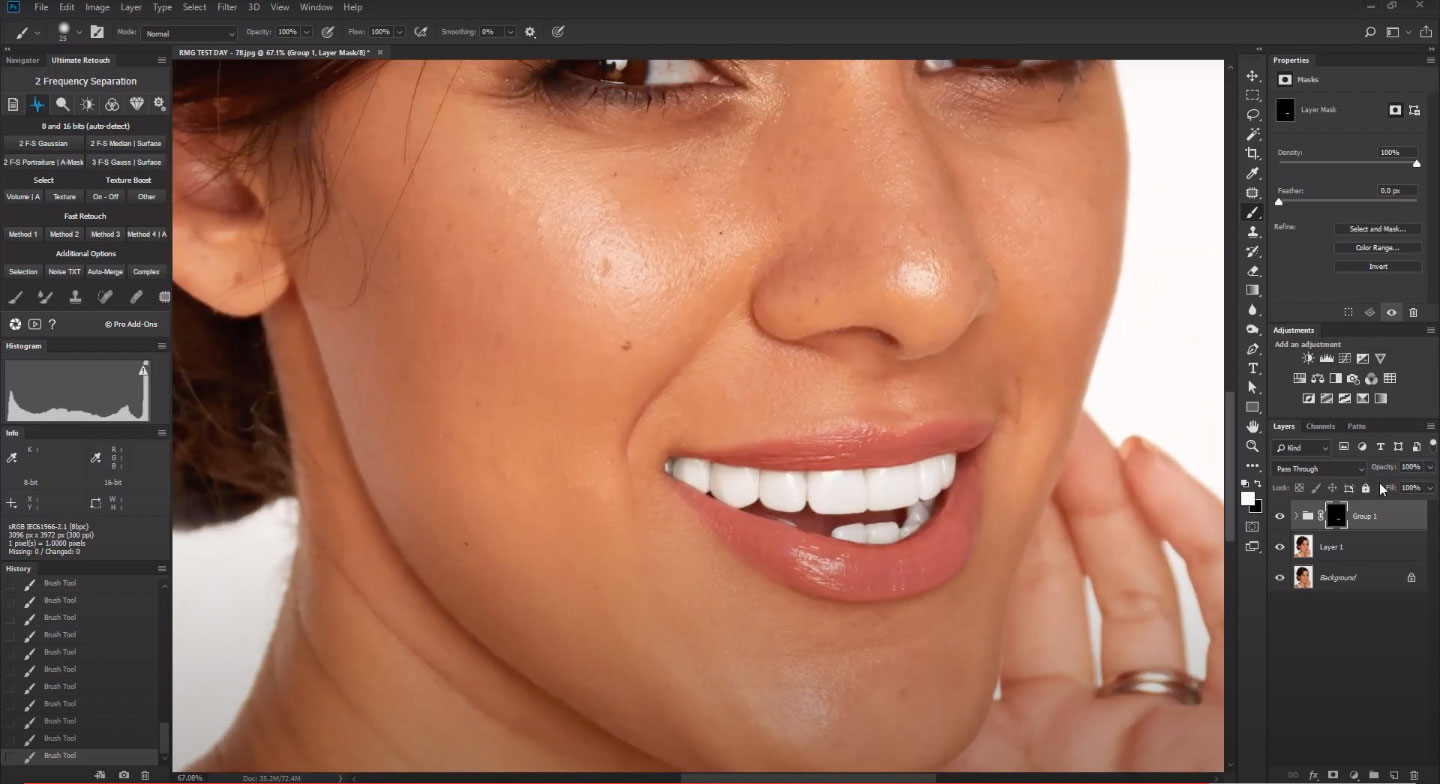
In this video tutorial, you will learn how to whiten teeth in Photoshop using a Hue/Saturation adjustment layer which makes an effective method to whiten and brighten teeth at the same time. You’ll see how a Spot Healing Brush and Patch Tool can clean up yellow spots on the teeth and how a Brush Tool can lighten up the teeth areas. There are actually a ton of ways, but we adopted this particular method and we are hoping this will work for you as well.
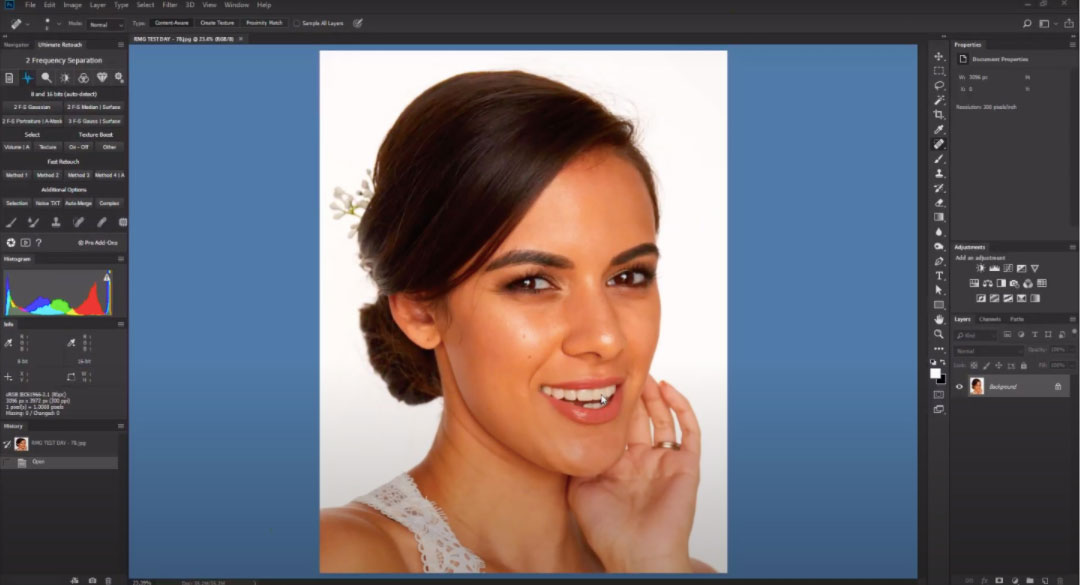
Step 1: Create a Copy of the Photo
Open your image in Photoshop. Use the shortcut Command + J (for Mac) or Control + J (for Windows) to create a copy of the background layer. The purpose of this is to edit the copy of the photo without touching the original. Do not edit the original photo.
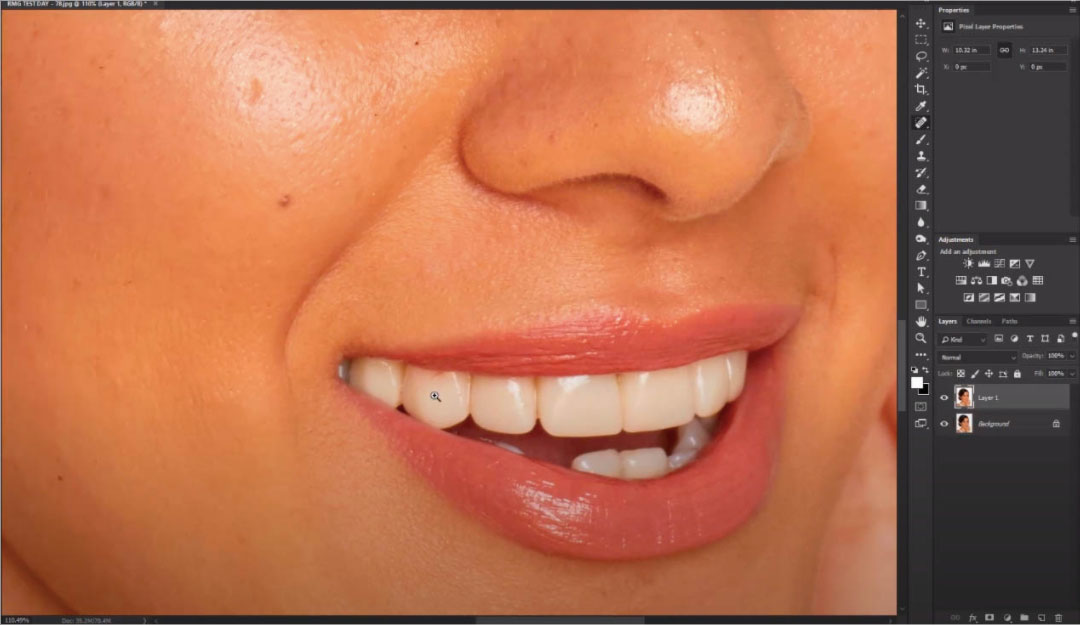
Step 2: Remove Flaws on the Teeth
Zoom in to the teeth area. Use a Healing Brush Tool (Shift+J) to clean up lipstick on teeth. Use patch tools in some areas of the teeth and gums.

Step 3: Add A Hue/Saturation Adjustment Layer
Add an Adjustment Layer, click on Hue/Saturation. Click on the Properties panel. Change “Master” to “Red”. Adjust Hue value to +5 or enter a value or drag the slider from right to left until you are satisfied with the color. For Saturation, enter a value or drag the slider to the left. Decrease the saturation level as you are pleased.
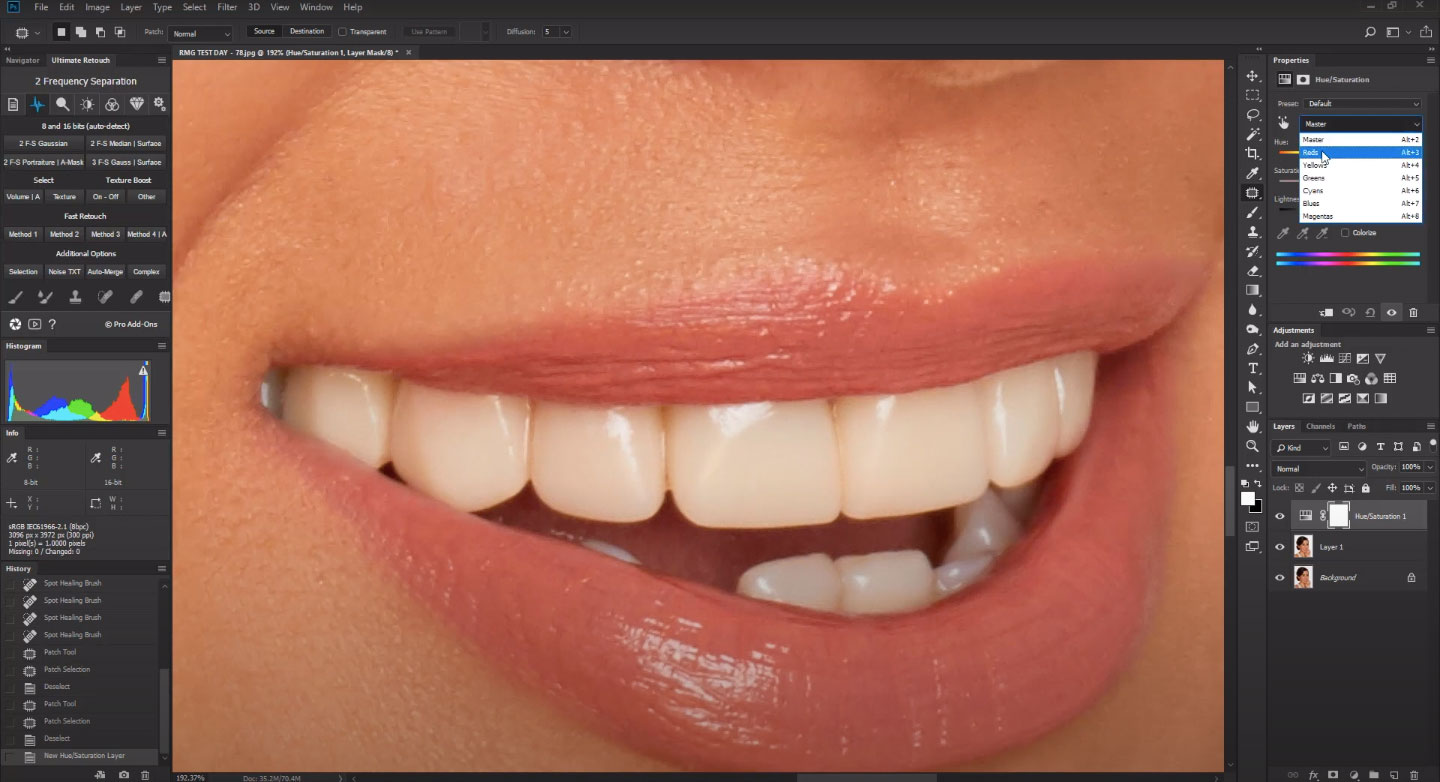
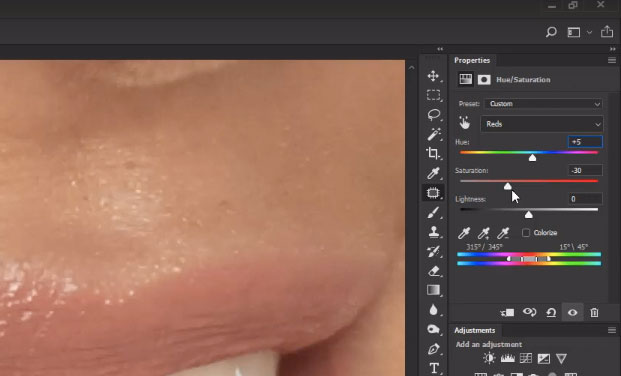
This step aids in lowering down saturation and getting rid of the redness and yellow hue of the teeth.
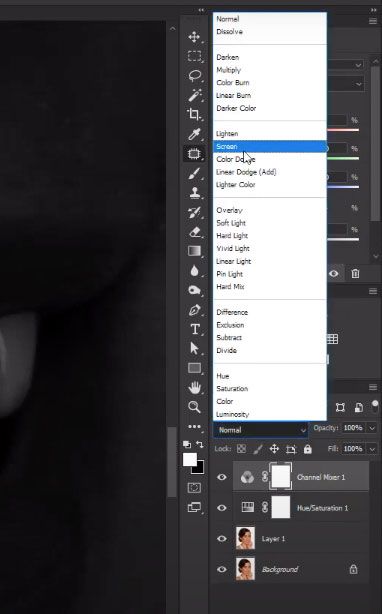
Step 4: Add Channel Mixer Adjustment Layer
Add an Adjustment Layer, click on Channel Mixer. Click on the Properties panel. Change Output Channel from “Red” to “Gray”. Tick on “Monochrome”. Adjust “Red”, lower it down to -26.
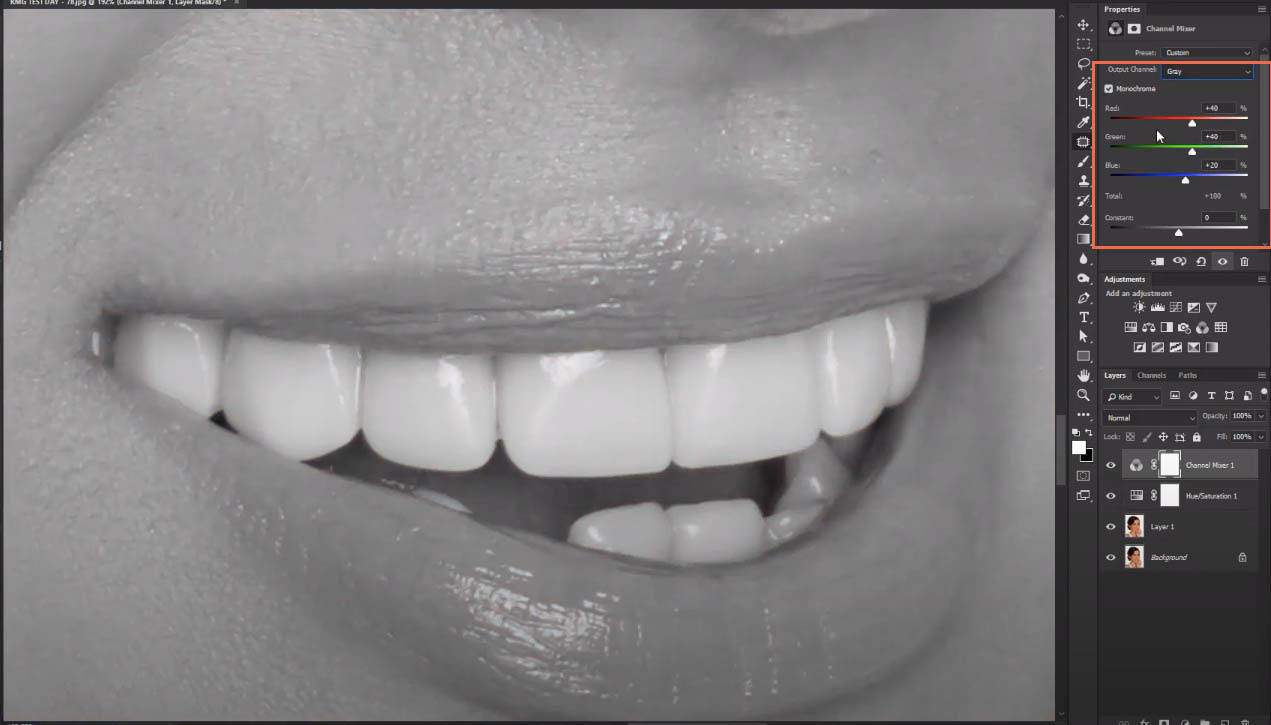

Then, in the Layer’s Panel choose “Screen”.
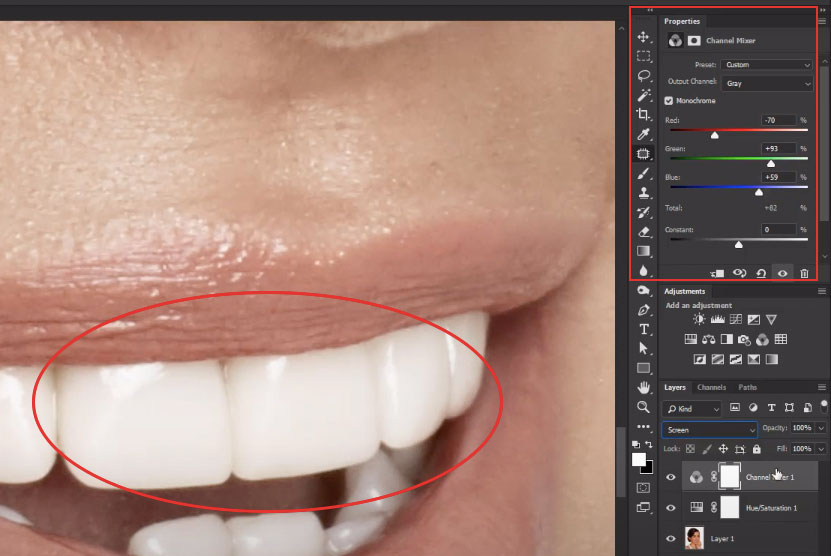
Step 5: Adjust Color Properties to Brighten the Teeth
In the Properties panel, adjust lower down the value of “Red” to -70, move “Green” up to +93 and Blue to +59. Adjust these values depending on the colors of your image.
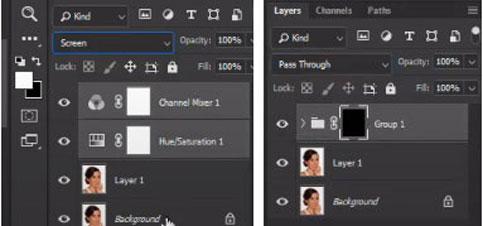
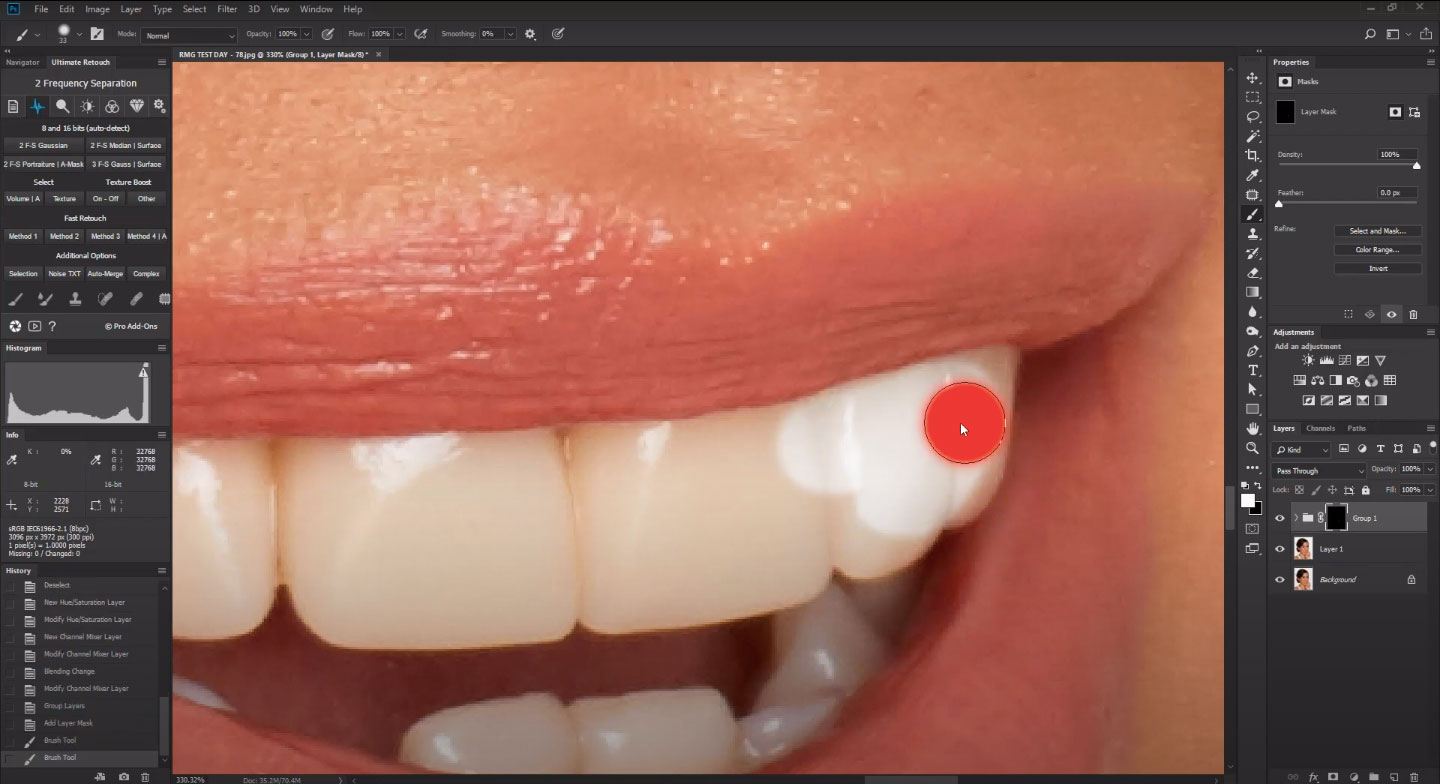
Step 6: Group the Adjustment Layers and Apply Masking
Select both Adjustment Layer and Group them together. Create a Clipping mask of the group.
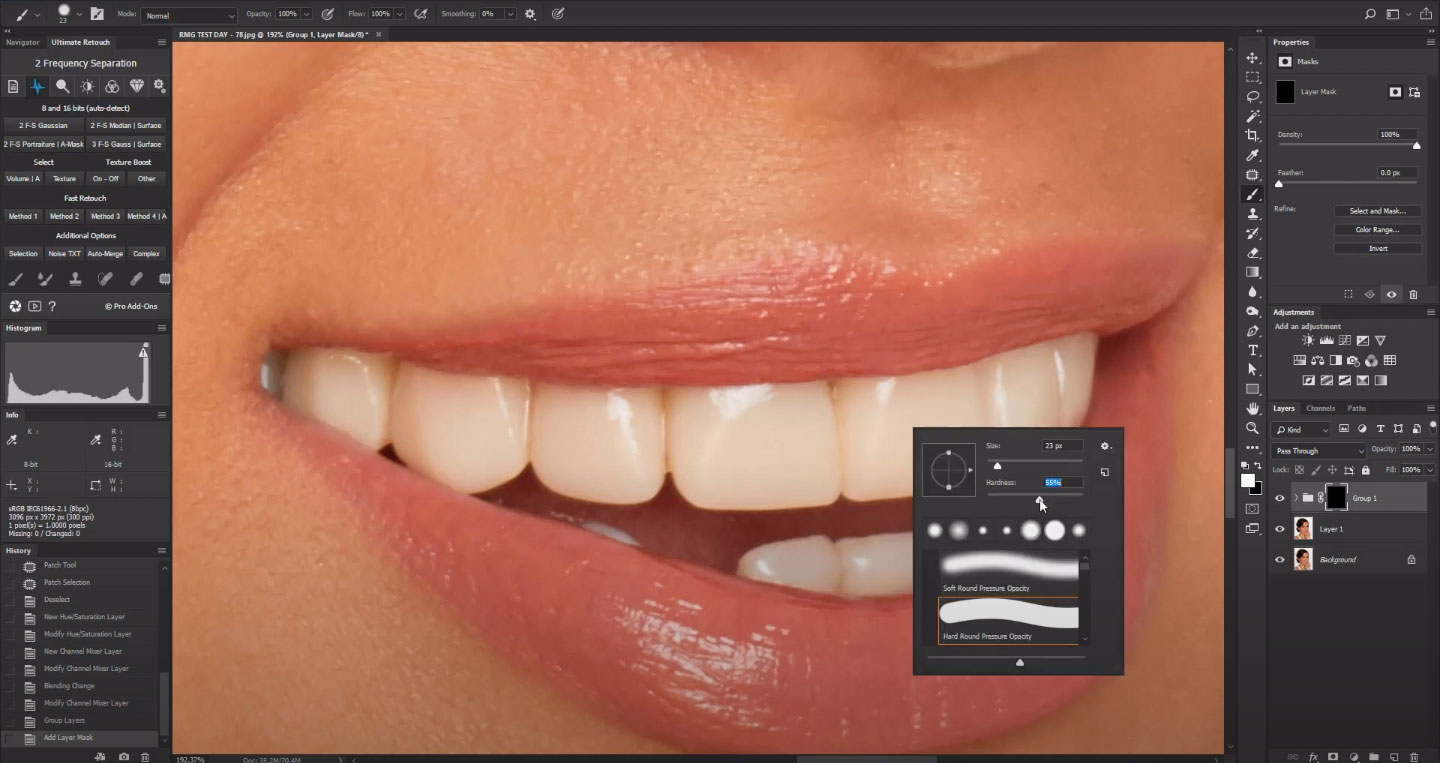
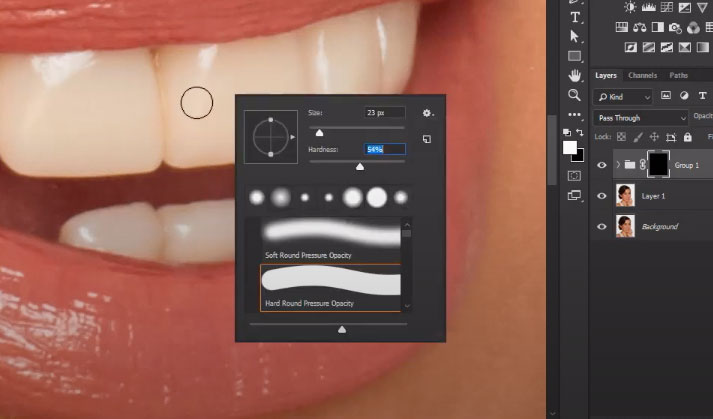
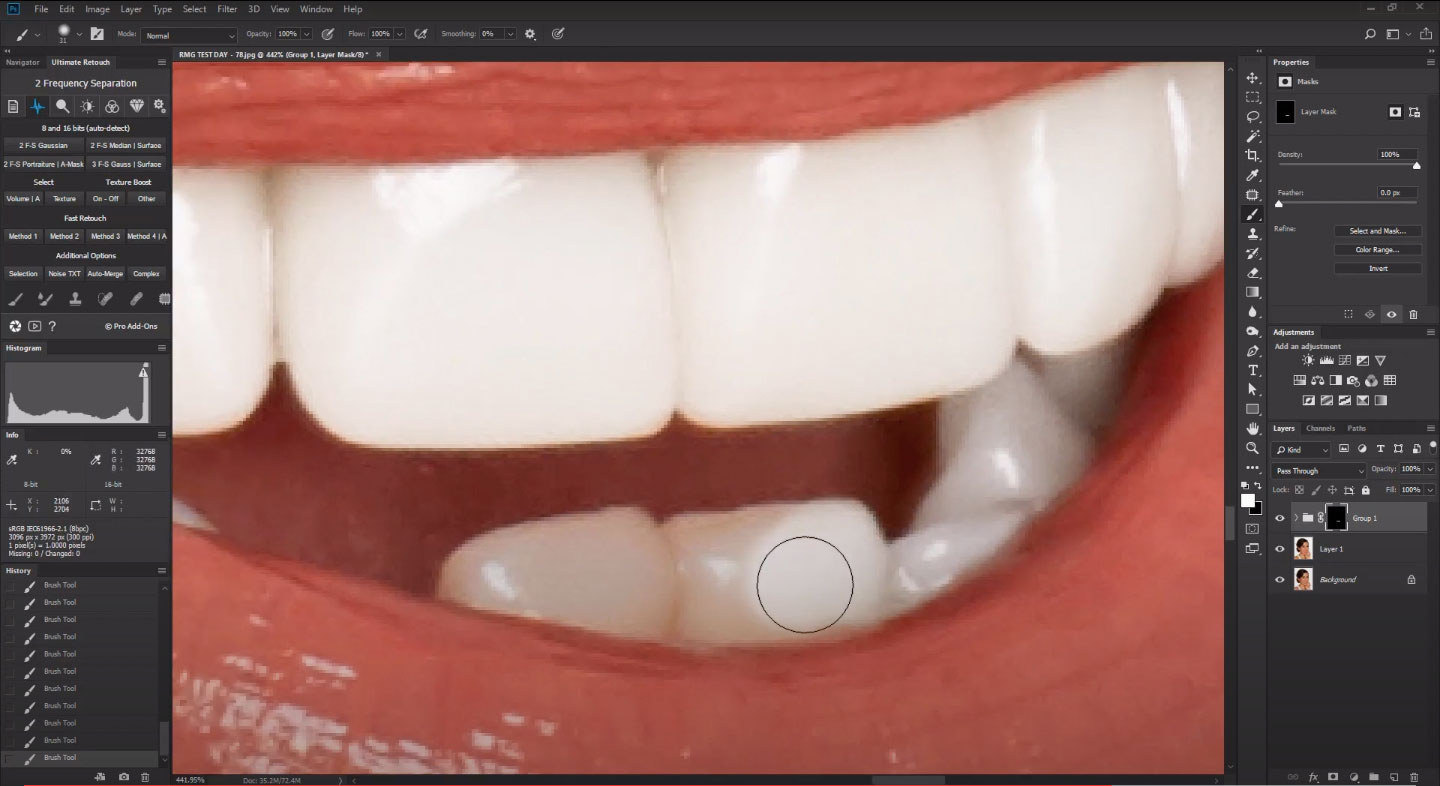
Step 7: Clean the Teeth Using Brush Tool
Select Brush Tool. Use proper Brush Size and just the right Opacity to brush over the teeth. Make sure to not brush over the gum, lip, tongue and only on the white area.
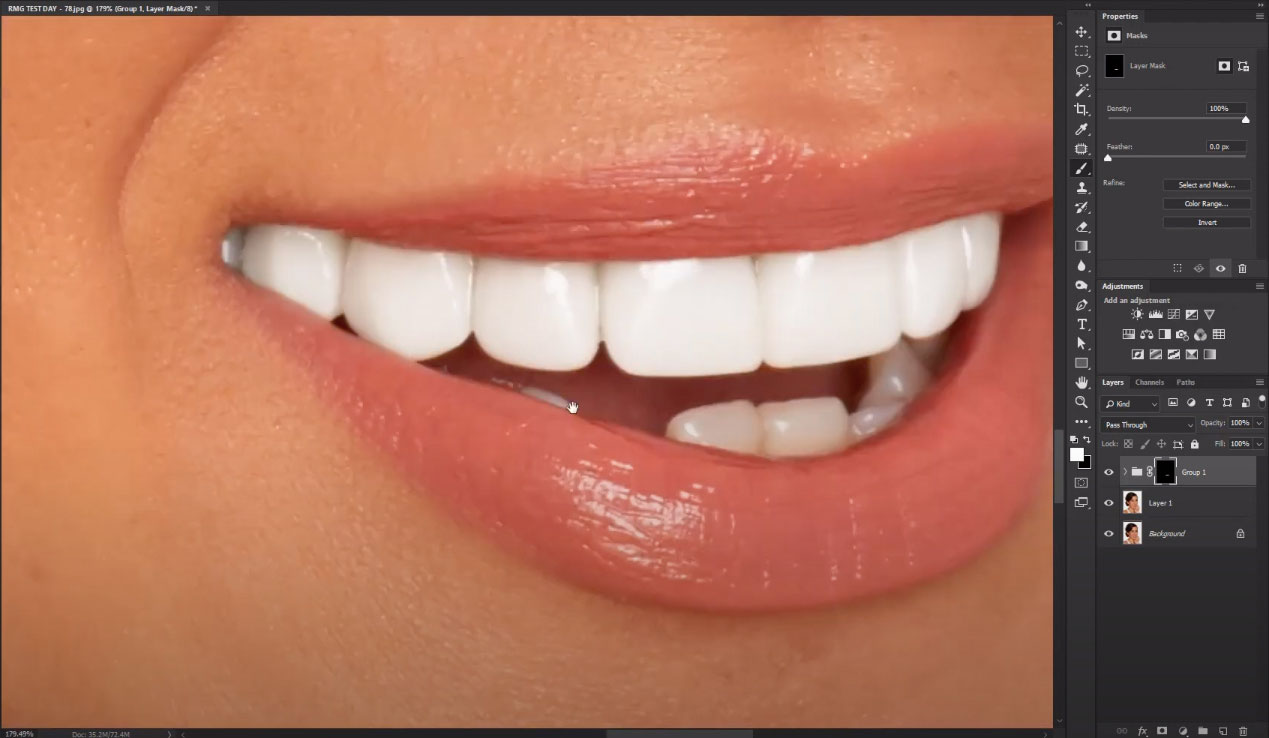
The main thing to remember is not to go too crazy with the whitening, the teeth should still look natural. In this video though, the teeth are made commercially white which is great for advertisements. As is often the case when post-processing or editing in Photoshop, there is more than one way to do this, and this is just one method.
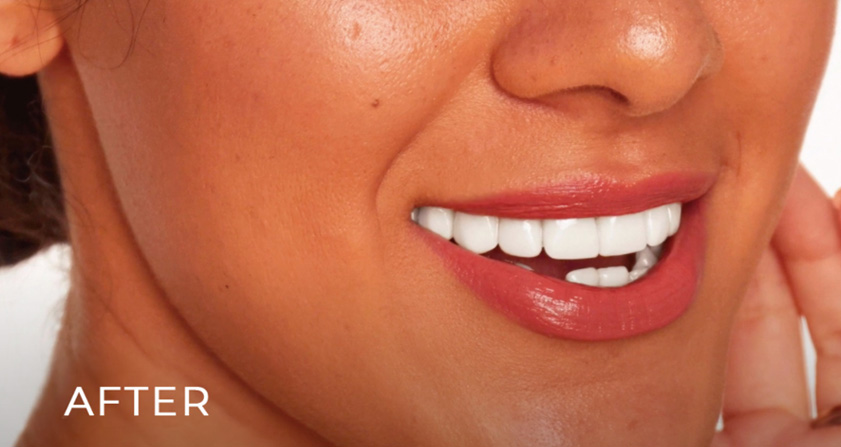
And there you have it! That’s how to easily whiten and brighten teeth using a simple Hue/Saturation adjustment layer in Photoshop! Subscribe to our Youtube Channel for more photo retouching and editing tutorials!
I hope you have found this technique useful, effective and helpful for your workflow. Try to use it and start to edit like a real professional.
Need Expert Service for Your Retouching Work?
At Ephotovn, we offer professional retouching and editing services for any type of images – from studio photos to ecommerce photos – we can make your images the best as it can be. Outsource your photography editing to us and get a 50% discount on your first order. Our expert team of photo editors can help grow your business by providing consistent high-quality post-processed and retouched images.
Explore our website or contact us today to learn more about our services.