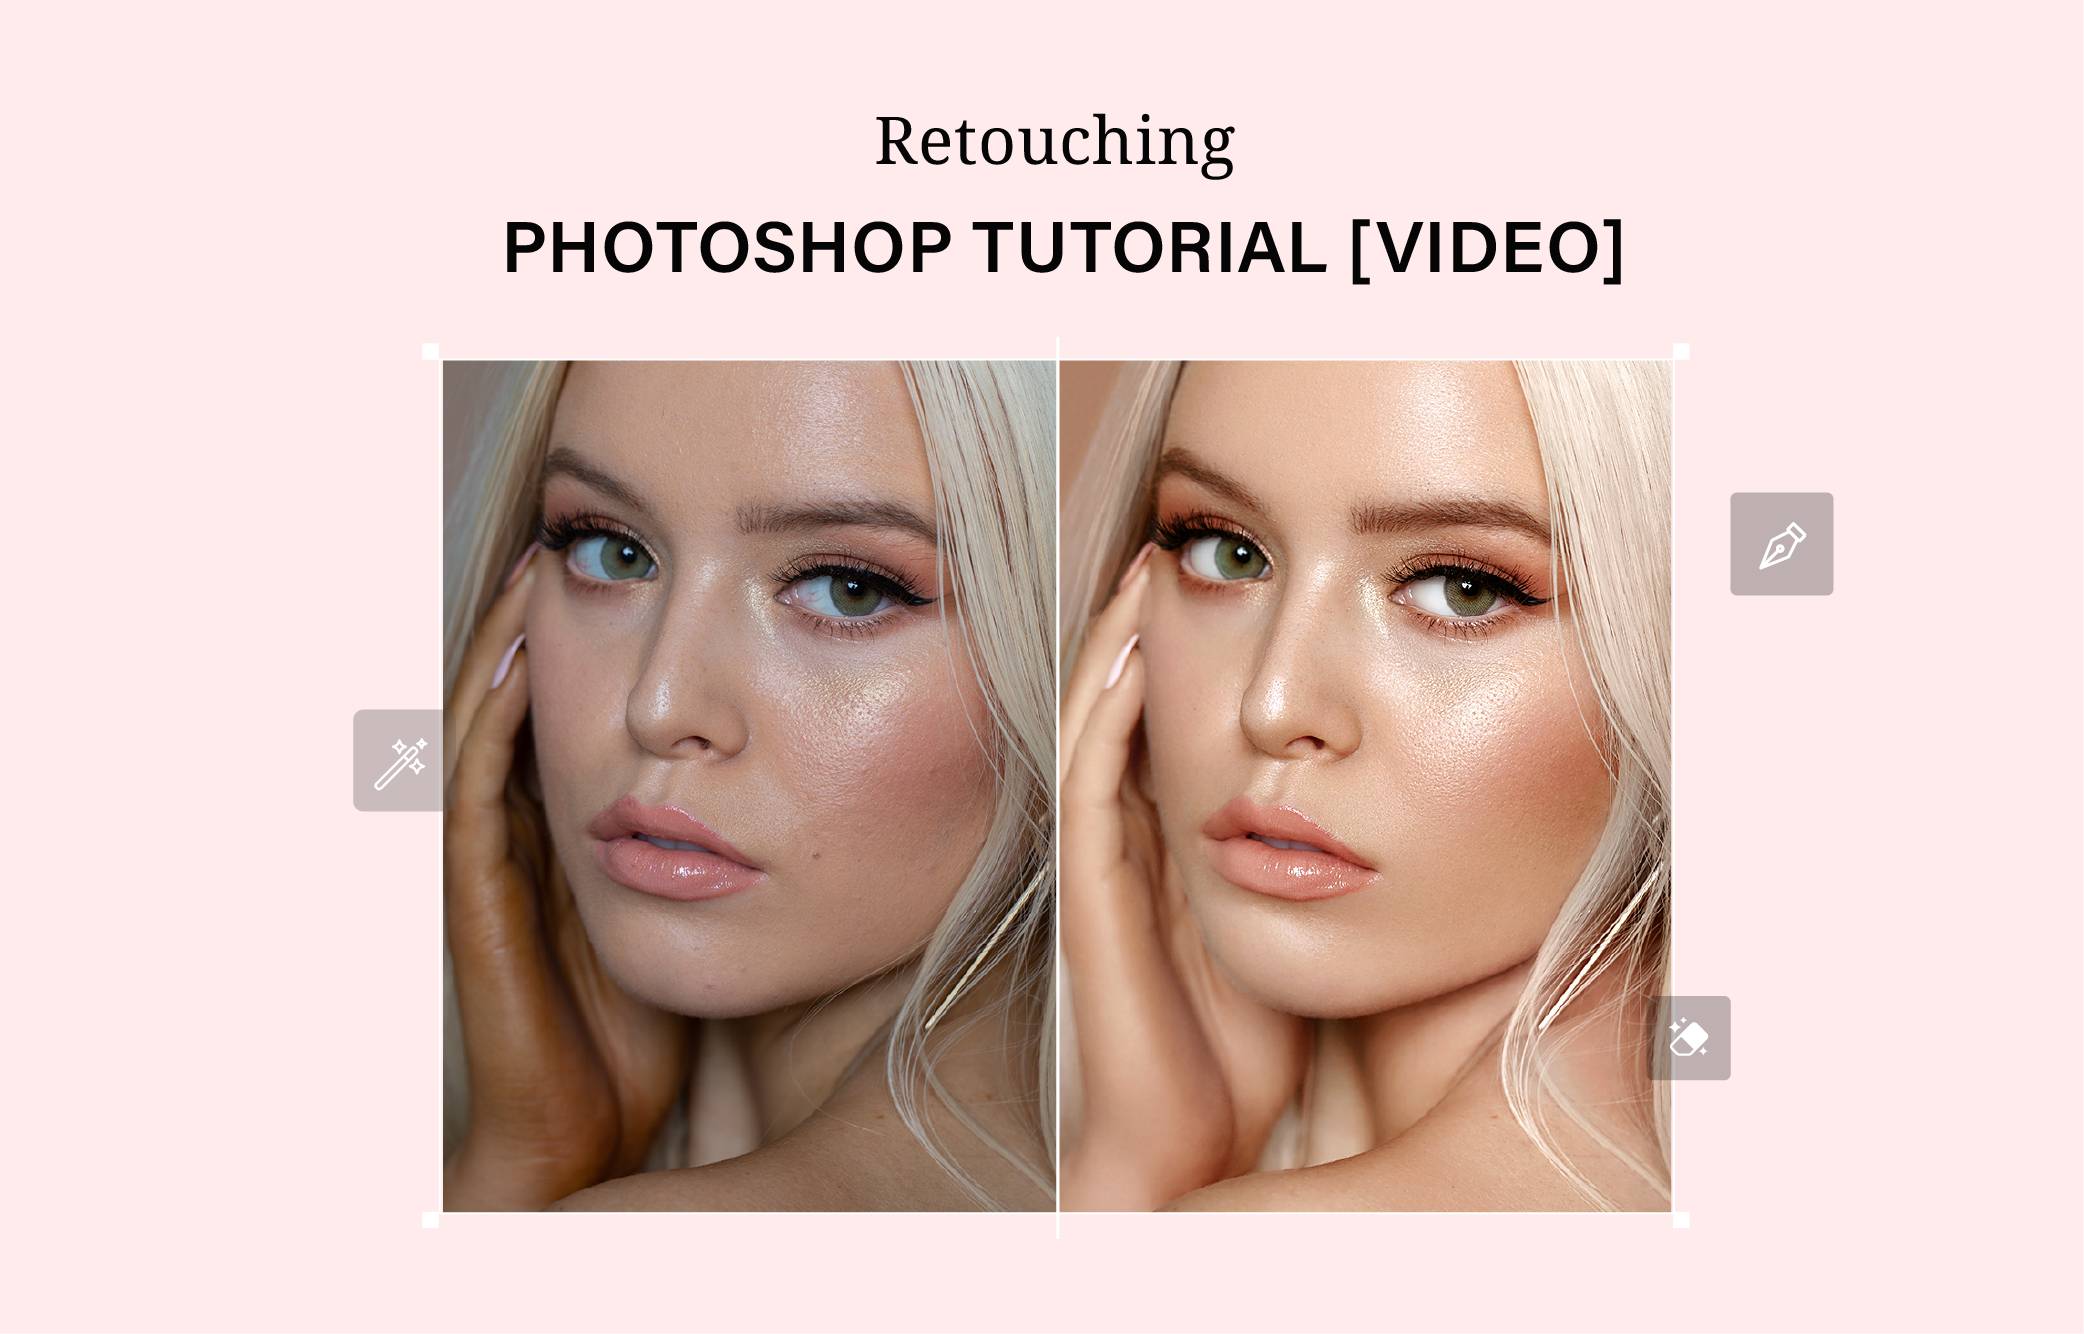
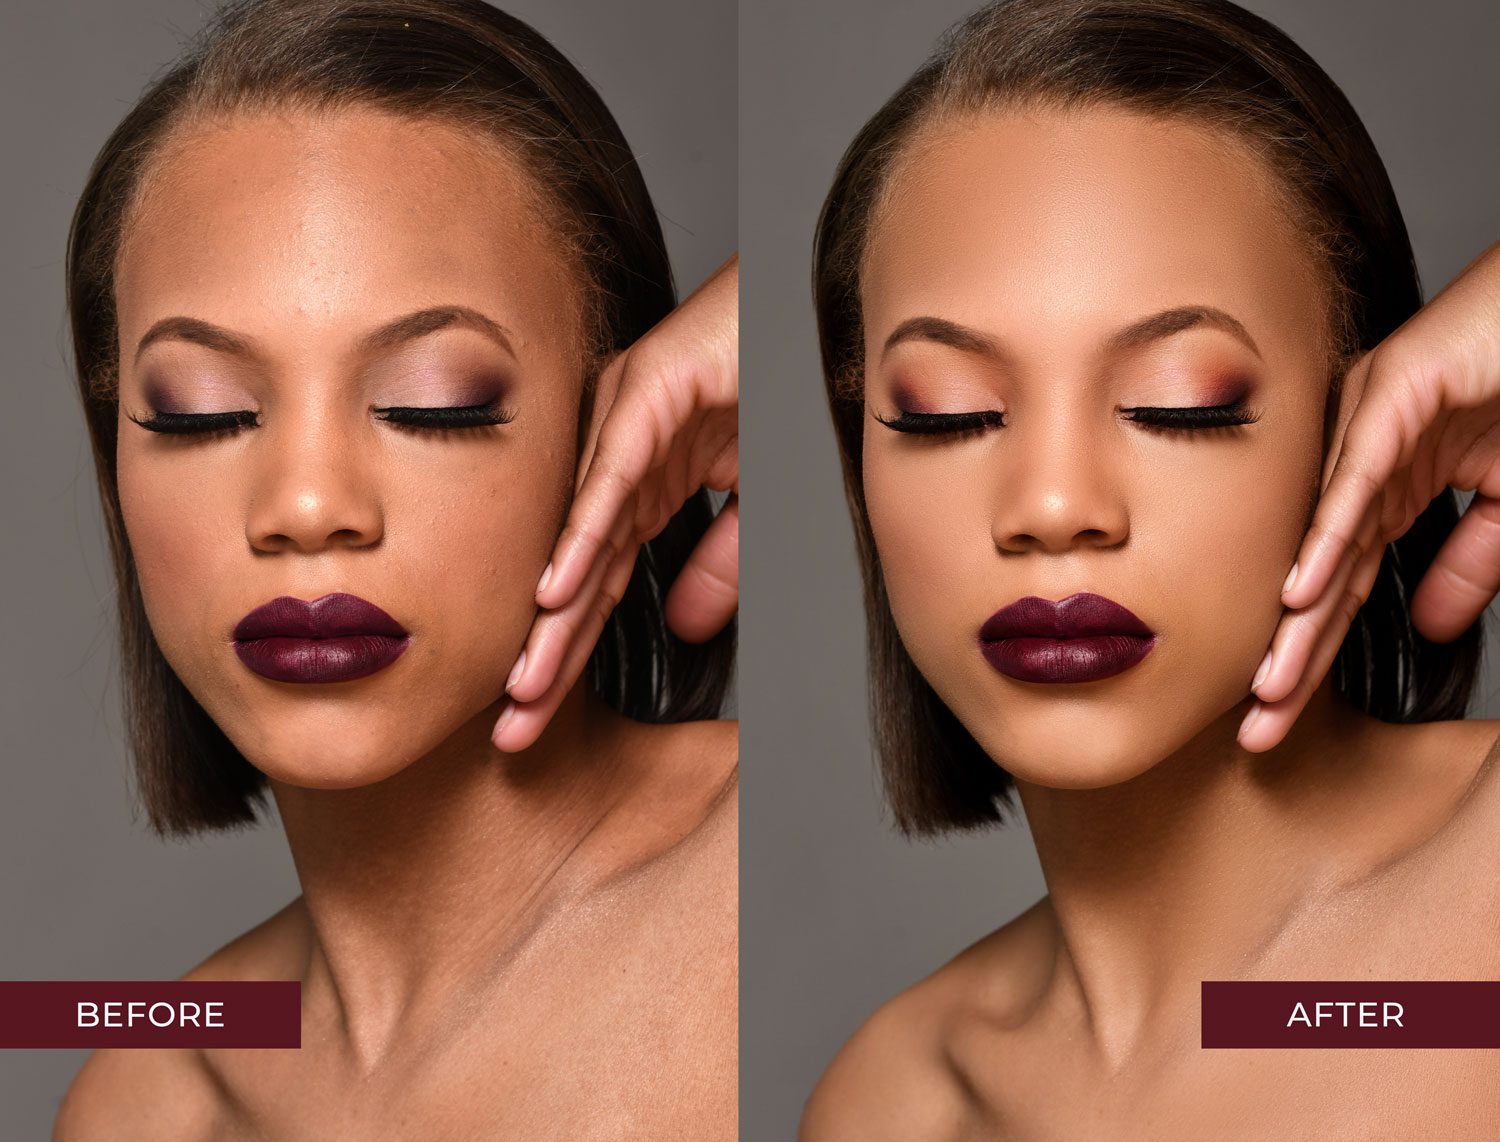
Retouch and edit skin fast and easy like a pro. Achieve that airbrush finish! Make your portraits look beautiful with a smooth natural skin texture using this fast high-end retouching technique for the skin in Photoshop. And get it done in a few minutes!
First, remember to remove blemishes and do simple portrait touch up on irregularities like blotchiness, eyebags, wrinkles before applying this method.
Steps to Achieve that Awesome High-end Retouching Finish
Given that you already performed initial touch ups to the image with the use of a Clone Stamp Tool, Spot or Healing Brush Tool, Patch too. Then, you’re ready for the next approach, which is the application of the high-end retouching method.
Step 1:
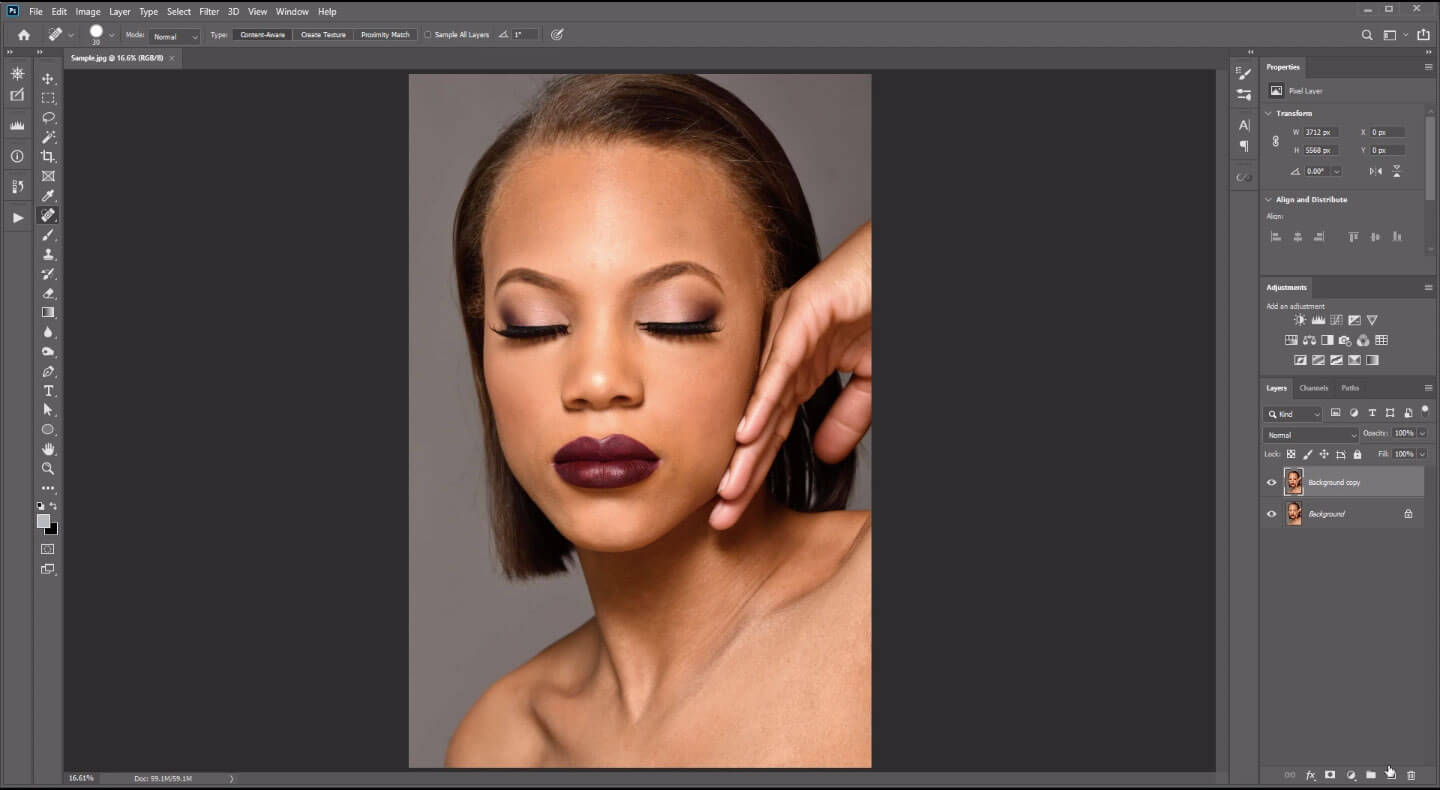
Open the Image to edit. The image will open as a Background Layer.
Step 2:
Duplicate the Image or make a copy ( Ctrl+J ). You can optionally, rename this Layer.
Step 3:
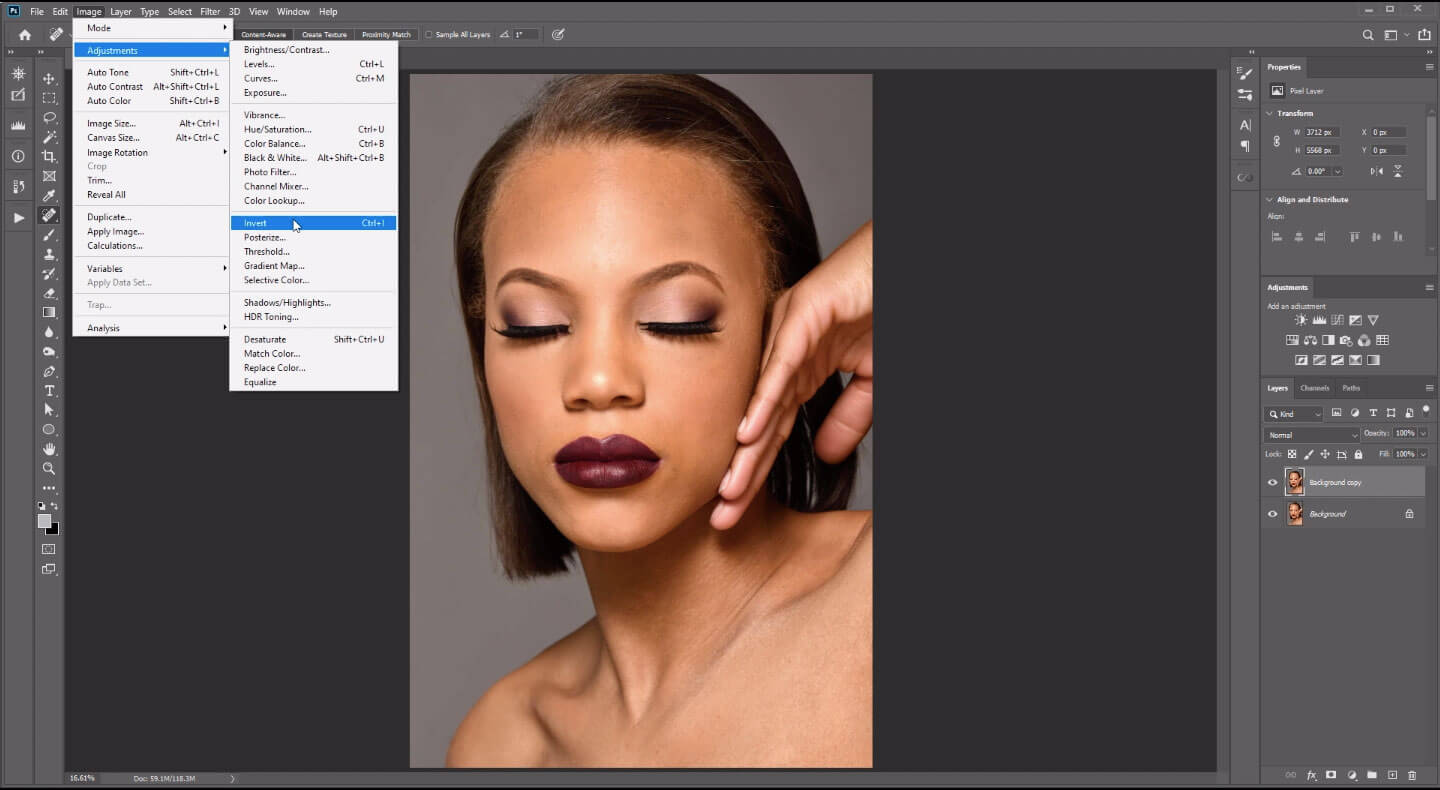
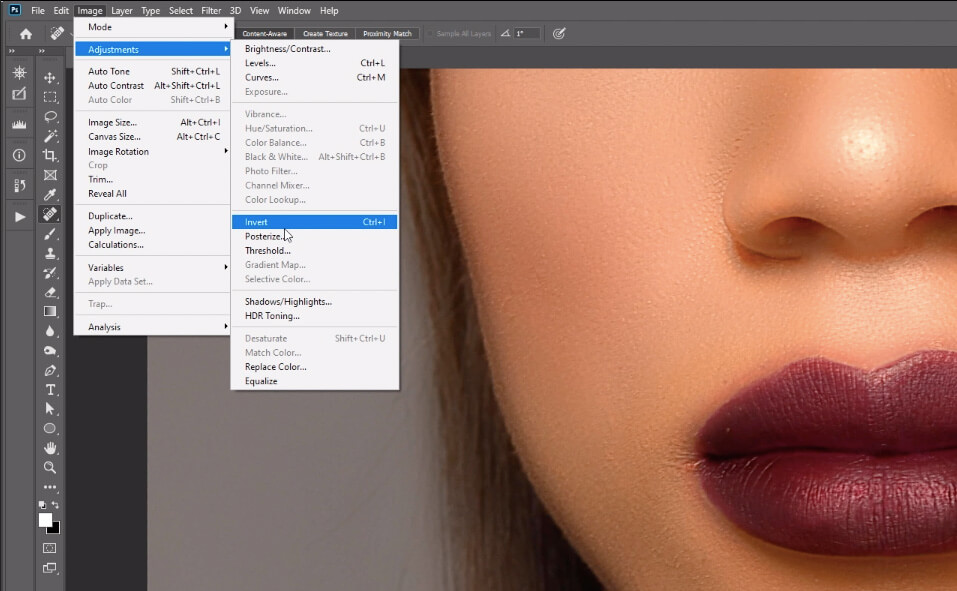
Invert the Duplicated Image ( Ctrl+I ) or Go to Image > Adjustments > Invert.
Step 4:
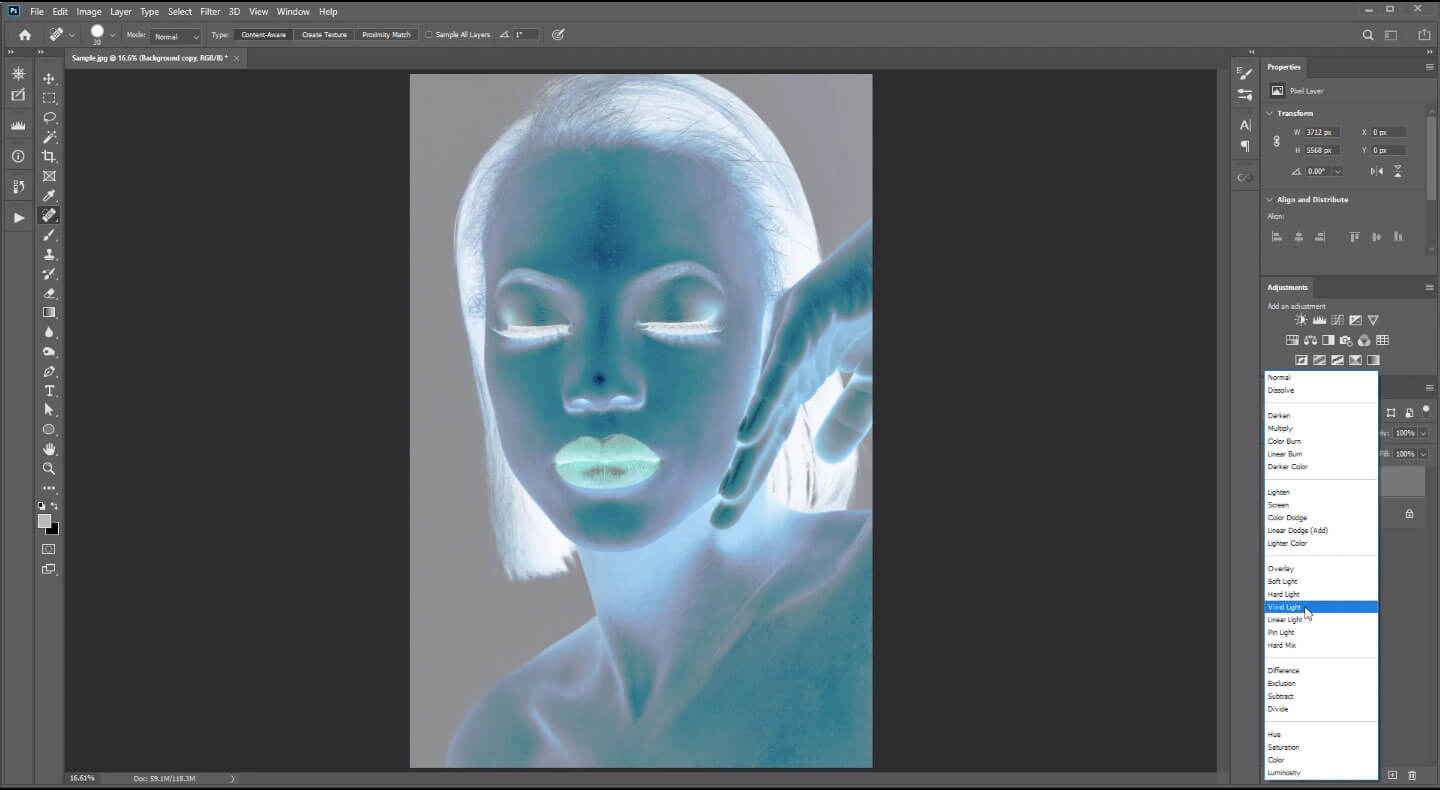
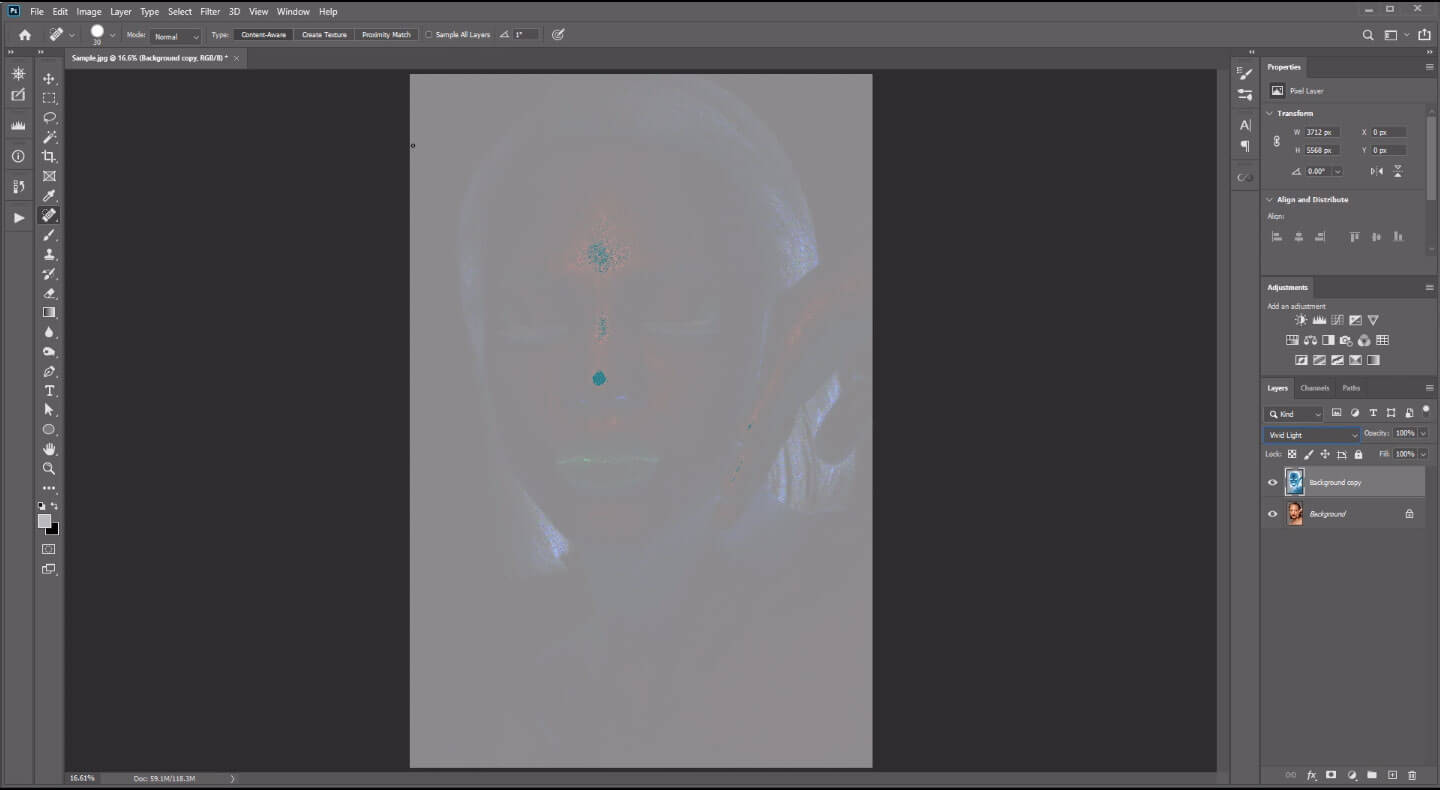
Select the Duplicate the Image Layer. Change Blending mode from Normal to Vivid Light.
Go to Layer > Layer Style > Blending Options > Vivid Light
Step 5:
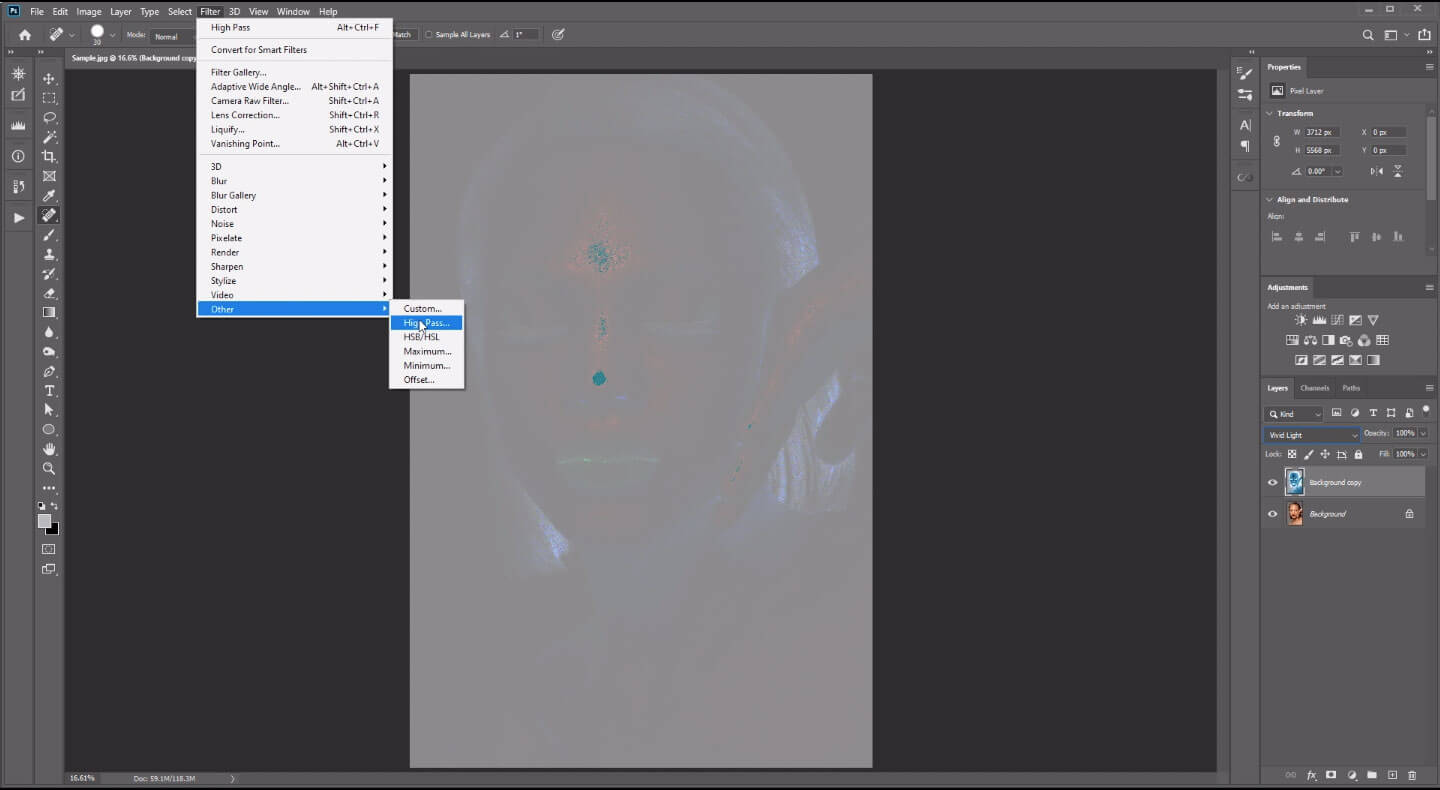
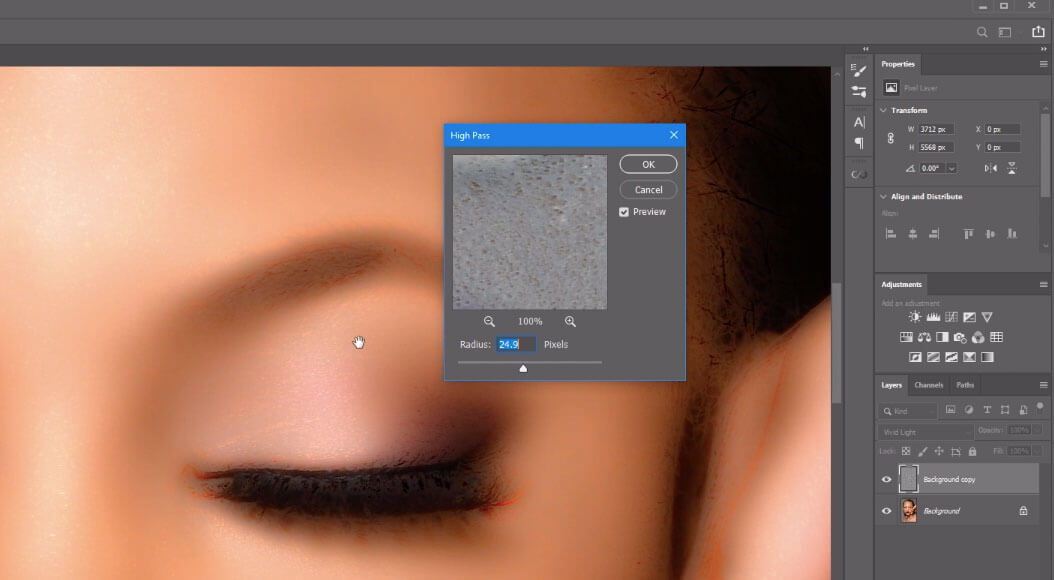
Apply High Pass Filter.
Go to Filter > Other > High Pass . A dialogue box appears. Input proper Radius Value. Click Ok. Input proper Radius Value that will accentuate the skin texture nicely and pores disappear making it look smooth.
Step 6:
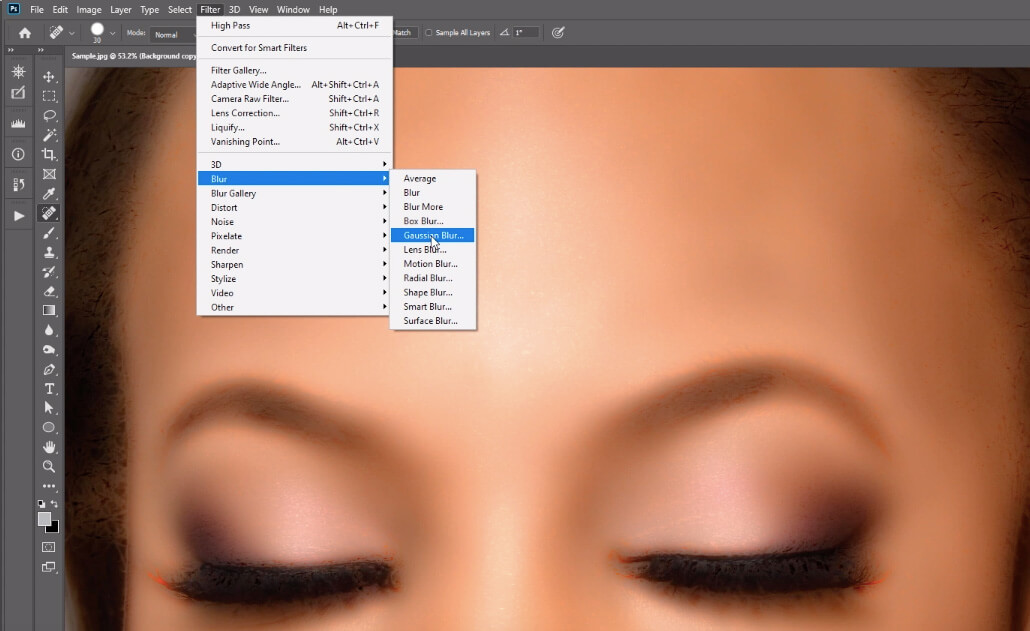
Still on the Duplicate the Image Layer.
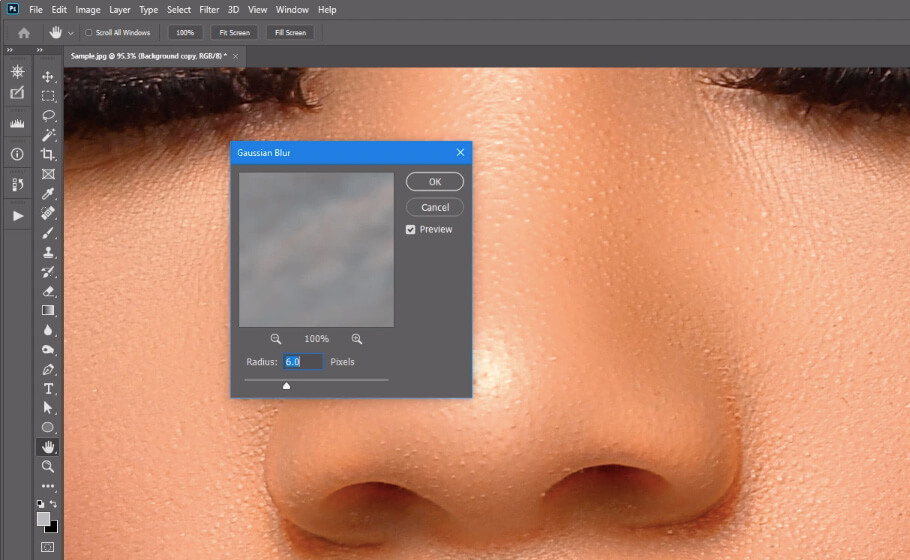
Go to Filter > Blur > Gaussian Blur. Enter a Radius Value that will show a normal skin texture. Move the value up until you get the desired texture. Remember that too much value will create wrinkles. Make it just right so that the texture will look uniform and unblemished.
Step 7:
On the same Layer. Add a Layer Mask.
Step 8:
Invert the Masked Layer. ( Ctrl+I ) or Go to Image > Adjustments > Invert.
Step 9:
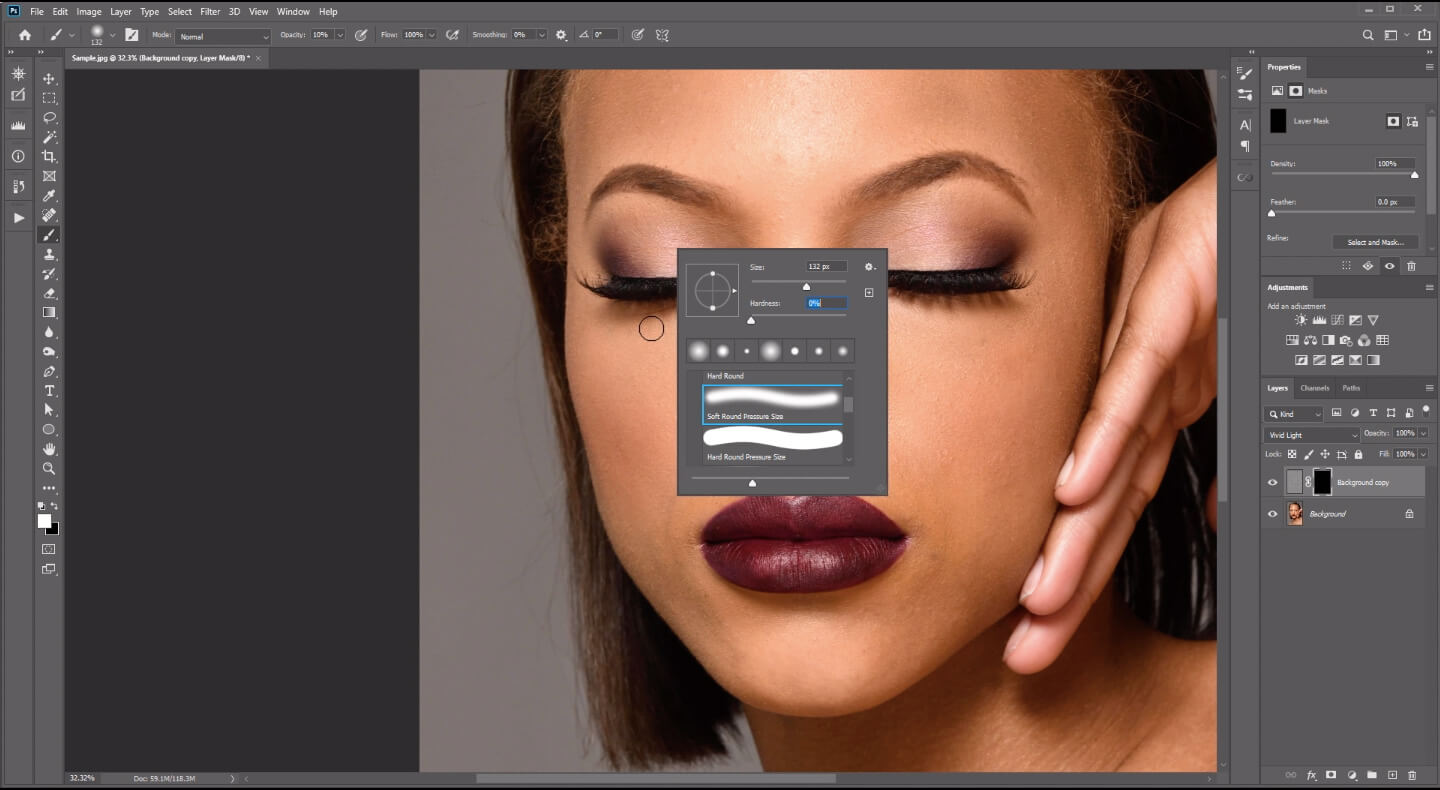
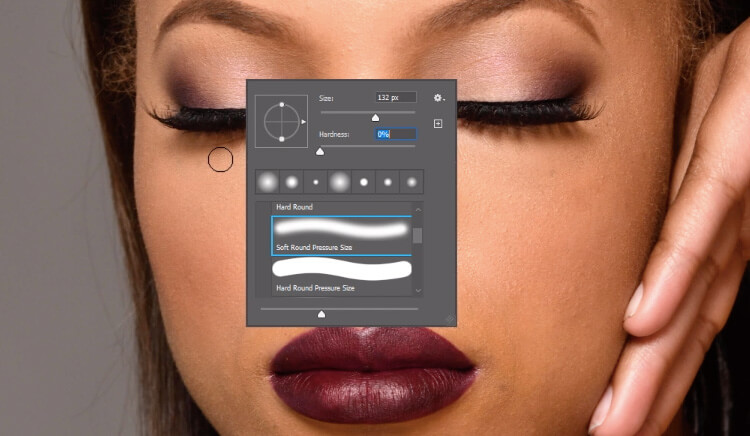
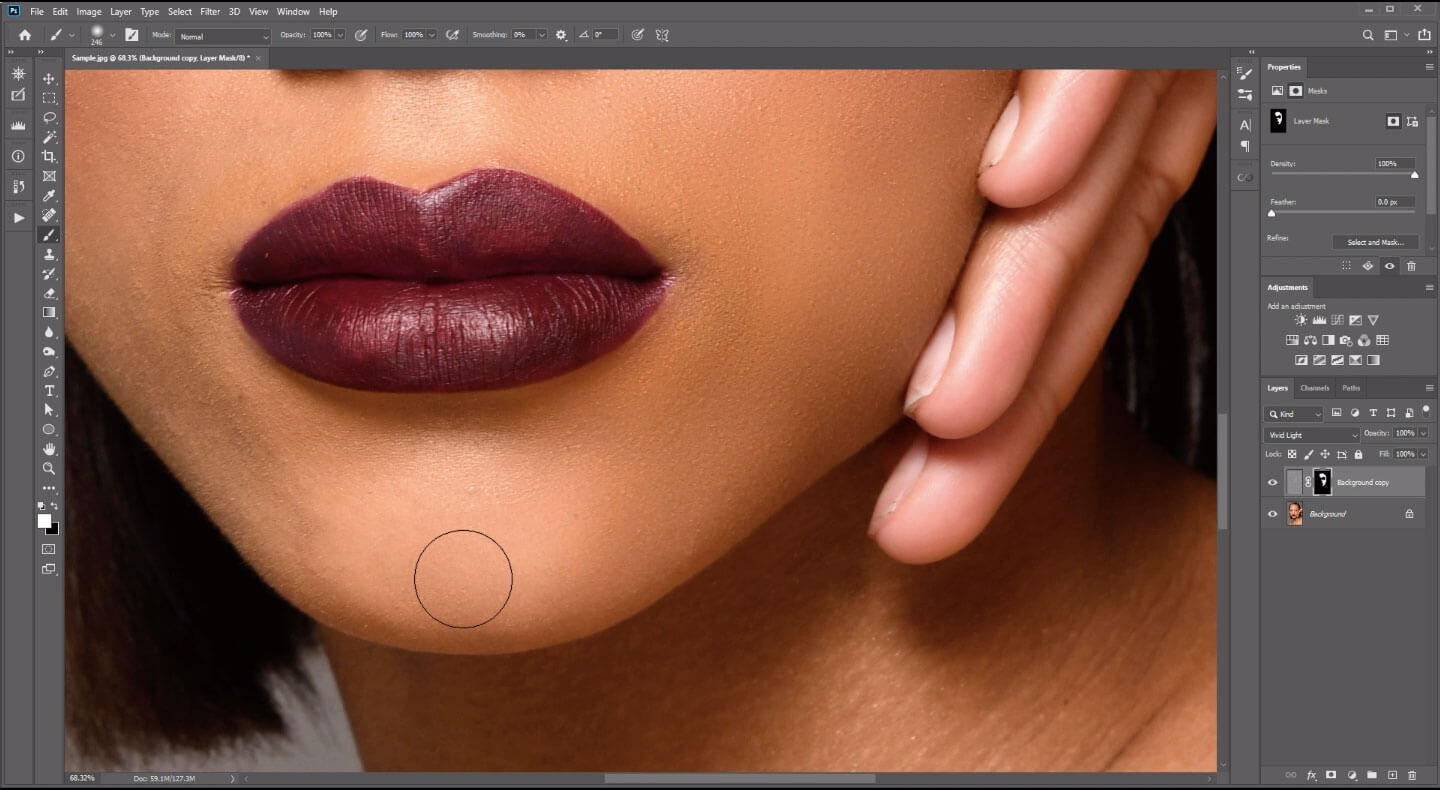
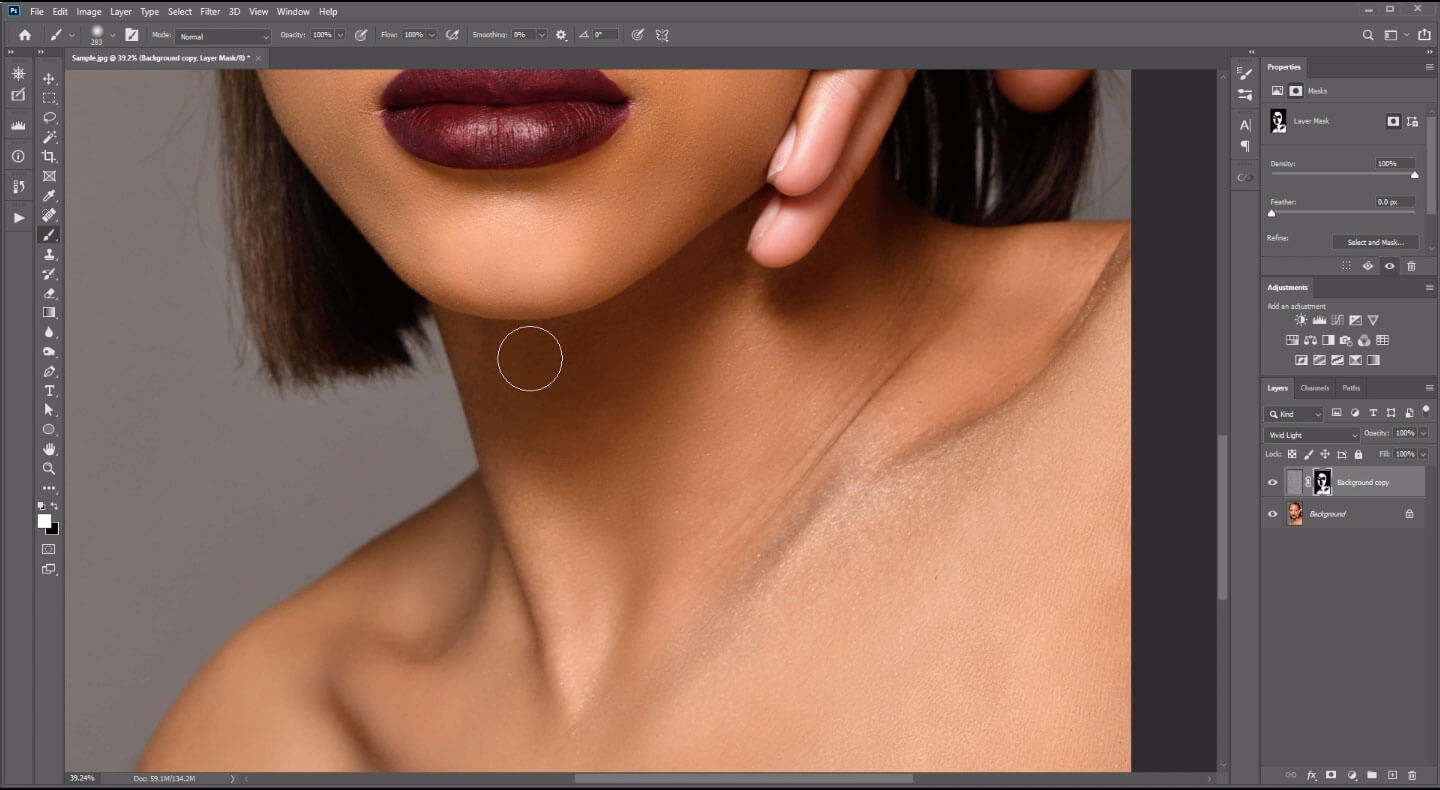
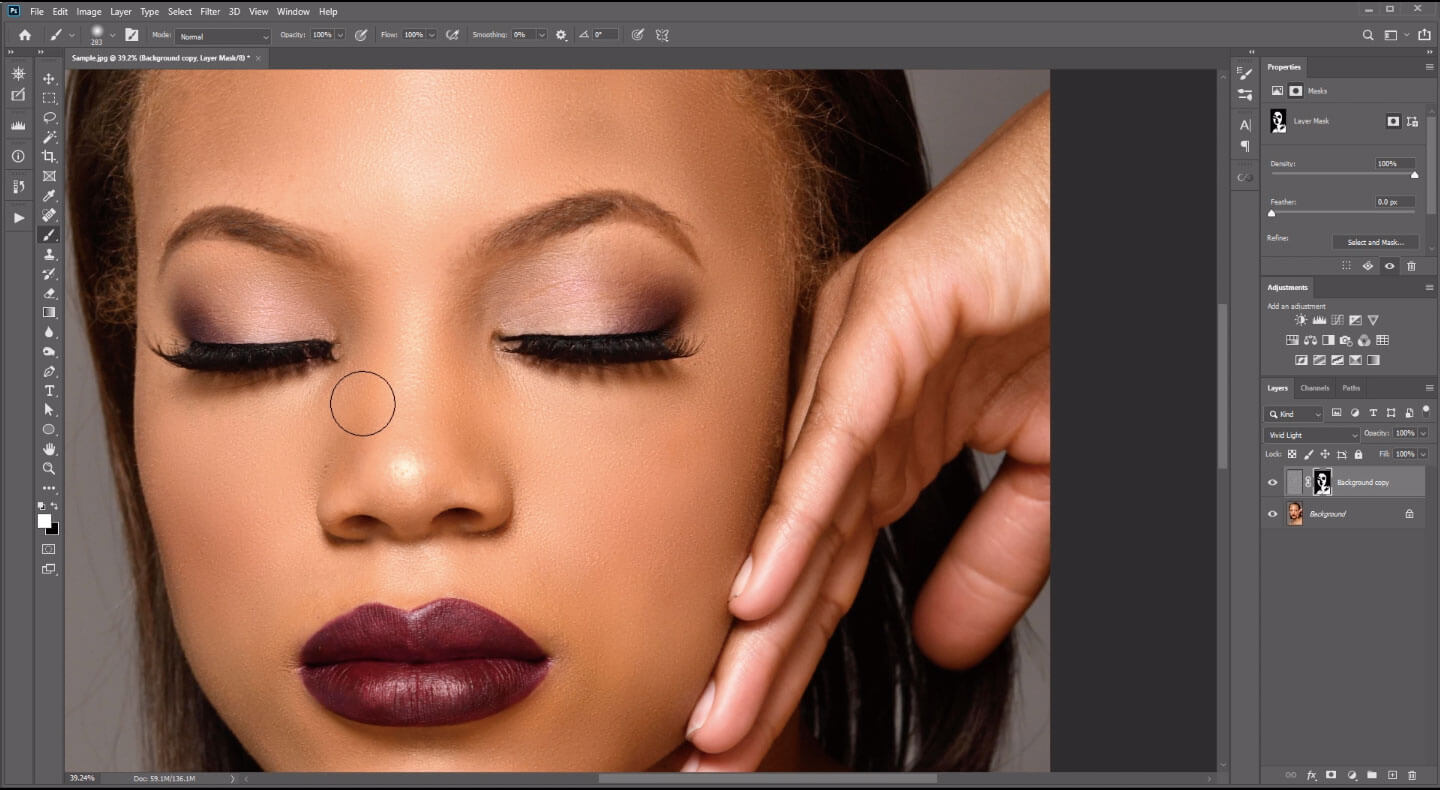
Select the Brush Tool. Set Hardness to 0% and Brush Size to 132-260 or set just right depending on the size of the image you are working on.
Step 10:
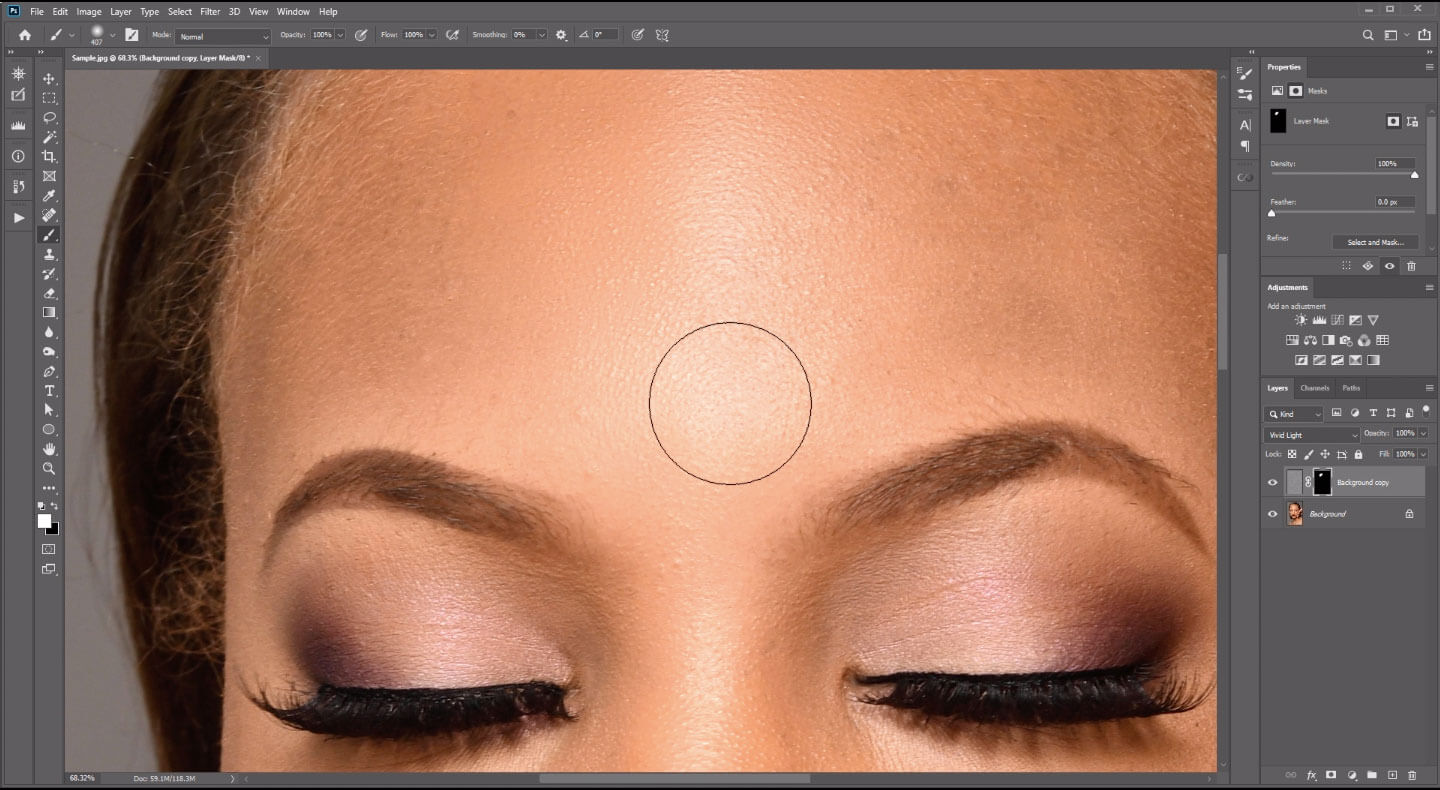
Set Opacity to 100% and brush over the skin.
Set Brush color to White to apply the effect. Set Brush color to Black to erase or undo the effect. Brush on the skin of the forehead, under the eyes, the cheeks, but not over the features of the face with the delicate features like on the eyes, eyebrows, eyelashes or under the nose and the lips. This also minimizes facial hair.
You can check your progress by turning on or off the Masked Layer. And compare it with the Background Layer (original image). And if you feel like you’re satisfied, you can finally save your work.
You can also record and save this process as a Photoshop Action. From Step 1 until Step 8 . This way, you can apply later on on other images you will be working with. So you could skip a few steps and proceed to the next steps to save ample time, thus making your high-end retouching session faster.
Tip:
Actions help you record the edits or actions ( steps ) you made in Photoshop, so that you could replay this and apply to the other images you will be editing in the future.
How to Save Actions for Highend Skin Retouching?
Go to Windows > Actions.
An Action dialogue box will appear. Rename the Action. Set Default Actions. Also, set Function Keys. Setting a function key will enable you to click on a specific key easily next time. That will apply all the actions you executed. Just that simple. Now, you need to practice a few times doing these and you can be a pro high-end retouching expert.
Photo retouching and editing has been of significant assistance to industries for high-end fashion and beauty. As well as to apparel, shoes and other e-commerce or online products and businesses.
Need Expert Service for Your Retouching Work?
At Ephotovn, we offer professional retouching and editing services for any type of images – from studio photos to ecommerce photos – we can make your images the best as it can be. Outsource your photography editing to us and get a 50% discount on your first order. Our expert team of photo editors can help grow your business by providing consistent high-quality post-processed and retouched images.
Explore our website or contact us today to learn more about our services.