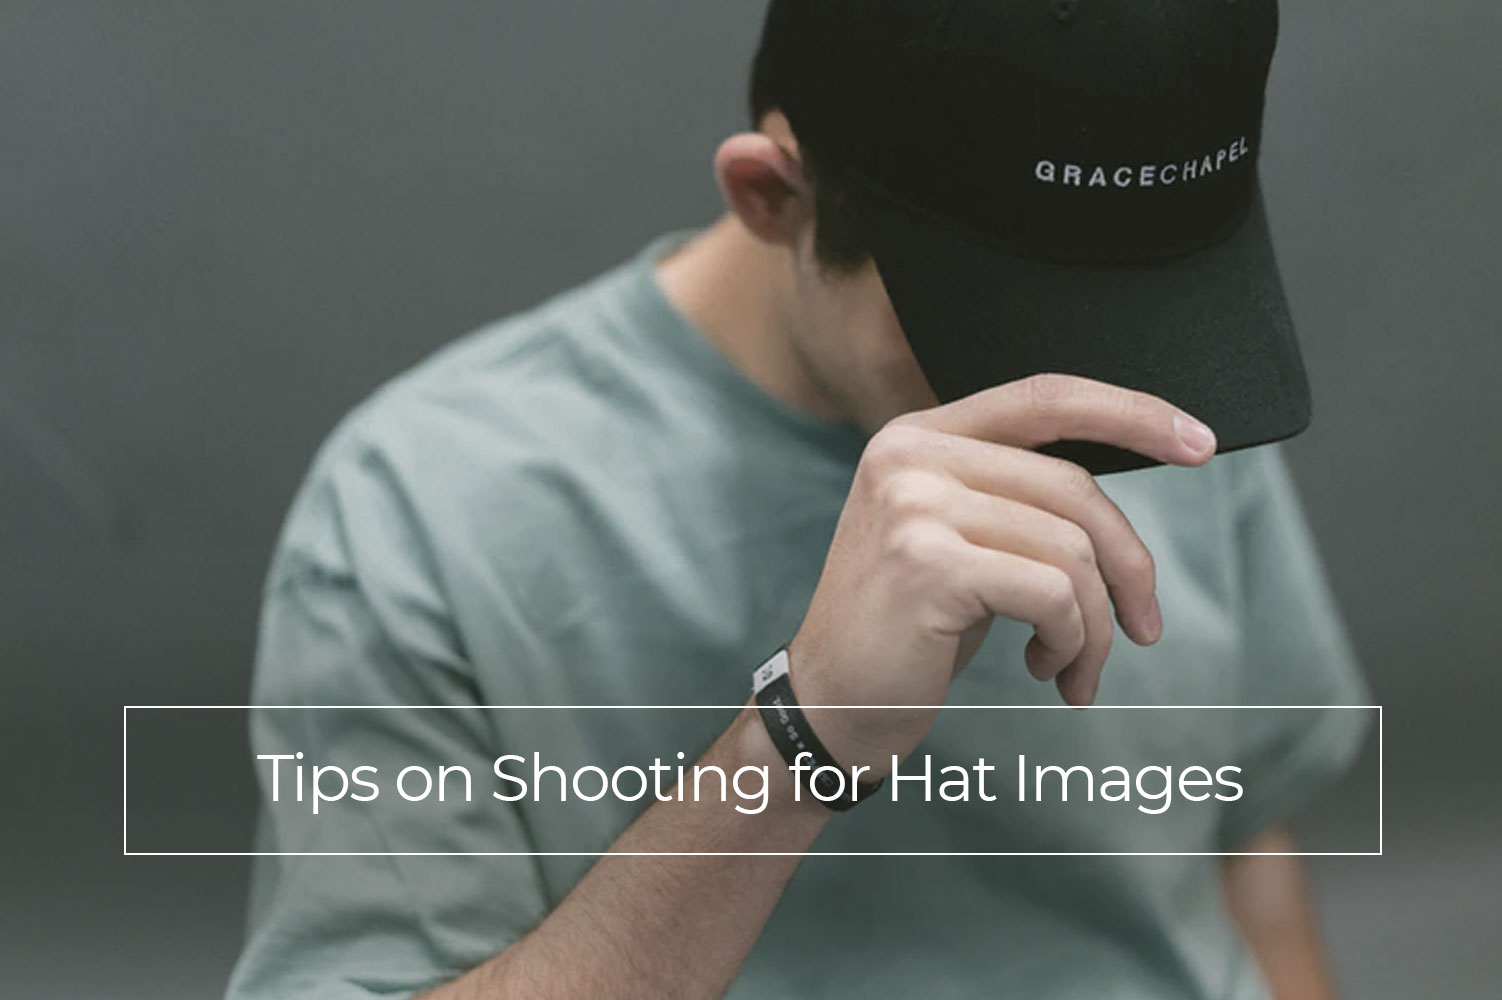
High-quality e-commerce photography is essential for selling apparel online. A lot of customers rely on product photos to determine the quality of each item. This is why you need the aid of essential product photography tips in order to get everything right, especially if you going to do a DIY photoshoot.
To begin with, product photography is not for everybody. It has its own set of rules, unlike ordinary photography. In fact, photo retouching services have different guidelines to follow when it comes to product photo editing (you can read about it from the blog section). If you are going to delve into this kind of photography, you must learn different techniques and product photography tips so that you will have the perfect photos to publish on your website.
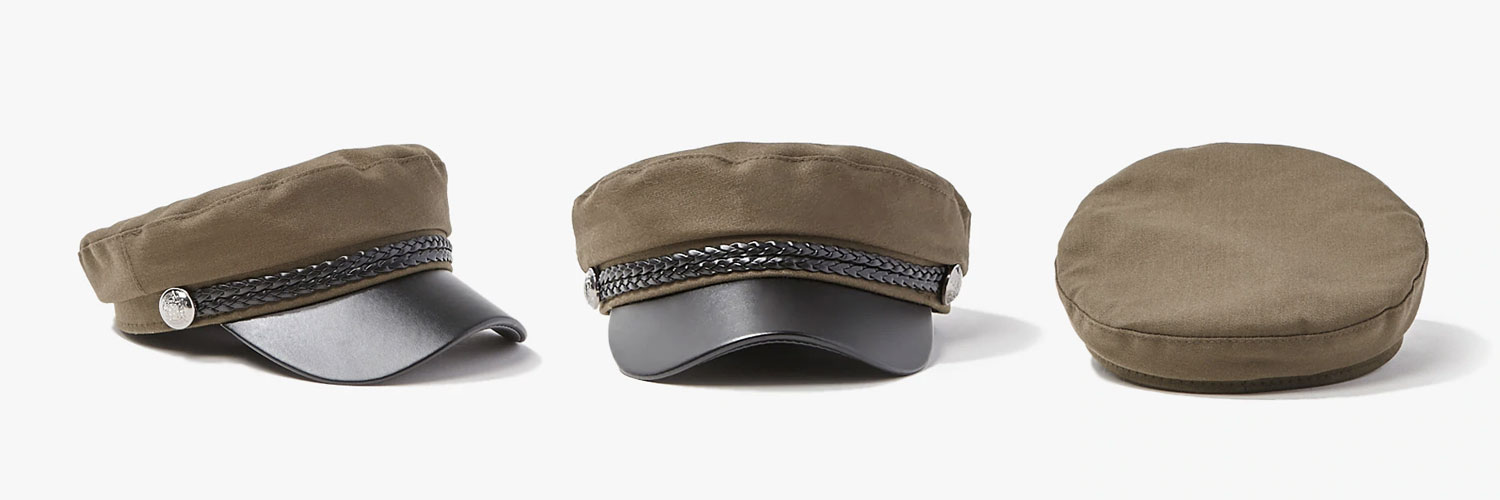
Image via forever21.com
Product Photography in E-Commerce
If you think that product photography is only for online stores, think again. Long before e-commerce became a thing, this type of photography is already crucial for offline advertising. Before the influx of e-commerce websites and social media advertising, customers check out new products on catalogs, brochures, magazines, billboards, and other kinds of printed ads. This is where nicely done product photos come handy since they are specifically used to entice customers into buying products.
There are already plenty of tutorials and product photography tips with regard to common apparel items, such as clothing and shoes. Only a few, however, can be found about shooting hats, caps, and headgears. Photographing hats can also be a thrilling experience as you can get as creative as you want with every shoot. There are also plenty of ways that you can do to make the hats look stunning and appealing to customers.
Related Post: How Does Product Photos And E-Commerce Photo Editing Help In Boosting Sales
If you think you have an eye for taking great pictures but on a modest budget, you may try these product photography tips to create beautiful hat product images:
1. Prepare the Set Up
Using a few items and even on a budget, you can transform any room into a photo studio. The first thing that you need is good lighting, can be natural light from the sun through the windows, or a strobe light if you have a budget for it. Reflective surfaces, like white foam boards, and a white backdrop is also necessary. You can see on almost all product photography tips that a tripod is a good investment, and it is true.
Although you can shoot with a live model or start without one, mannequin heads are better alternatives. They are cheaper than hiring a model and are easier to work with than a full mannequin. They also come in different sizes so you will have one that perfectly fits the hats that you are going to shoot for.
2. Hat Preparation
Just like any other type of apparel, hats must be fully prepped before the shoot. Instead of relying on Photoshop to clean up the product, it is much faster to clean it beforehand. Use sticky lint rollers to remove any lint and dust that are collected on the fabric. Price tags should be removed or at least concealed to minimize distractions. Any marks or scars on the fabric should be fixed prior to the shoot, especially if it is very visible. Hats that have brims must either be steamed or ironed in order to make it hold its shape. Use hat boxes to store cleaned hats to avoid getting dirty again or getting crushed up.
Related Post: Removing Creases & Wrinkles From Clothing In Photoshop – [VIDEO Tutorial ]
3. Prepare the Product
Once the hat has been groomed up, it is time to prepare it for the actual shoot. Styling the product using props is a good idea, but it should not be too much that it can cause distractions. The main focus should be the hats and not the items that are used to style them. An effective prop to use is a pin-board where you can hang the hat for display. A coat rack is also great and will create a trendy vibe to your hat.
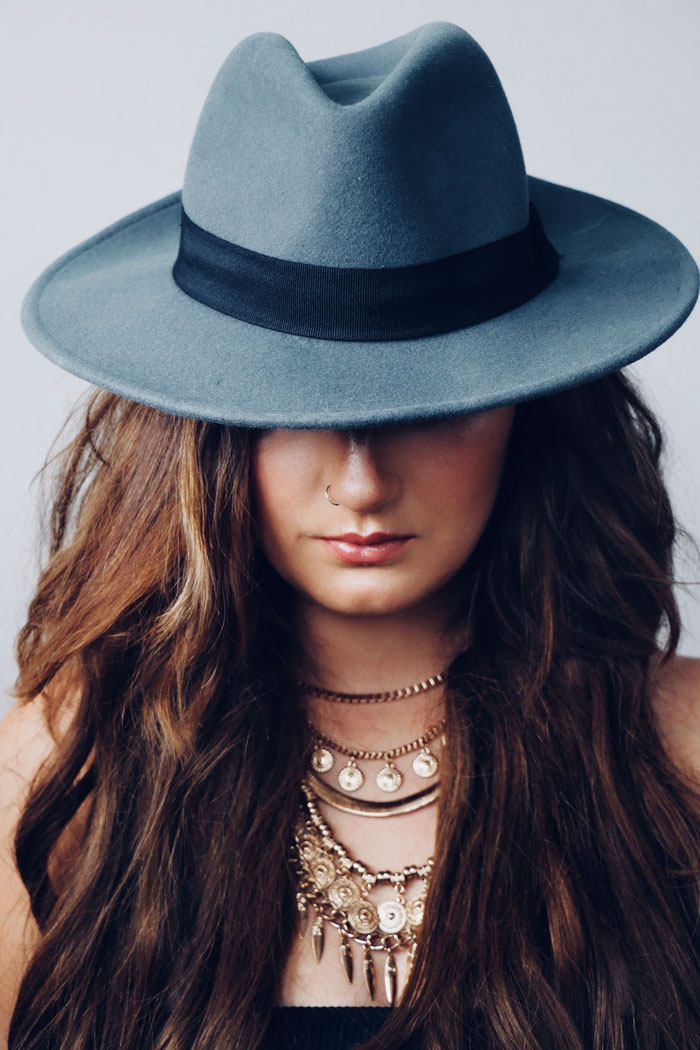
Now, if you are going to use a live model, make sure that the clothing, pose, and even the make-up of the model does not overpower the hat. It is almost impossible not to include the model’s face in the frame hence the reason why an invisible mannequin technique is preferred for most hat product photography tips. You also need to be careful in choosing a mannequin head, particularly the size. The hat must fit properly on the head so that it will retain its shape and will look more attractive in photos.
4. Shooting Process
When everything in the studio has been set up and the product is ready for the shoot, it is time to capture the image using the best camera settings. For the optimal camera settings, test a few shots while adjusting the white balance, ISO, and aperture values.
To create a 3D invisible mannequin effect, photograph the hat while it is on the mannequin. The next shot should be while you are holding the hat while keeping it as close to the original place but without the mannequin underneath. This is where the importance of a tripod can be appreciated since it will help with the consistency that you want to achieve. The two images will be combined during the post-processing creating the invisible mannequin effect.
5. Post-Production Optimization
Even with professional photographers, it is difficult to achieve perfect shots straight out of the camera. This is why you have post-production to retouch the photos. The goal during this step is to be aware of the blemishes that can make the photo look bad. It can be on the hats or in the model’s face if you are having a live model. Other imperfections you must watch out for are wrinkles, heavy shadows, and minor contrast changes.

Basically, these imperfections should be removed during post-production. If you are going for the invisible mannequin effect, then this is the time to apply the techniques on creating it using Photoshop or any other photo editing software.
Evaluating Your Product Image Needs
After getting all excited about learning these product photography tips, it is now time to evaluate whether you can apply these techniques or not. Sure enough, you can do the actual shoot using your innate photography skills, but the last item can be pretty difficult to do. Post-processing photos are the most important step in any type of photography. Like most skills, it would take time to perfect the techniques in product photo retouching.
Photo editing services had years to hone their editors’ skills in order to perfect even the simplest of editing techniques such as clipping path and background removal. It does not help that e-commerce photo editing uses an entirely different approach.
Related Post: How To Photograph Eyewear For Ecommerce And Online Stores
You can rely on the above product photography tips to perfect the actual shoot but you can only rely on professionals to do the editing work. A post-production agency can achieve all the image editing requirements that are essential for product photos. With an affordable rate to most services, you are able to save money and have more time to focus on your hat photography skills.
Related Post: Why And When You Should Outsource Photo Editing Services

