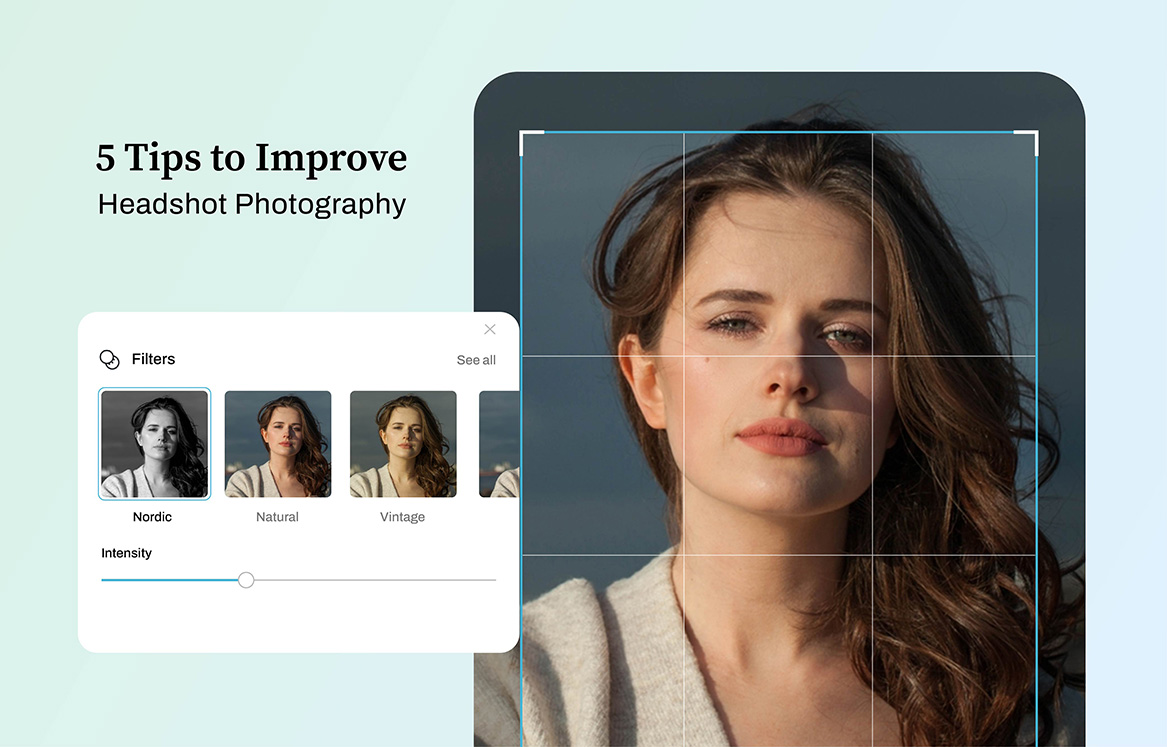
“A picture paints a thousand words” they say but with stunning product photos, it means more sales from a thousand website visits.

That is how valuable product photography is in any kind of business, most especially with e-commerce. More people are preferring to shop online but there are still those who prefer to buy something that they can touch, see, and demo first. This simply means that even though it is a convenient form of buying merchandise, e-commerce is not for everyone.
According to statistics, there are 51% of American shoppers who prefer to shop online. As an entrepreneur, it is essential to achieve a successful internet storefront to sell your products. Most of these shoppers are not always after the convenience of browsing through products in the comfort confines of the couch. They also need to be confident with their choices, as confident as they do when inspecting products in person.
So if you are about to embark on product photography, you need to remember that it is not as easy as pointing and shooting. You also have to ensure that you have the right equipment, lighting, space, and techniques to capture beautiful pictures that would entice customers to buy.
Get started on this project the soonest, but not with the following tips first! Here are 10 (very simple) product photography tips and tools for taking product photos that sell.
1. Make Use of Your Smartphone Camera
Some would find it impractical to buy an expensive camera for product photography, especially when the business is still new. Although professional-grade cameras can really help crisp images, there are smartphone cameras that can also capture detailed and high-quality pictures.
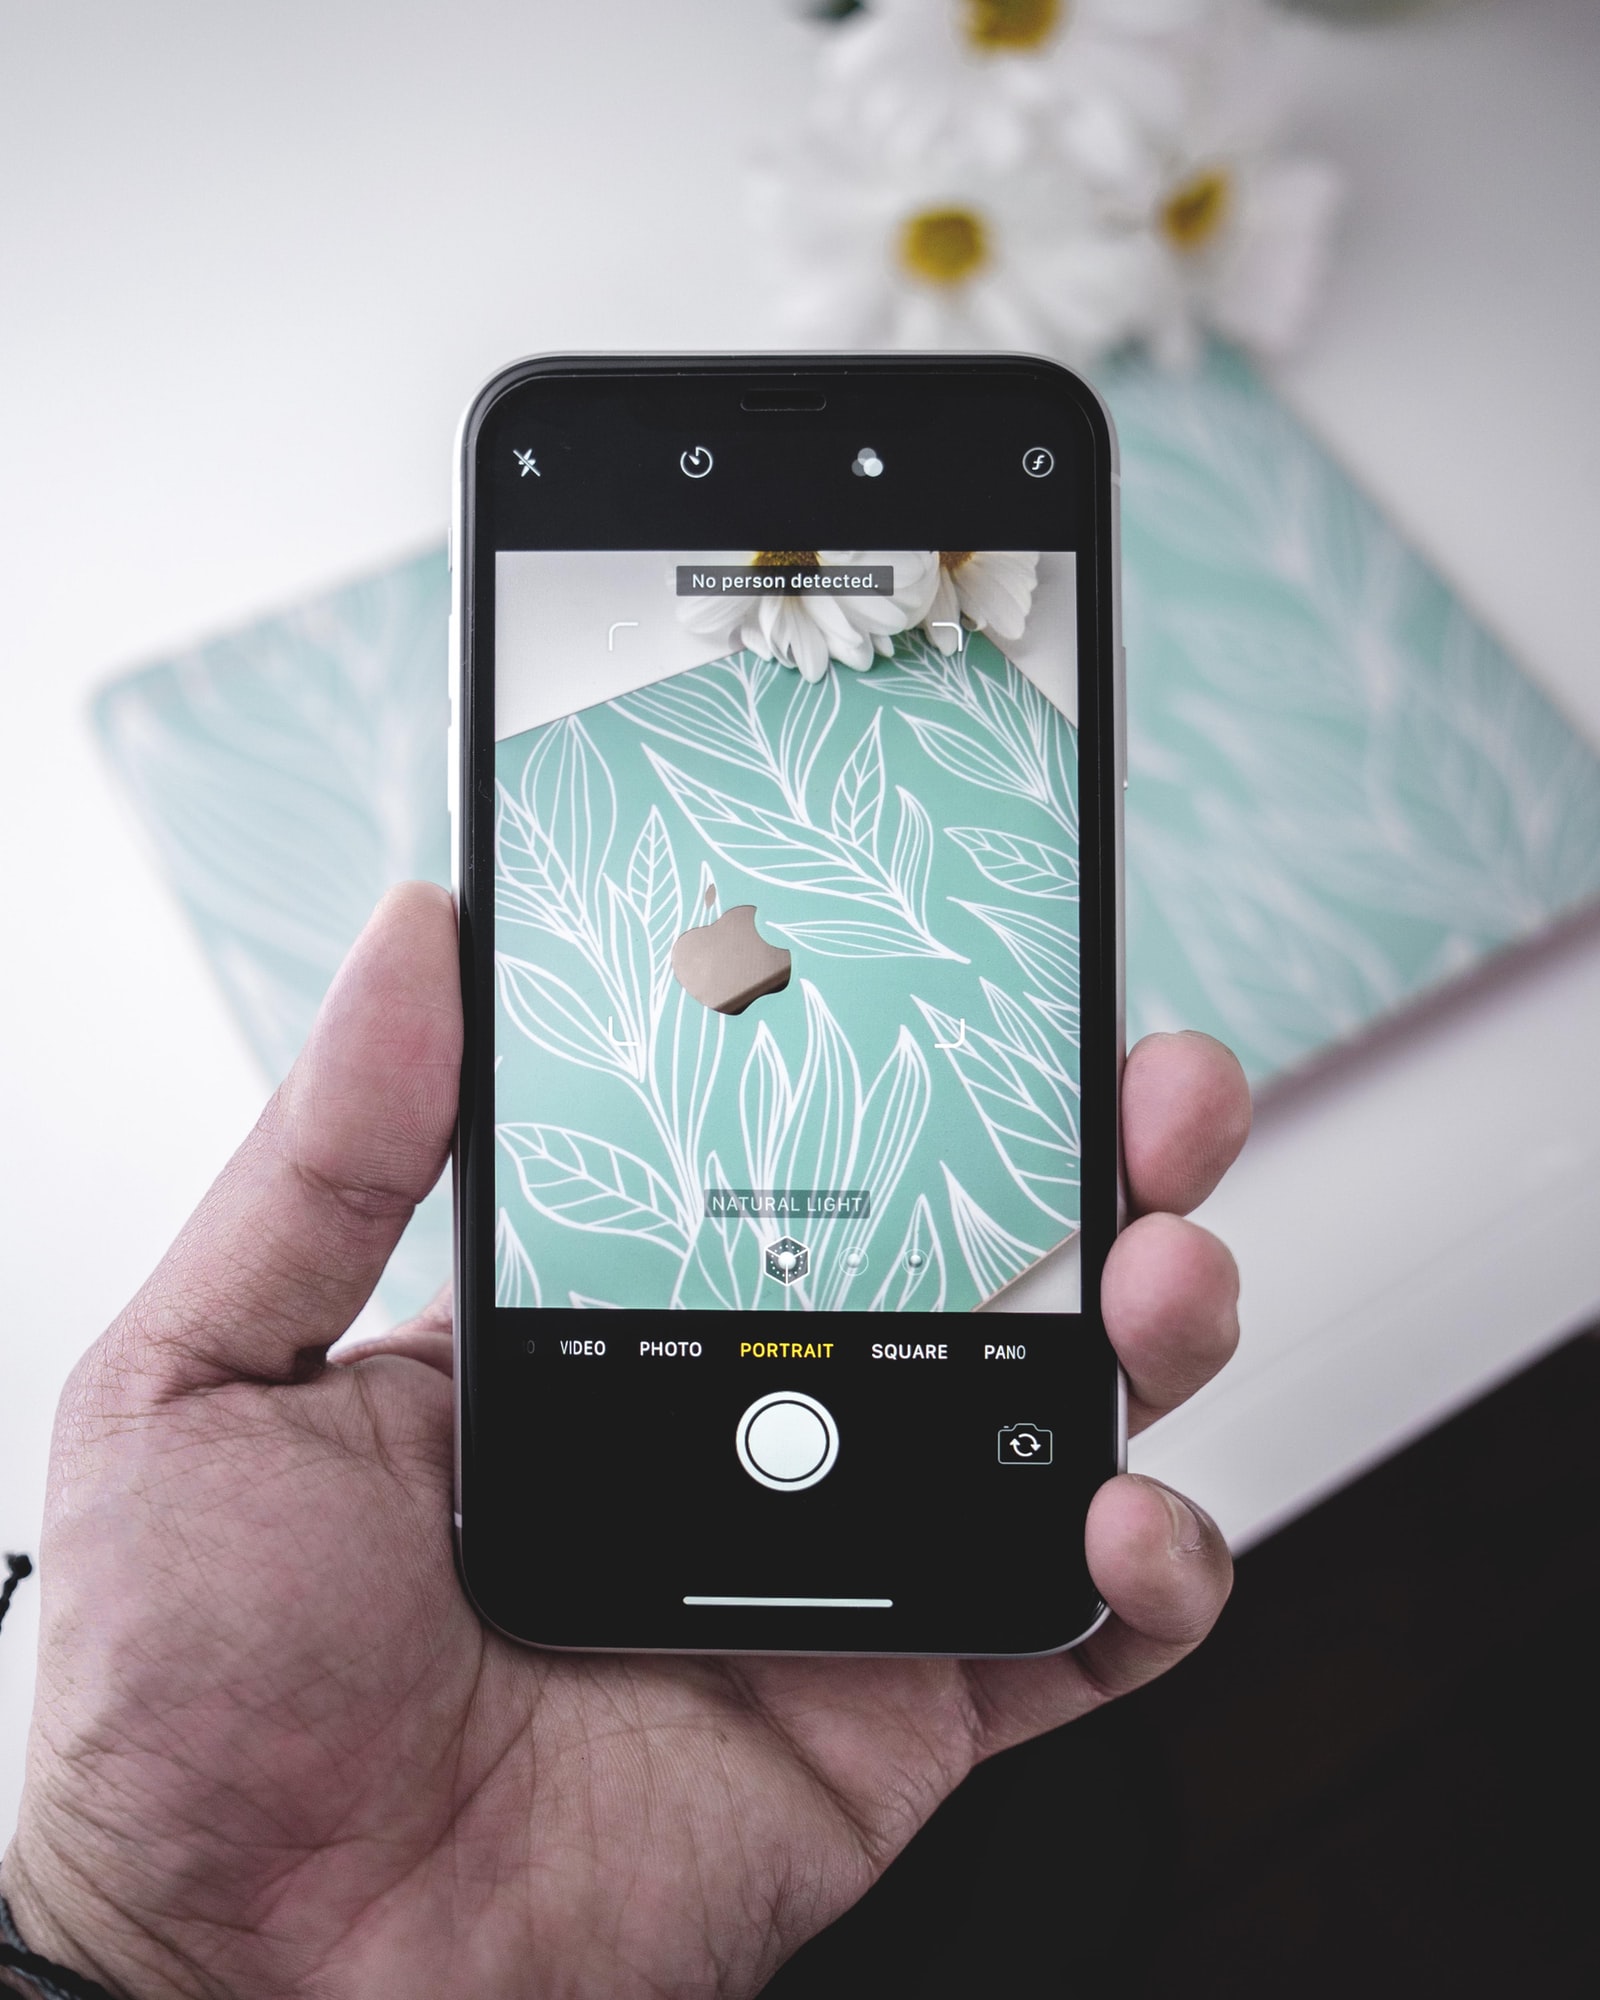
Newer phones now boast 12MP and above lenses and are pretty much acceptable for product photography. You can even adjust the settings in order to mimic the same effects that a real camera has. You may also experiment with simple lighting equipment, like a desk lamp and a DIY softbox, to your setup. At the end of the day, there are ecommerce photo editing services that can fix the photo retouching later on, or you can do so by using the same techniques used by most photo editing services.
2. Use a Tripod for Consistency
A tripod can be used more than just holding the camera steady during a shoot. It can also be a way to help you create a standard pattern of product placement or orientation on the photo. Consistency in your photos help achieve a professional appeal since it makes the albums look neat and organized.
There are two general kinds of tripods, traditional and flexible. The first one is what most professional photographers use as it has an extendable tripod stand and is sturdy enough to hold very big cameras. The flexible kind is one that has shorter but highly flexible legs that can be bent in any angle or attached to something sturdy in order to achieve the best camera angles.
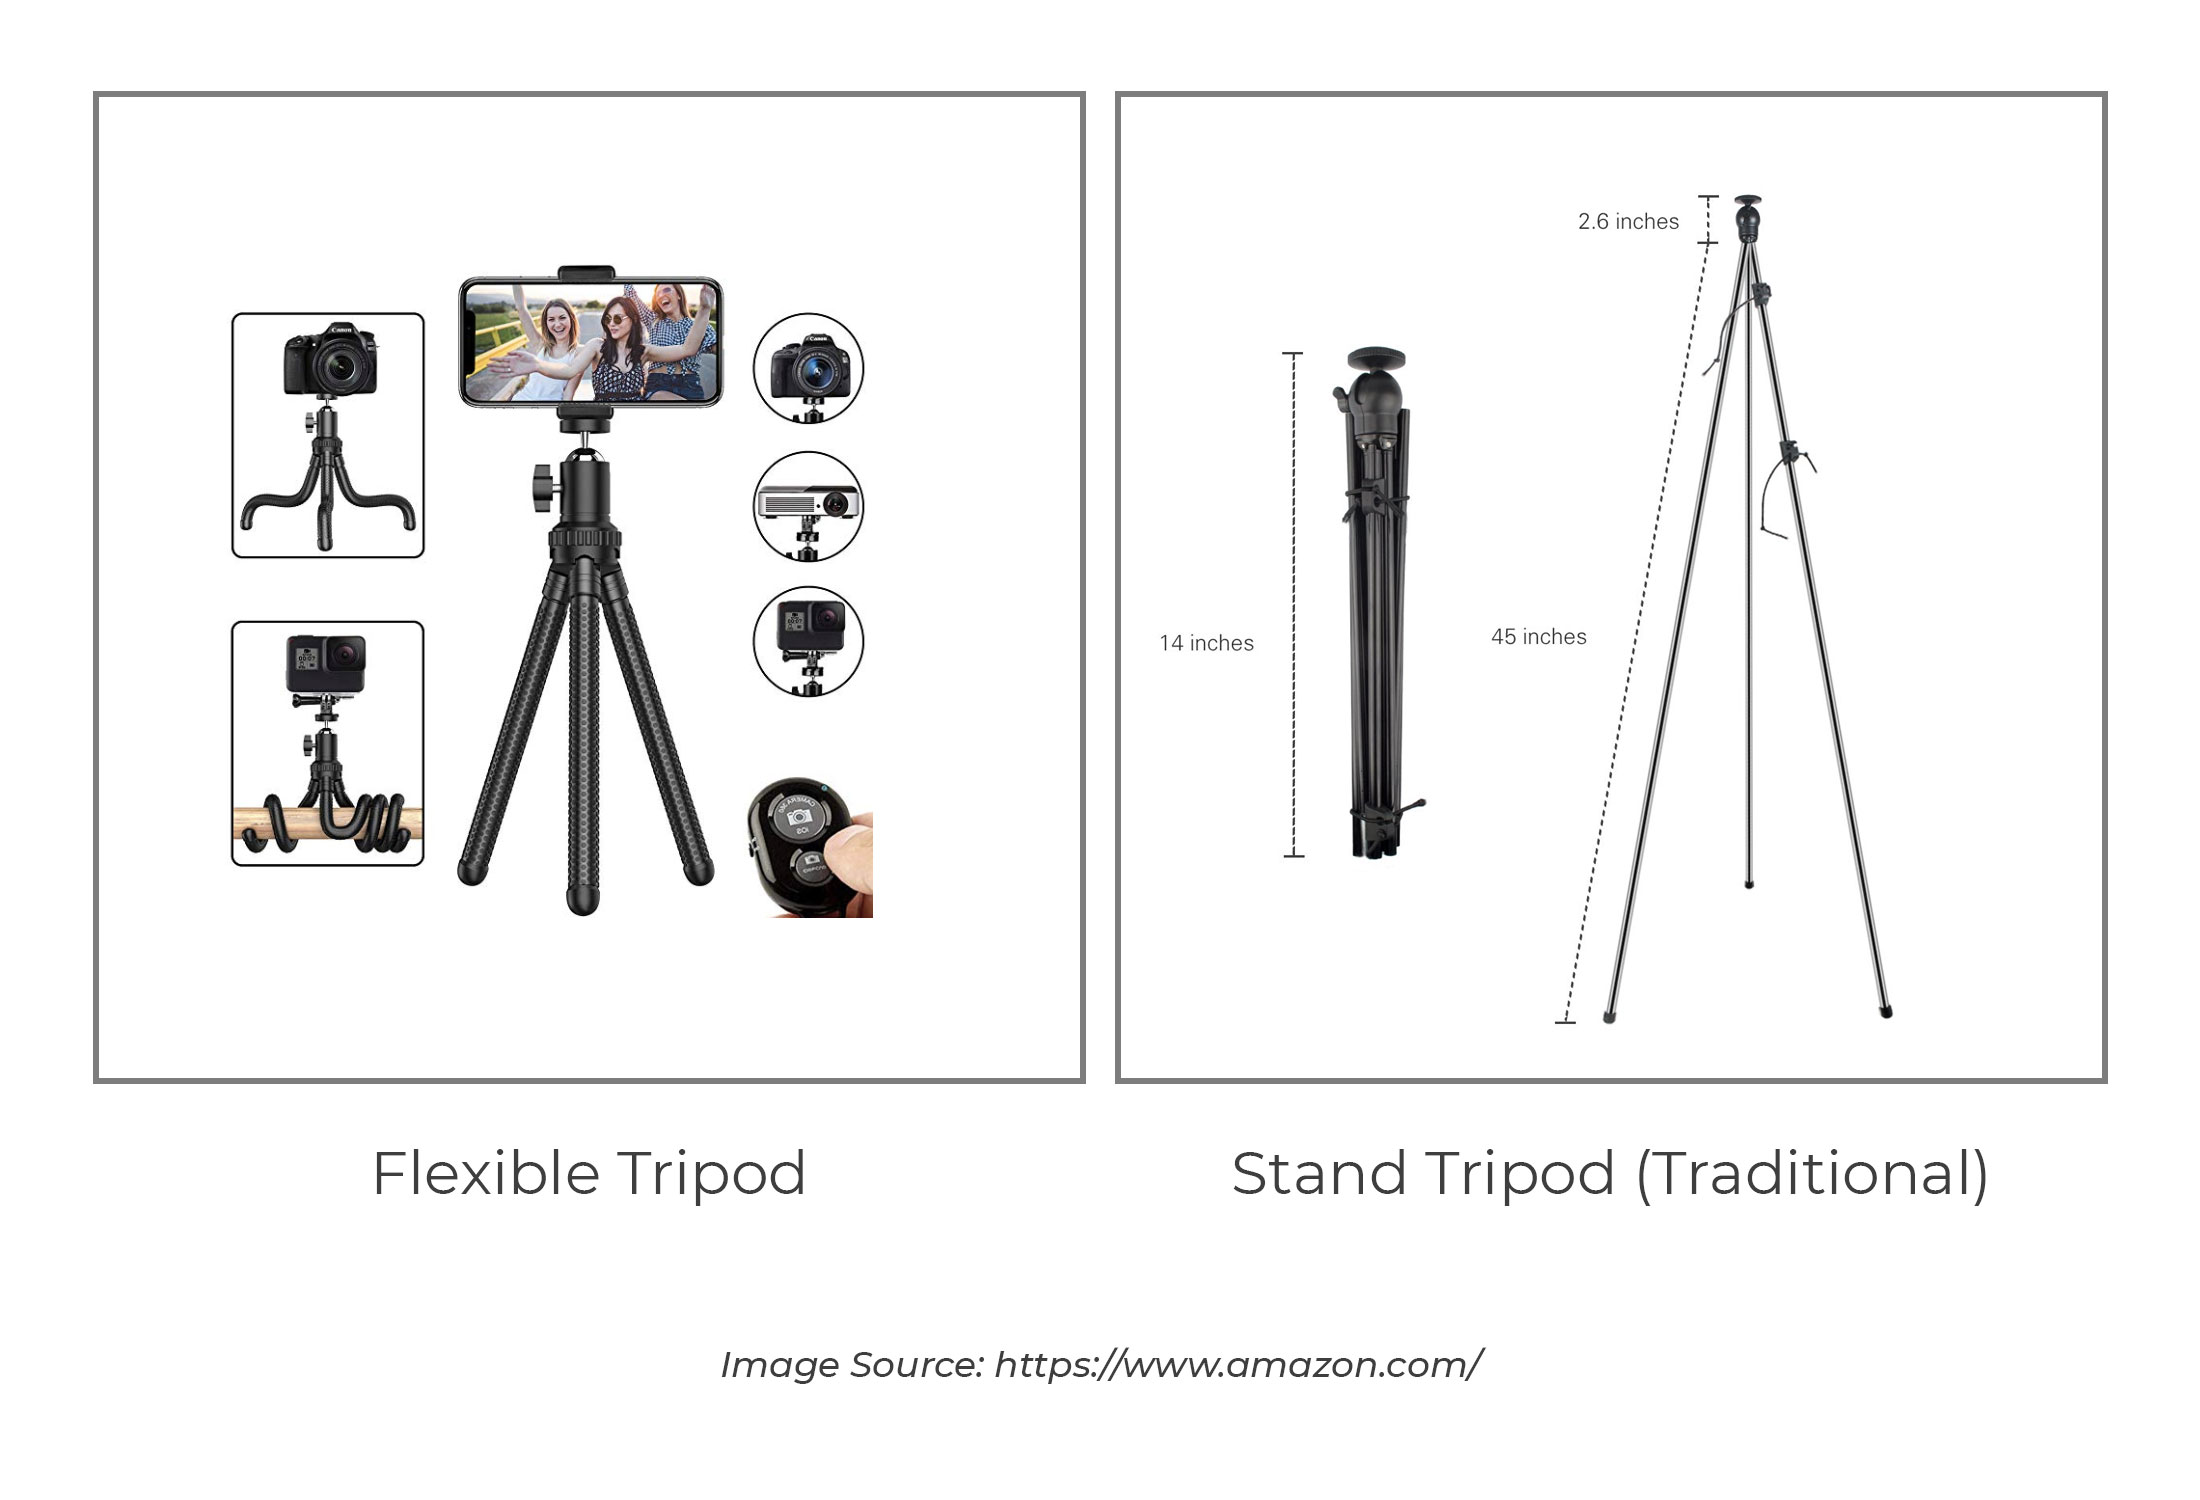
When shooting with a mobile device, you also need to have a mobile grip attachment with a tripod. It also comes in different sizes and will serve as an adapter for the phone since most tripods comes with a mount that is specific for camera use.
3. Use Either Natural or Artificial Light
Lighting is important in product photography. It can either improve or destroy a photo so it is essential that you are able to identify the kind of lighting that will work best with your products.
If you like to use a natural light source, it is simply referring to sunlight. This is applicable if you are shooting outside or if you want to have a model in the picture. Natural light is best with models because they look better and more authentic.
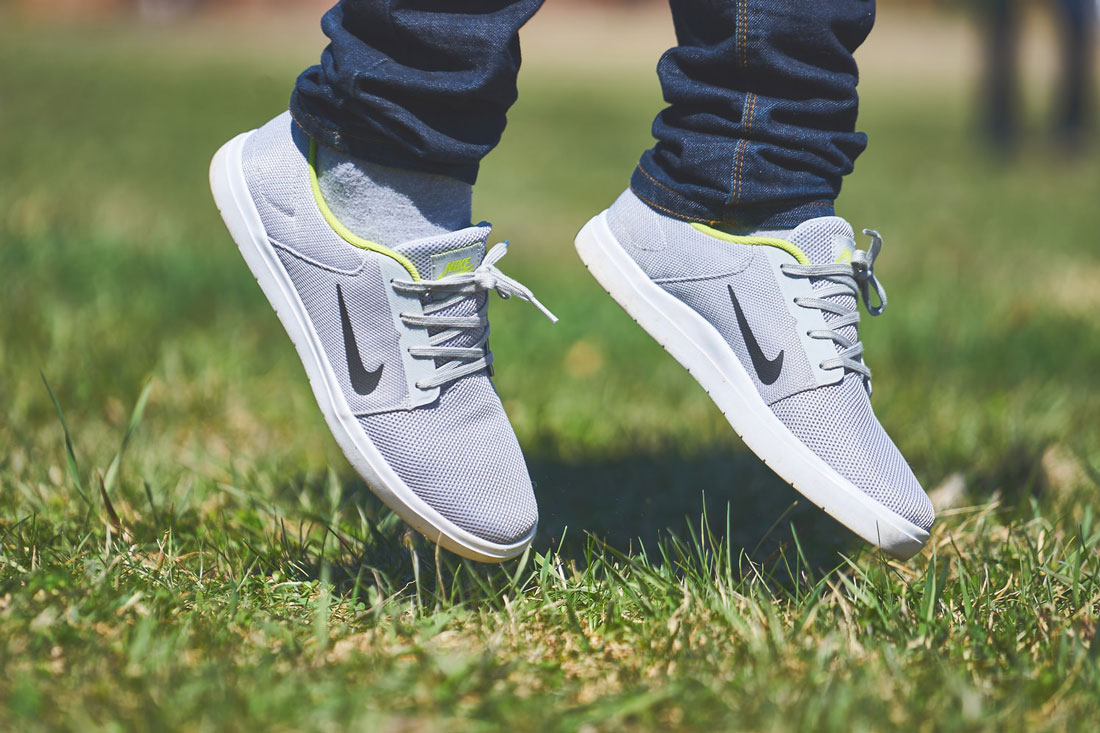
Natural light source
Artificial light, such as bulbs, candles, soft box, etc., are also called as “hard light” because the light surface is focused on a smaller and very specific area.

Artificial light
To help you decide which kind of light to use, you can stick with the basic rule in which you will use artificial light for products that are meant to look sharp, like gadgets and accessories. For those products that need to look soft, such as shoes, clothing and bags, a natural light will do.
4. Soften Shadows Using Light Techniques
Aside from the light source, you also need to adjust the light in order to avoid casting hard shadows or having too bright photos. This is very important if you are using flash photography during a shoot. There are three ways to soften shadow.
First is by filling the subject and its immediate surroundings with light. A less-intense light source may be added as a fill light so that the natural shadow behind the subject is counterbalanced.
The second way is by using a flashbulb bounce card. It can be attached to cover the flashbulb so that a diffused light is produced when using the flash.
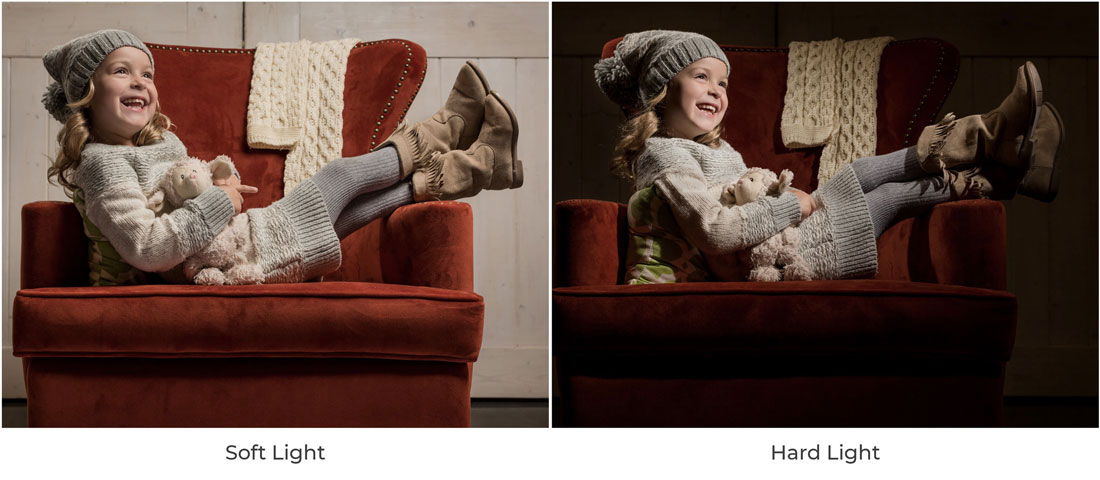
Image via profoto.com
The last method is by using a standalone bounce card. This is useful if you are using a camera phone. Position the bounce card on the opposite side of the light source. If you are using a camera flash, the hard light will be softened by the standalone bounce card.
5. Emphasize the Product Using a Sweep or Portrait Mode
Positioning the product dramatically affects the final photo but you must also take note that it also depends on the background on how you will position the subject.
For a white background, it is not enough to have a white wall and set the product in front of it. The perfect white background can be achieved using the sweep technique. What you need is actually just a sheet of large bendable paper. The bottom surface is beneath the product and the invisible curved background emphasizes the product details.
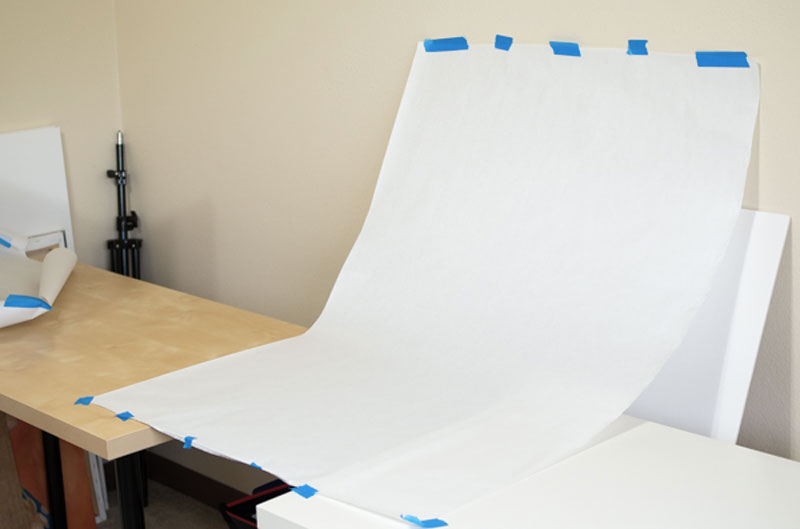
Image via photography.tutsplus.com
If you are having a real-world background, it will add more appeal to shoot the product in portrait mode. Instead of having product image editing services to do clipping path or removing some parts of the background, a great way to emphasize the product and not get too distracted by the background is using the portrait mode of the camera. Whether you are using a camera phone or a camera, the background looks a little blurred in portrait mode. Even if the objects in the background are somewhat related, or placed as props, the product remains as the focal point.
6. Have a Variety of Photos
Do not be content with having only one very good shot of a product. Just like when customers want to inspect a product up close, you should be able to give a variety of pictures for them to see all the important details of the product. You may take photos of the products only and then take some more showing how it is worn for clothing or demonstrate how it is used for objects.

Image via apple.com
For example, if you are selling smartphones, do not just give photos of all the phones. You can try to show how the phone looks when placed on a desk. You can also have a model demonstrate how it should be held by hand. You can even show sample photos that were taken using the actual phone model that you are selling. This is what is meant by variety, instead of just having the same product in different colors. Show different poses and angles for the additional photos. Think about trying to simulate the feeling of scrutinizing every inch of a product before handing out payment.
7. Take Inspiration from Established Brands
It is okay to look for inspiration from successful marketing campaigns. You will be able to see how different brands present their products in photos. You can use similar techniques on your shots. You may also look at it as a sort of research. Be a critic and see whether what they did works for you as a consumer. If not, how would you change it to make it effective? Use the concepts you have thought of for your brand.
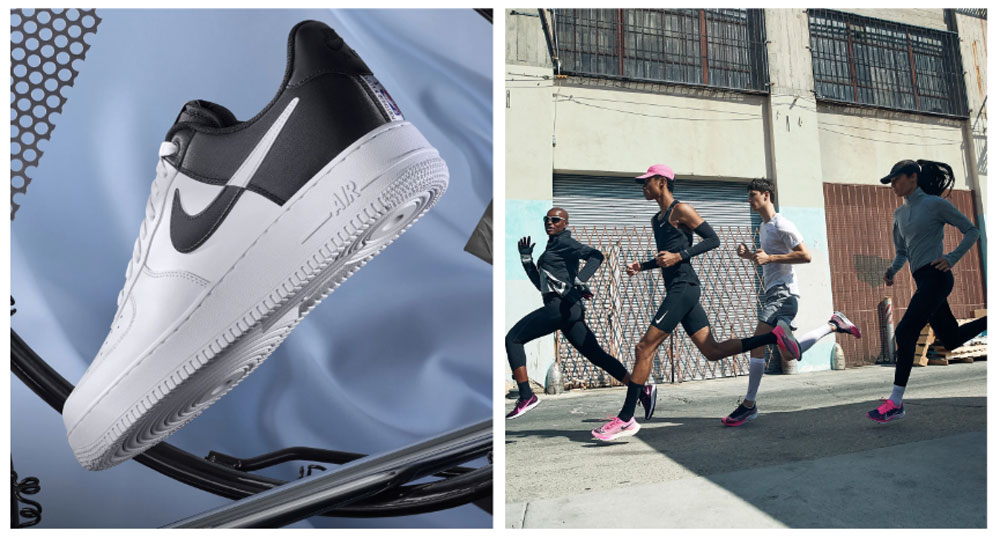
Image via nike.com
8. Use Simple Props
When shooting products, your goal is for the customers to focus on each item. It is essential to remove as many distractions as you can so all that is left is the product. It is, however, still acceptable to use props as long as you keep it to a minimum.

When choosing simple props, you have to ensure that they do not clash against the product’s color scheme. They must also look relevant and appear natural in the picture. A product should look good as is but must be interesting when added with a related prop.
9. Follow The Website Specifications
In some e-commerce sites, there are specific guidelines to follow when submitting product photos. These guidelines should be followed during photography and when post-processing photos.
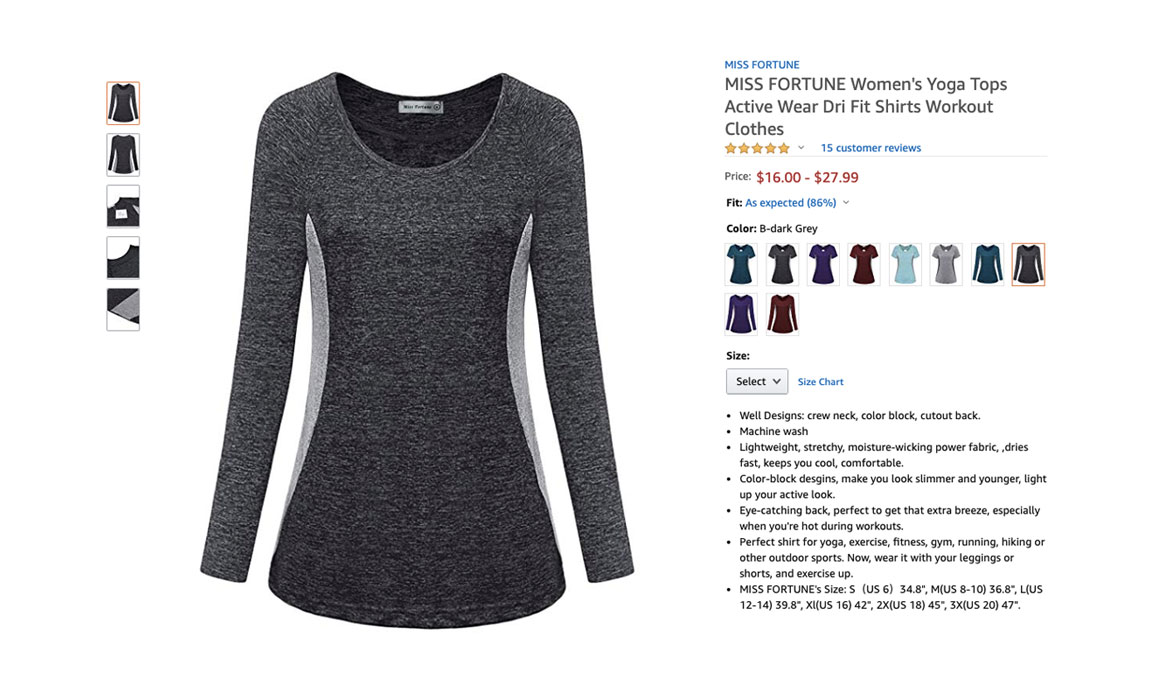
Image via amazon.com
For example, with Amazon, the photos must look professional, backgrounds must be plain white for products that does not have variations.
Demonstrative graphics and backgrounds, however, are allowed for all other products. Even the way that file names are used must follow a certain template. The guidelines vary from site to site so you must exert an effort to know the details before starting with the photoshoot.
10. Take Basic Photography and Editing Class
When taking product photos, editing is very minimal in order to maintain authenticity of the products. In spite of this seemingly simple goal, it is actually very difficult to achieve, especially if you also want to make the photos look professional. The lights and other effects must be considered thoroughly in order to avoid making the product look fake. During post-processing, the photos must not be overly enhanced.
You also need to be familiar with the different editing tools used in Photoshop. To be honest, it is pretty overwhelming if you do not have any idea how to do it. Taking a class that will teach about basic photography and editing will keep you less overwhelmed and will even understand how the pros do it.
If you do not have a budget for a real photography class, watching YouTube tutorials will suffice. There are even videos on how photos are edited step-by-step. Learning all about the basics will also make you more confident to do this project.
The Bottom Line
When embarking on product photography, do not feel obligated to have the best equipment or learn about it all in one go. This project should be an experience that you should be fond of because you are bound to learn about different ways of shooting products.
These photography tips must be a source of encouragement to gradually see your progress in taking product photos. Once you get the hang of it, you will notice how your photography and editing skills will improve and will be at par with the pros.
It is highly recommended to start learning about the basics of photography because everything you need to know is already there. In fact, even if you have these tips, they are useless if you do not know what a soft box is and how works. You will get confused about the different methods of softening shadows if you are not aware about fill or bounce flash.
With any kind of photography, it is a must that you always practice your shooting skills. You will not be able to hone your skills if you are not consistent in practicing it. Consider it an opportunity for you to learn if you decide to have a DIY product photoshoot. You are not paying anyone so take comfort in taking as many shots as you can until you perfect your style.

