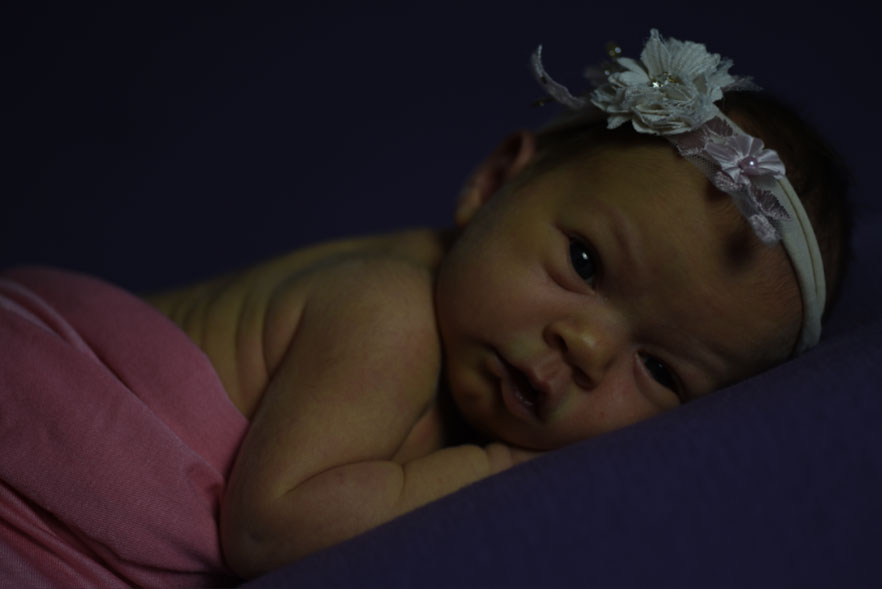
It is such a significant and joyous moment welcoming the birth of a baby into this world. And it’s always a good idea to capture the baby’s first precious moments in the first few days of his life. To keep the newborn photos as a memoir and a sign of celebration to share with friends and family.
As you know, newborn photography is a trend these days that any of us wouldn’t want to pass up. Because there’s nothing more memorable than having photographs of your babies preserved through time, isn’t it?
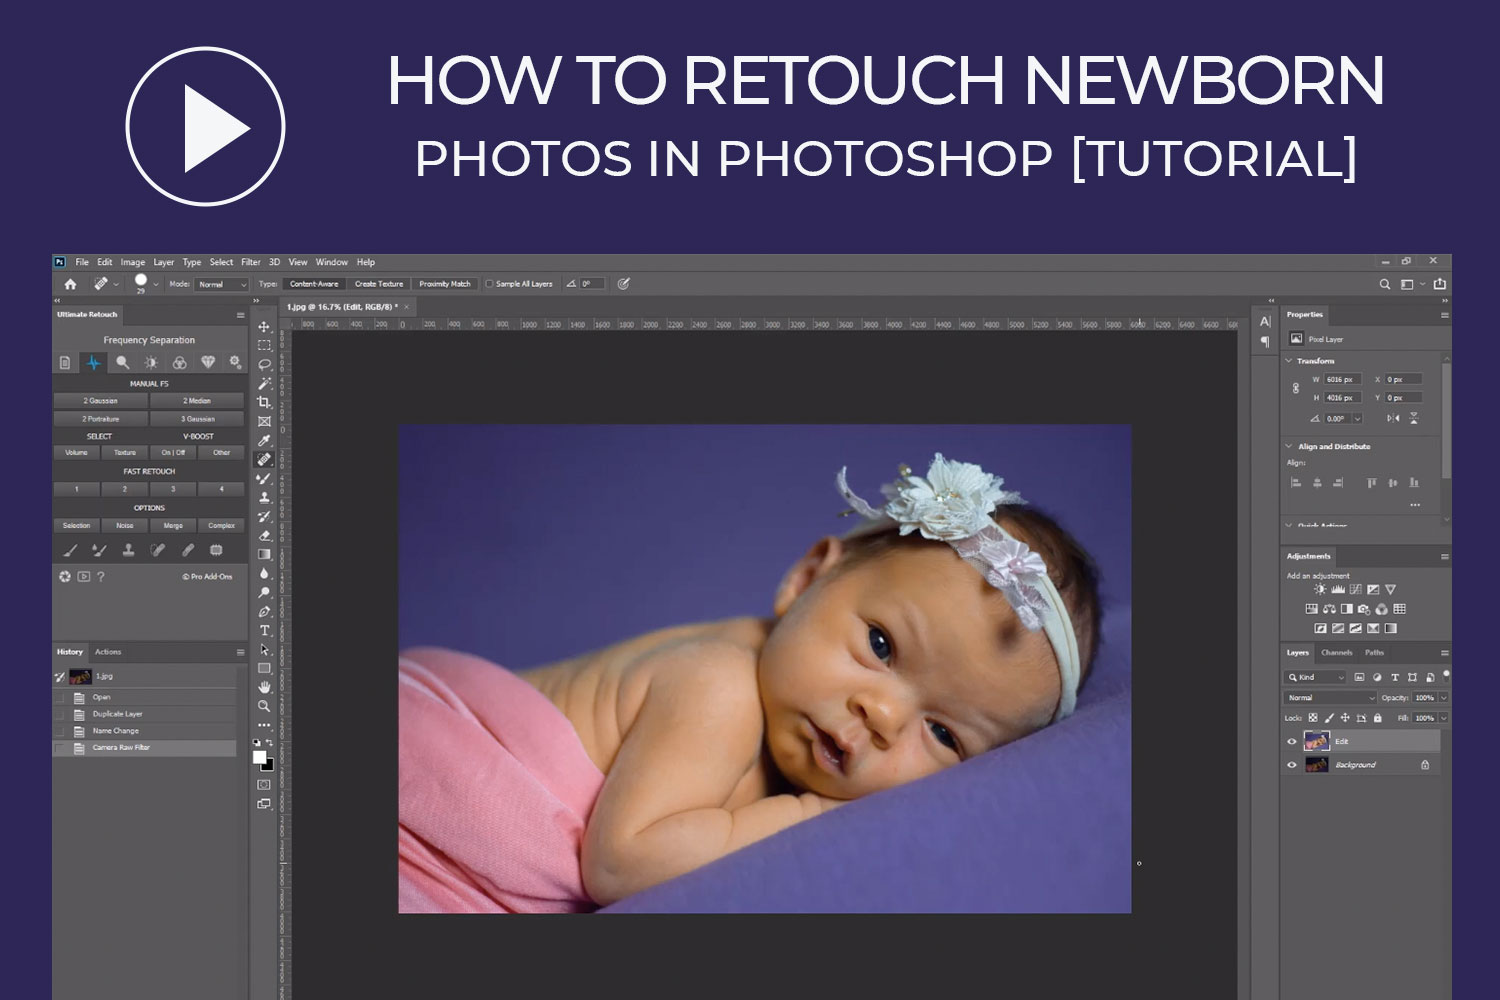
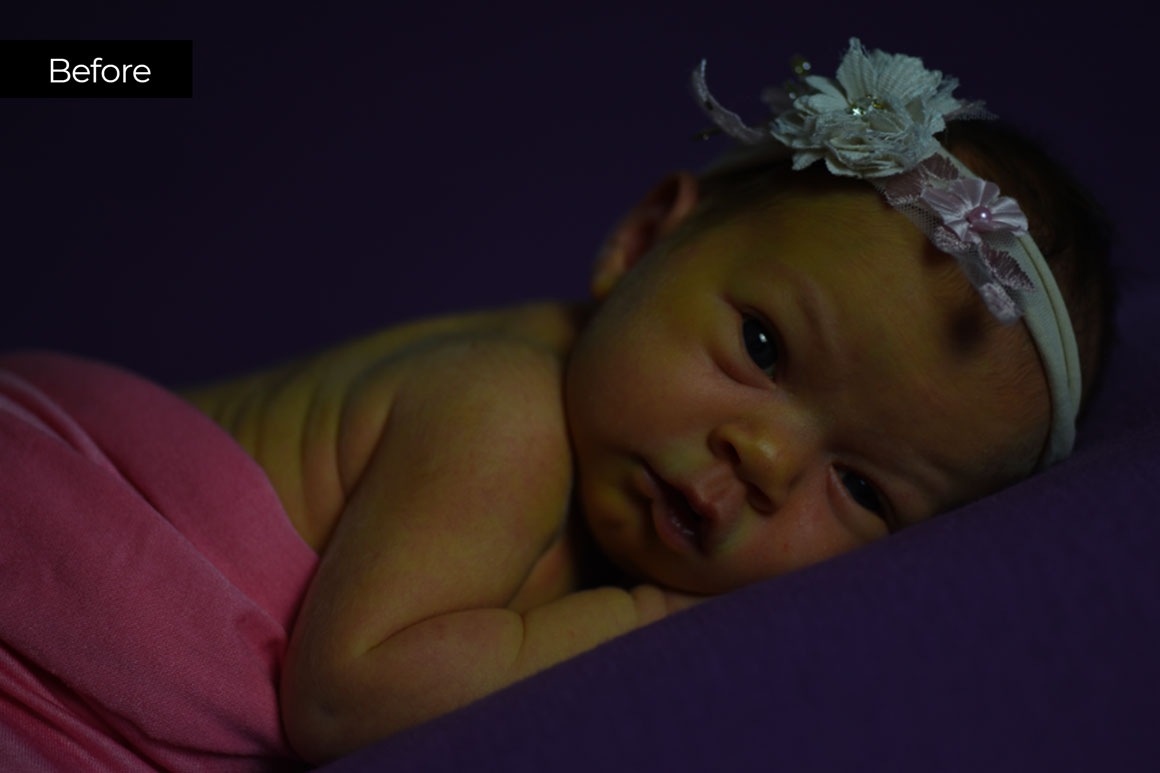
There are a lot of options and methods to choose from when it comes to retouching newborn photos. But in this tutorial, we will show you the steps on how to apply newborn photo retouching simply and effectively in Photoshop.
As you know, newborn babies are delicate and their tiny features are different from a full grown person, thus having different retouching requirements. As you go along the process, you’ll realize the techniques that’s best to do, from adjusting uneven redness and blotchy areas on the baby’s skin, to cleaning up dry and flaky skin. The techniques presented below could be helpful in different situations so try keep this in the back of your head. This is a very straightforward approach that’s best to apply to achieve perfectly natural-looking newborn photos as a result.
Steps on How To Properly Retouch Newborn Babies
Follow these steps carefully in order to achieve the best results in editing newborn photos.
Step 1: Duplicate the background layer and rename “Edit”.
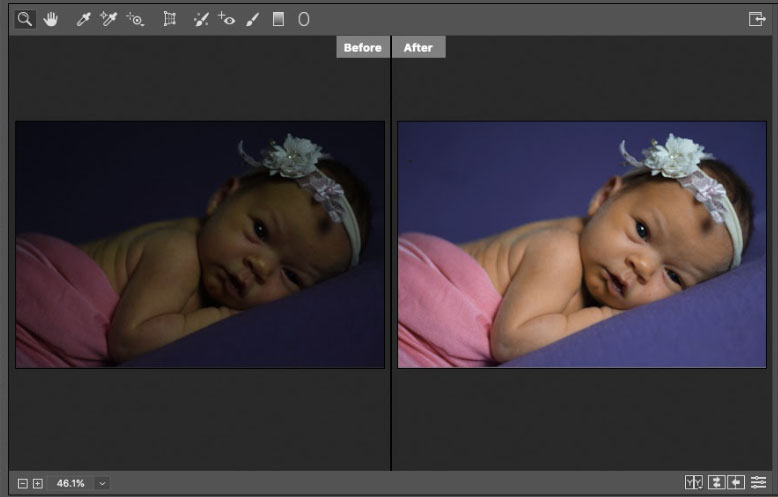
Step 2: Go to menu “Filter -> Camera Raw Filter …”, select this icon ![]() to be able to see comparison of the changes made in the new settings of the current image vs the original image.
to be able to see comparison of the changes made in the new settings of the current image vs the original image.
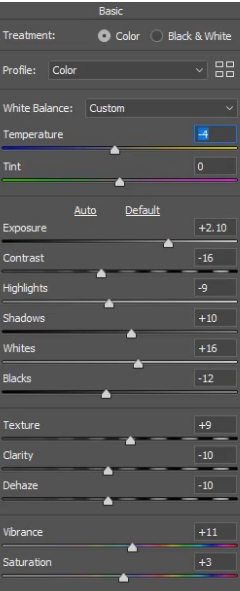
Step 3: Adjust the parameters in the “Basic” panel.
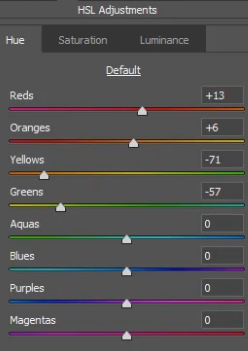
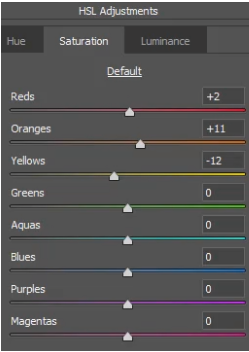
In the “Hue” – Adjust the “HSL Adjustments” tab as follows
Next make adjustments on to the “Saturation” tab.
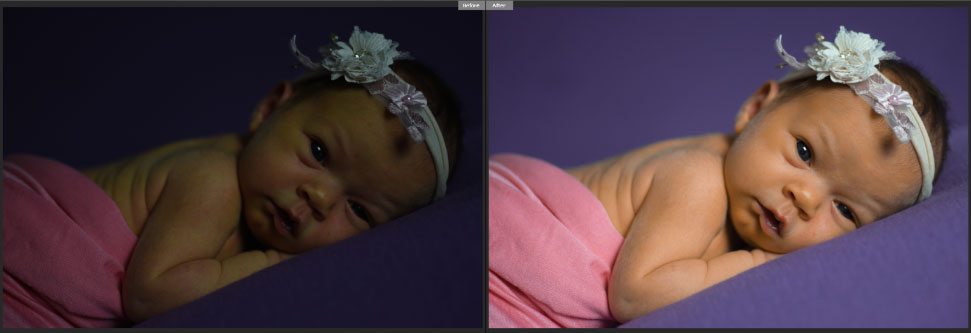
After adjusting, click Ok to save the current settings. Then, we will get the following result:
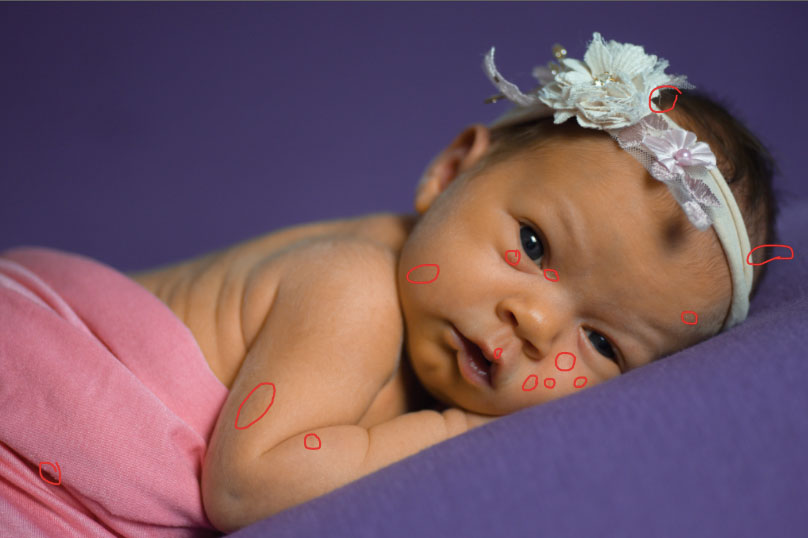
Step 4: Use the “Spot Healing Brush” ![]() and “Patch Tool”
and “Patch Tool” ![]() to remove the imperfections.
to remove the imperfections.
Step 5: Apply “Frequency Separation” to separate images into 2 frequencies. Or run the action (if you have it). Check out How to Apply Frequency Separation on your images.
Step 6: Use “Mixer Brush Tool” to smooth out the areas on the “Volume_Retouch” layer (Watch video above to see details).
Step 7: Use “Clone Stamp Tool” ![]() and “Patch Tool”
and “Patch Tool” ![]() to remove the remaining defects in the “Texture_Retouch” layer
to remove the remaining defects in the “Texture_Retouch” layer
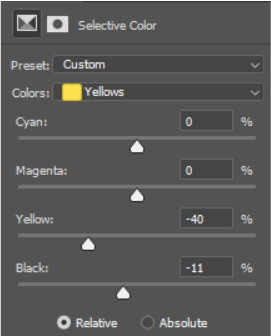
Step 8: Use “Selective Color” tool – select “Yellow “ colors and set the follows
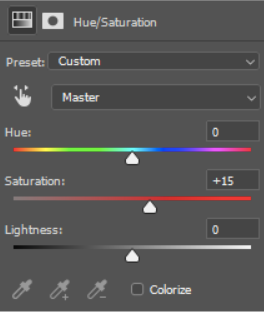
Step 9: Use “Hue/Saturation”
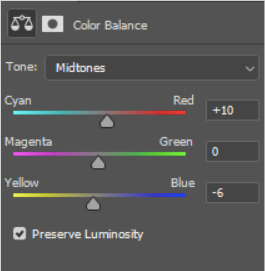
Step 10: Use “Color Balance”
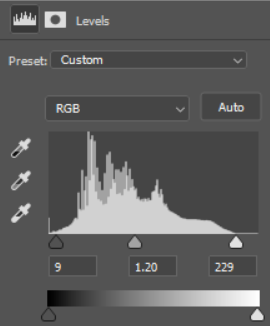
Step 11: Use “Levels”
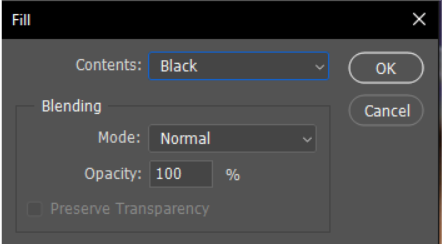
Step 12: Create a new layer
![]()
Then pressing “Shift + F5” to fill in the layer with black
Step 13: Select “Elliptical Marquee Tool”
![]()
and draw a shape just around the baby.
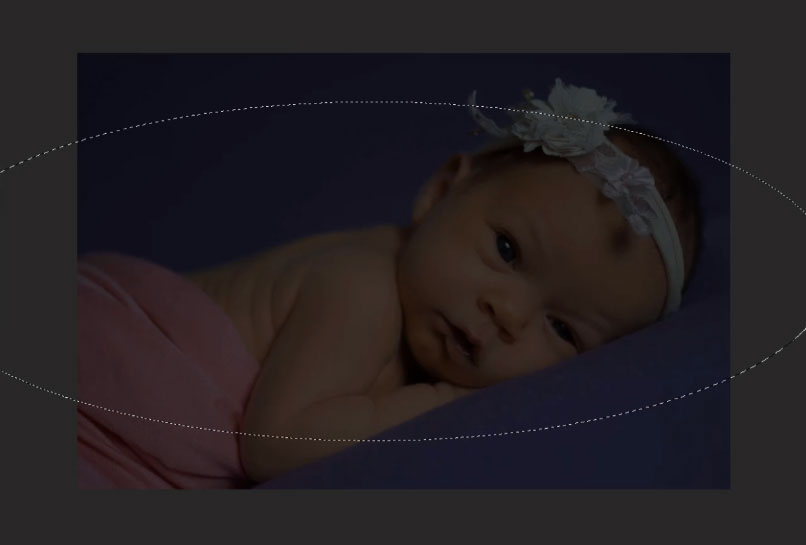
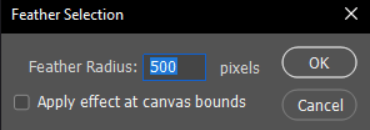
Press “Shift + F6” and set the Feather parameter to 500px
And reduce the opacity of this layer to 60% to create “Vignetting” effect.
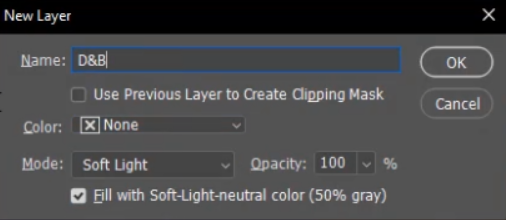
Step 14: Use the key combination “Ctrl + Shift + N”
Step 15: Use 2 tools
![]()
to brighten the eyes
Step 16: Create another “Selective Color” layer
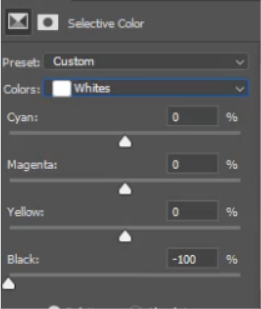
Then invert the mask to black and use “Brush Tool” to paint the ribbon on the head.
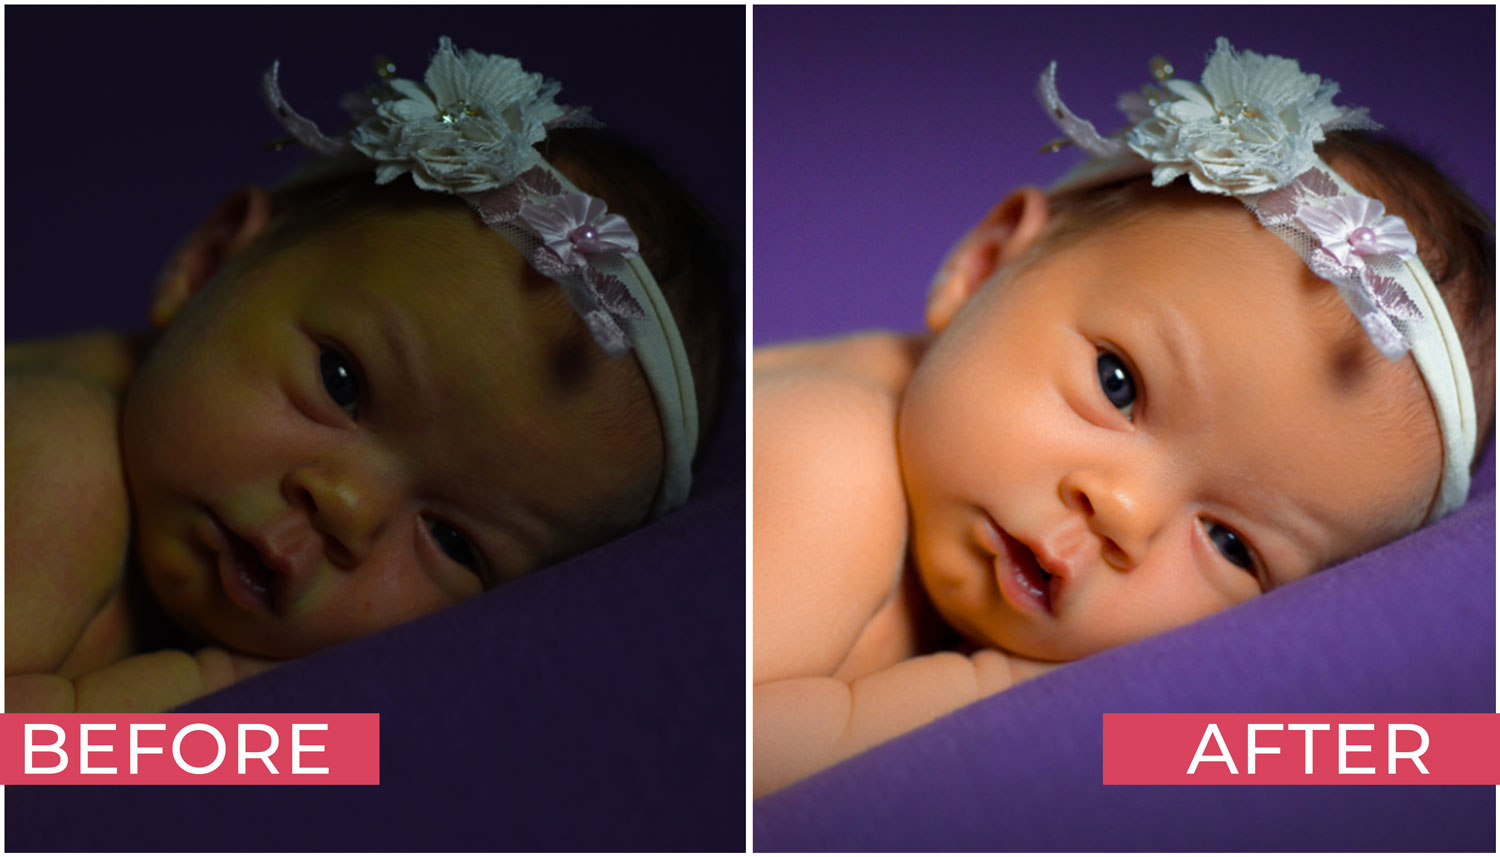
RESULT:
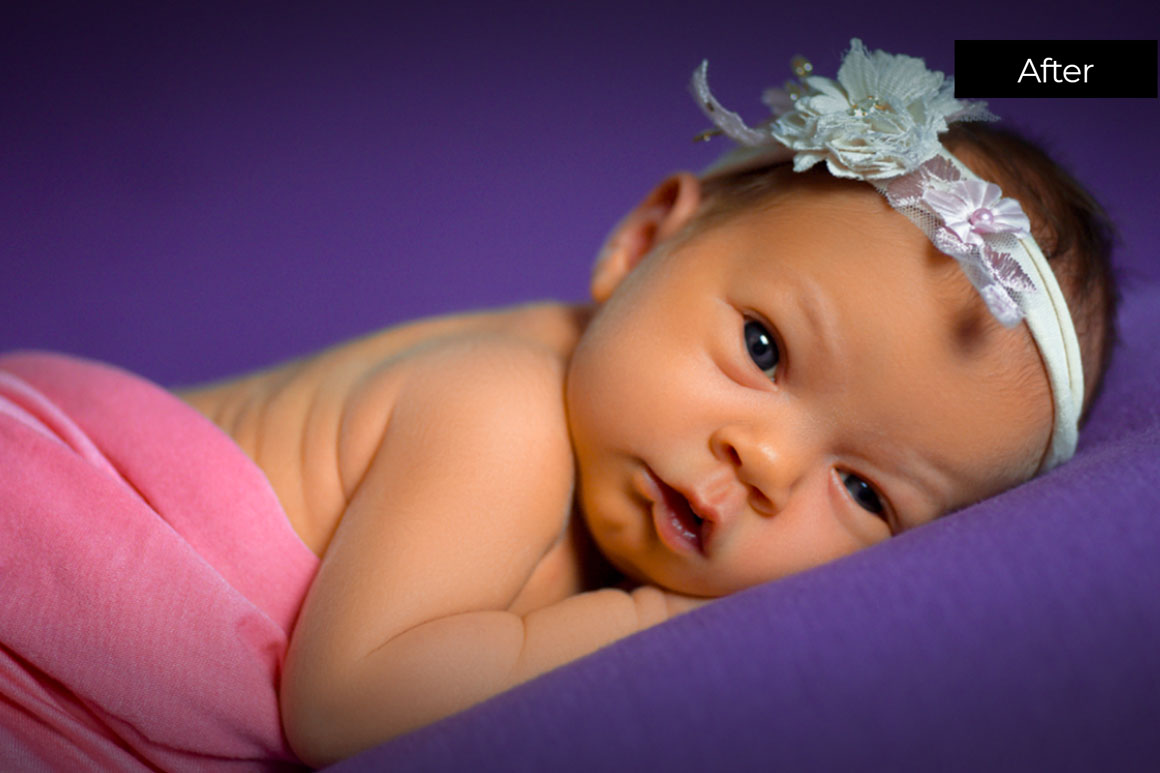
Conclusion:
The main challenge in newborn photography is that the perfect baby shots just don’t rely only on the skills of the newborn photographer. A professional newborn photo editor is just as good. With the cooperation of both, photographers can save time from doing the complex photo retouching services on their own. With the help of a photo editing company with regards to baby photo retouching, everything that a photographer needs is under control and all covered. It is therefore proper to make use of photo editing services to help achieve beautiful newborn photos.
Why Choose Ephotovn for Newborn Retouching?
Ephotovn has mastered the art of newborn photo retouching and understands the requirements they need. Newborn babies are delicate and Ephotovn applies gentle touches to make your newborn photos naturally looking and beautiful as possible.
Ready to work with our awesome team? Contact Us Today!