This post is a continuation of our previous post Image Post-Processing Techniques: A Guide for Beginners in Photography (Part 1).
7. The Healing Brush And Clone Stamps
One big advantage of using post-processing is getting rid of any objects you do not like in the photo. Although it would have been easier to get such objects out of the way before shooting, you cannot really shift a telephone pole from where it is or cause zits to disappear from the subject in your portrait.
Clone brush gets an image portion and reproduces a replica of it. A control click or option lets you choose a target area for replication and selecting the brush size lets you enhance the applied effect. Clicking as well as painting the area produces an exact replica of the target area. Also, you can equally open 2 different images as well as have the reference pre-set in one, while applying the clone to an image that is entirely different.
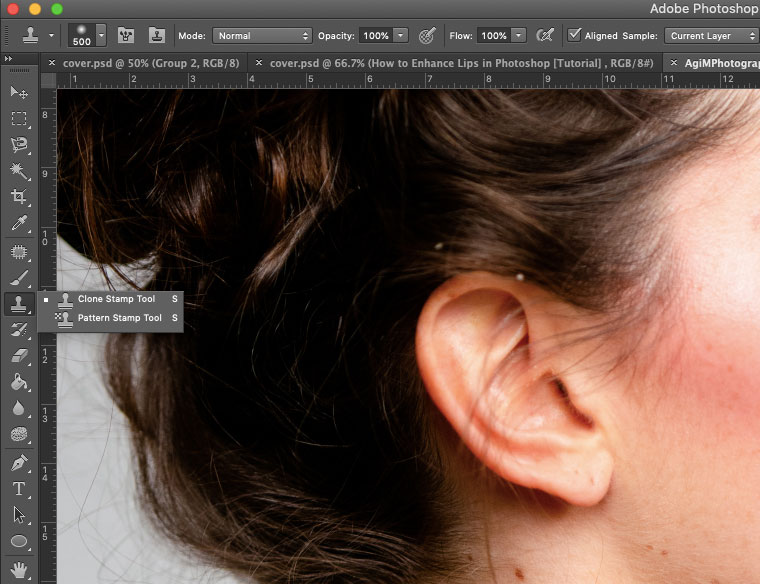
Healing brush turns out to be a better clone stamp. It’s a software that acknowledges other patterns and colours within the area as well as remove objects according to such data. This healing brush does create easier adjustments, though offers less control compared to the clone stamp.
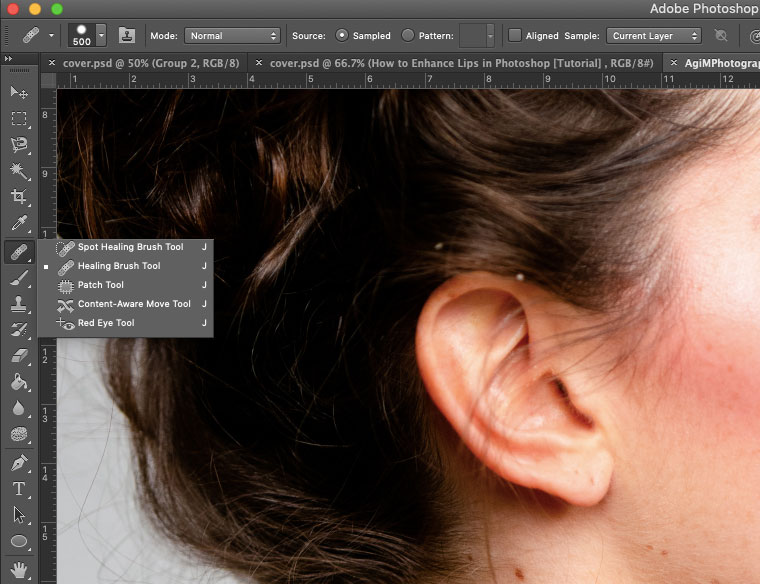
Healing brush exists in two types – the normal healing brush where reference point can be set, and spot healing brush that lacks a reference point where the computer normally adjusts due to surrounding pixels. Healing brush happens to be the best for getting rid of small objects that are encircled by the same pixels, such as getting rid of zits, while clone tool happens to be good for more advanced work.
8. Adjustment Layers And Adjustment Brushes
Thus far, we have talked about post-processing methods in photography that can be applied to an entire image, tonal range, a colour, or painted on with brush tools. Brushes and adjustment layers use all the adjustments which are applicable on the whole image and applying similar effect to specific image portions.
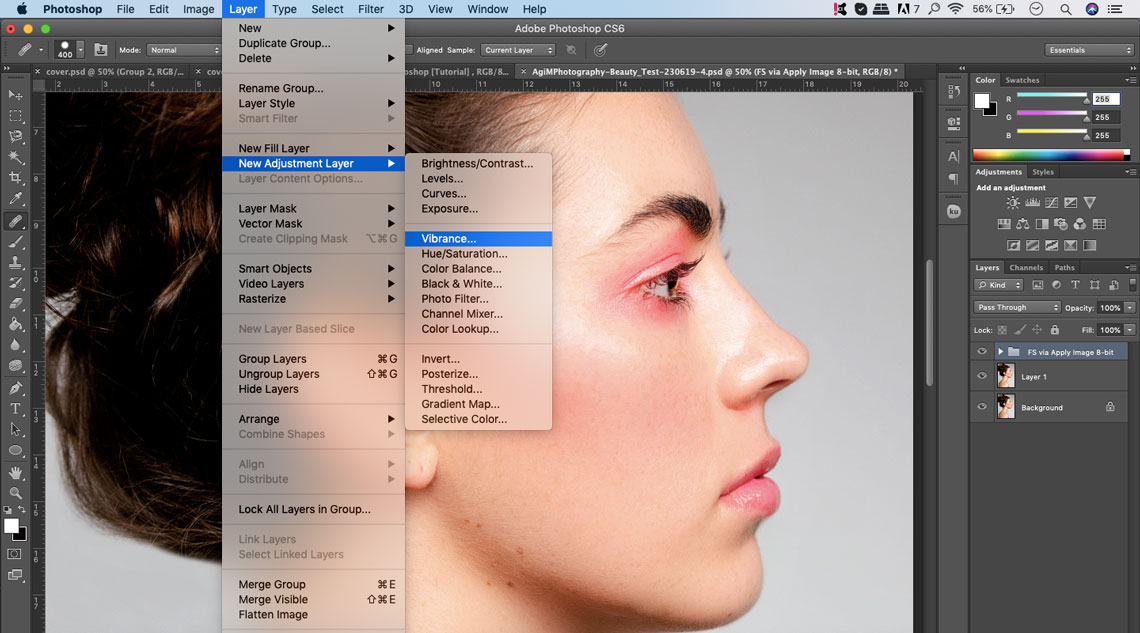
Adjustments layers within Photoshop adds effect to a particular layer, but the image itself. You can add them by navigating to Layer > New Adjustment Layer and choosing any of the several options from vibrance to exposure. Every layer has additional options – the hue saturation layer lets you select a specific colour channel, for instance, so creating a red hue layer would be and adjusting reds alone would be possible. That implies you can set up a hue as well as saturation layer and have it adjusted, run through other edit and return to enhance that hue adjustment without you pressing the undo button and then, losing everything.
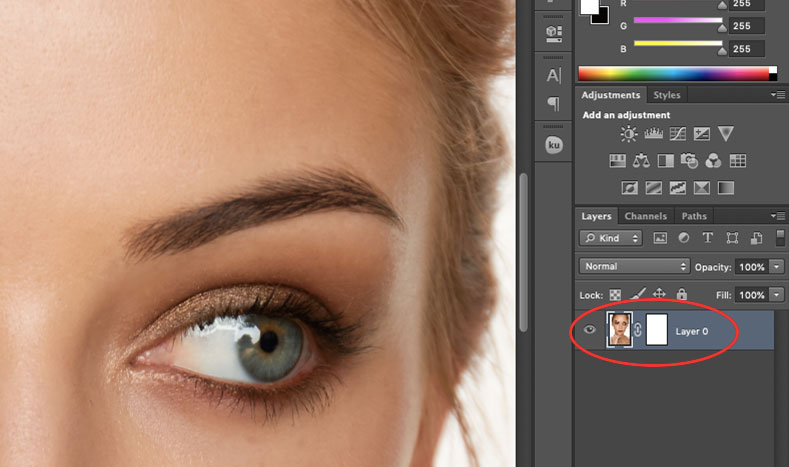
Layer masks makes it possible for such effects to be implemented on certain portions of that photo. At the layer panel’s bottom, clicking on the white square using a black circle includes one layer mask – a white box will pop up within that very layer. If you select a paintbrush when that white layer mask box has been checked and click on black, the effects within that area will be applied only to the painted area. For instance, let’s say you created a red hue layer, but you intend to reduce the amount of redness in the face of the subject without touching the red lipstick – simply employ a layer mask; paint just their face but not their lips.
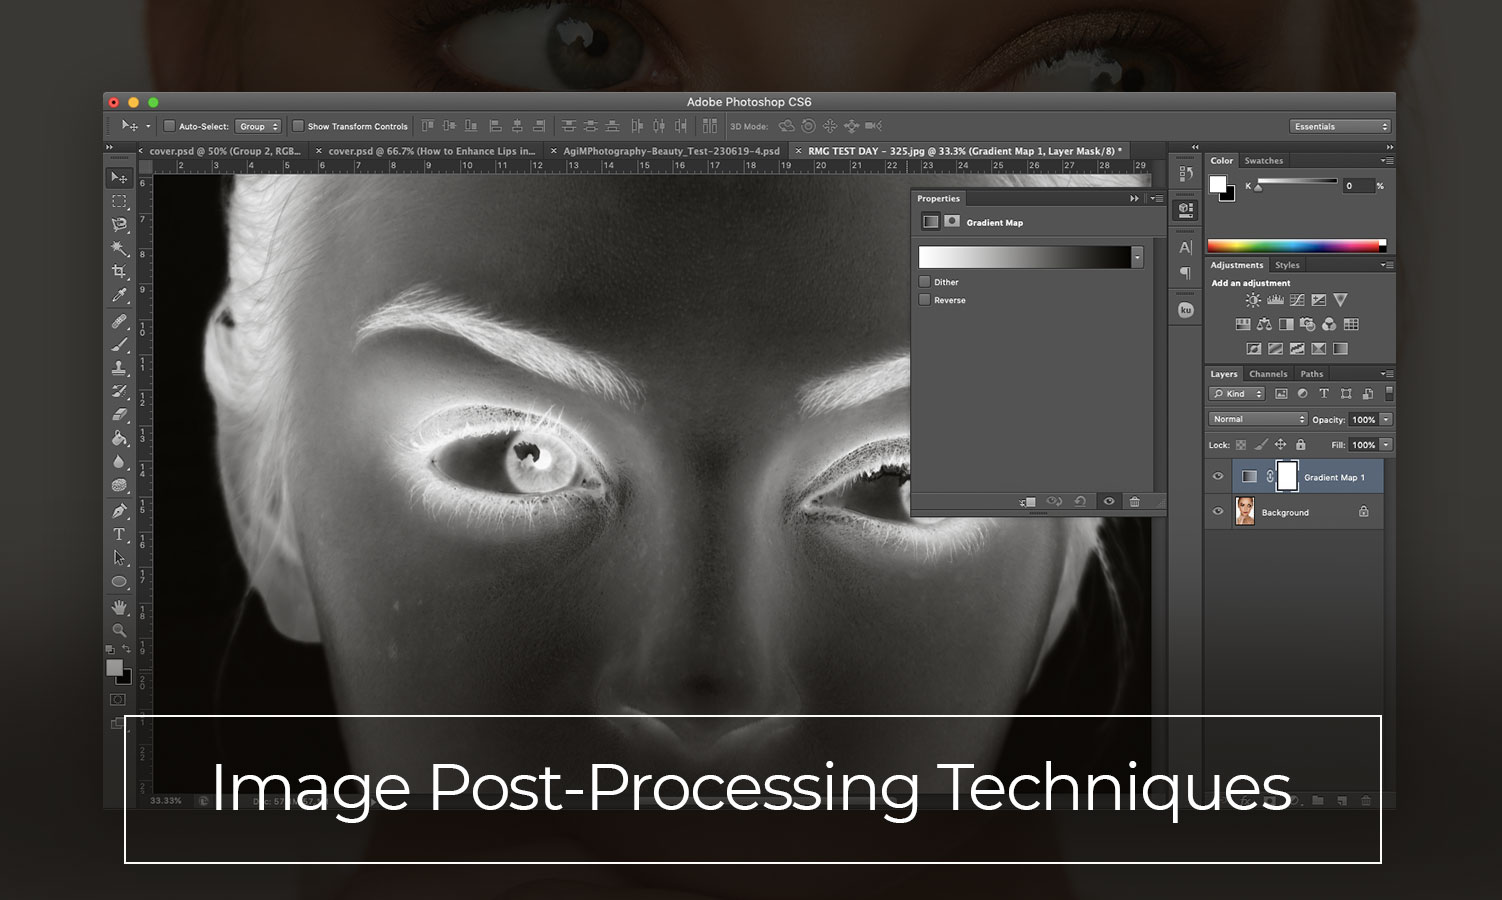
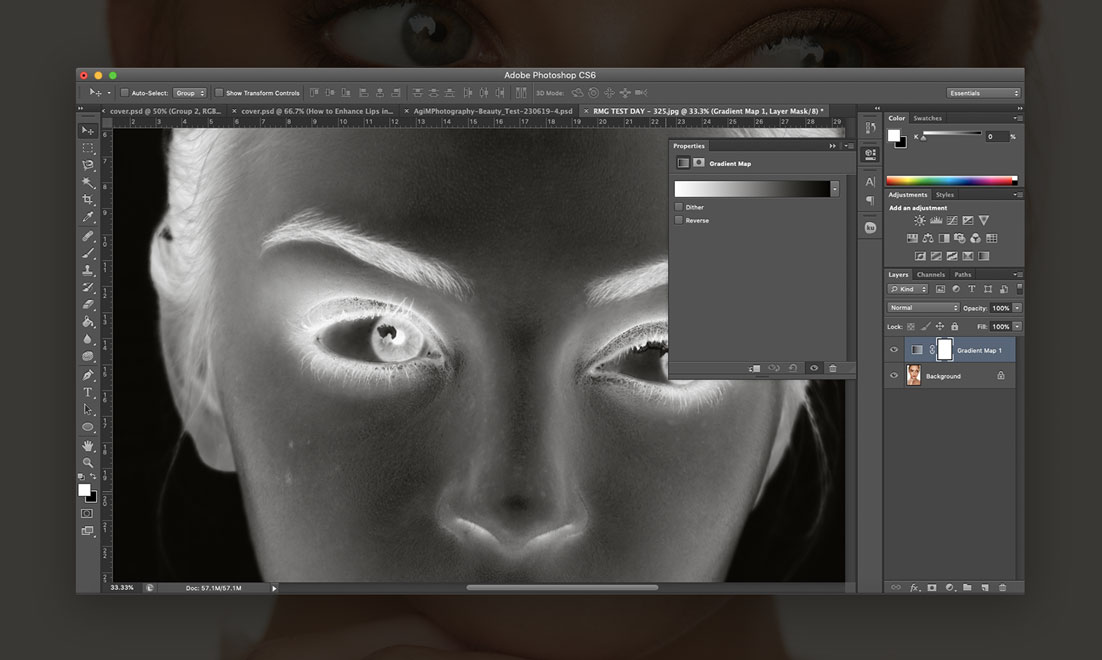
9. Gradients
There are times you desire an effect to be seen on large section of an image, fading away until the other part of the photo is untouched. That is made possible via gradients. Gradients can be handy in touching up overexposed sky or boring areas, and they can be used for achieving many other purposes.
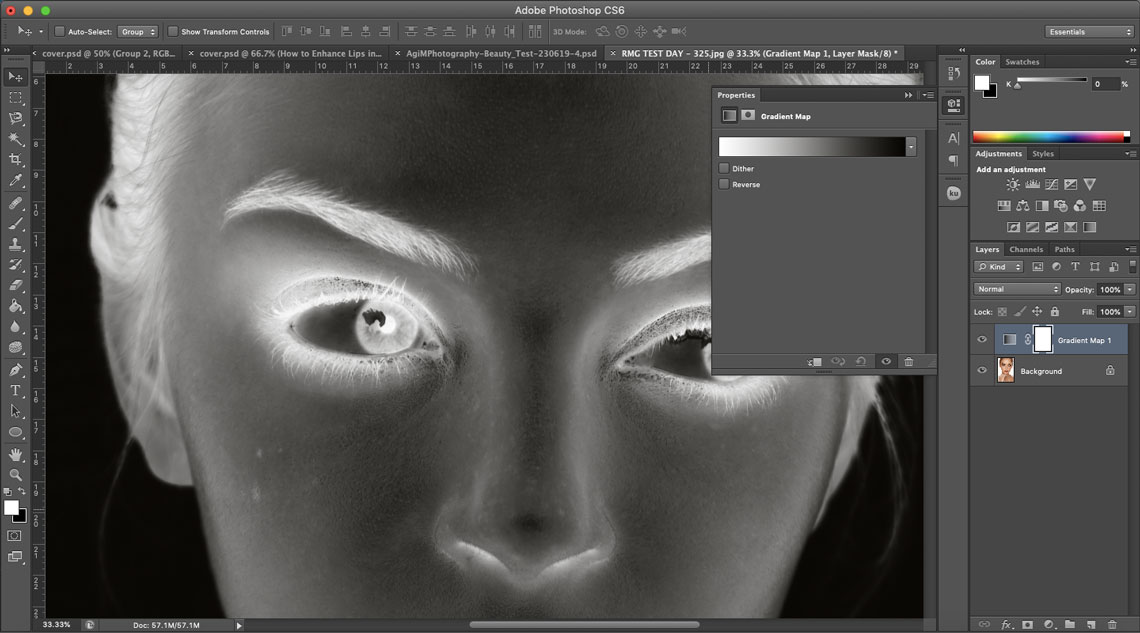
Implementing Photoshop, gradients are applicable to a layer mask rather than painting specific areas to bring about the same effect. By selecting the gradient tool, a dropdown on top lets you choose the type of gradient as well as colours. For using gradients with layer masks, employ a white and black gradient.
Related Post: Colour Grading Technique for Beauty Portraits Retouching – [VIDEO Tutorial]
10. Composites
Post-processing potentials really become visible when more than one photograph is involved. Composite photographing adds elements from several images to form one – it is a great post processing method for getting rid of distractions and creating charming digital art.
Implementing the selection or clone tool for removing or adding elements from any image is one common composting method, but some that have to do with the whole image, such as HDR as well as focus stacking.
Photoshop is a very helpful program that can be difficult to learn. Learning with tutorials can be good for learning the basics, but understanding a couple of photo retouching and post-processing methods affords you the tools to use for matching your photographs with your expectations all the time.