Stop misplacing the priorities regarding photos with professional quality.
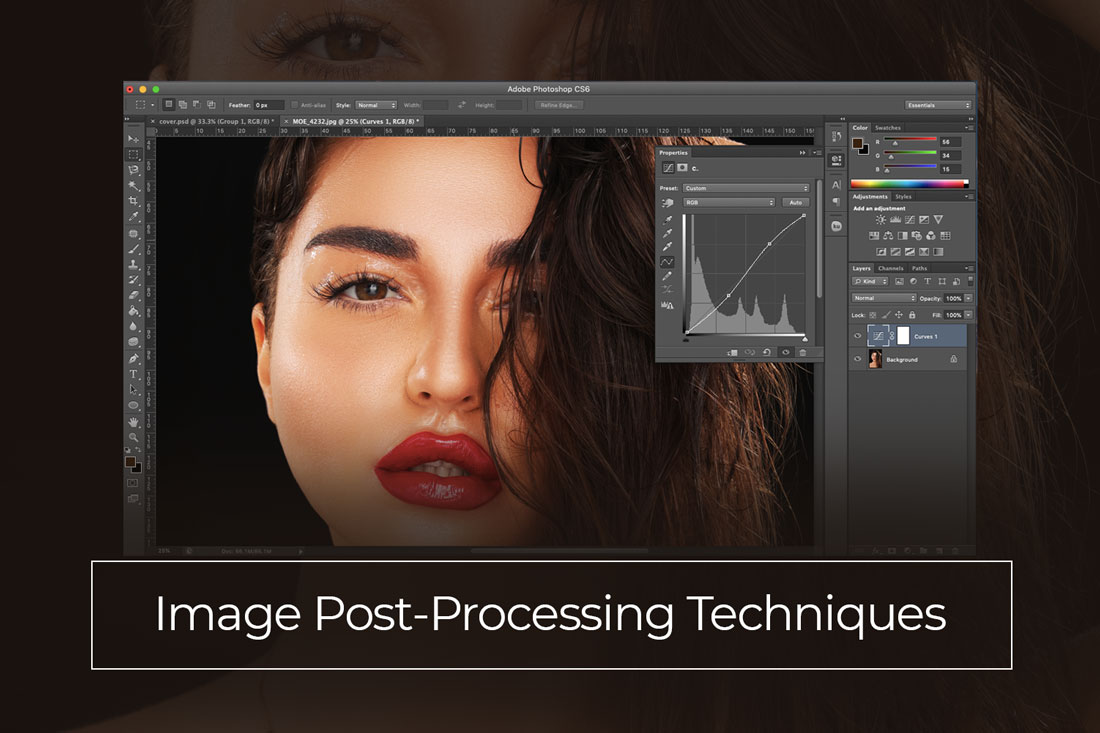
When it comes to photo retouching and image post-processing, use Adobe Photoshop to your advantage. From curves to exposure to adjustment layers, reduce the time you use for post-processing. Do not spend unnecessary time on what will not account for your optimal performance or a more productive workflow. It’s possible for you to improve your skills, while you let go of that fear of trying to learn everything.
The idea of post-processing a photograph can open up a vista of opportunities in image transformation, whether it has to do with making the image vivid based on what you recall or something which contradicts the law of gravity. Exploring Photoshop tutorials on certain photo edits can be a great idea, however, having a grasp of how photography post-processing works lets even beginners to learn the basics that are applicable to all images. These essential image post-processing techniques, from composting to exposure, affords photographers with the knowledge they need to use Photoshop in honing their craft.
1. Adjusting Exposure
Exposure is about how dark or light the image is. Although it’s always best when the exposure is closest in the camera, image post-processing techniques ensure that perfecting such exposures are possible, particularly when shooting in Raw. Recovering from serious exposure errors are impossible, though you can do meaningful adjustments.
Implementing Photoshop, selecting “Image” on the panel on top, then choose adjustments as well as exposure layer.
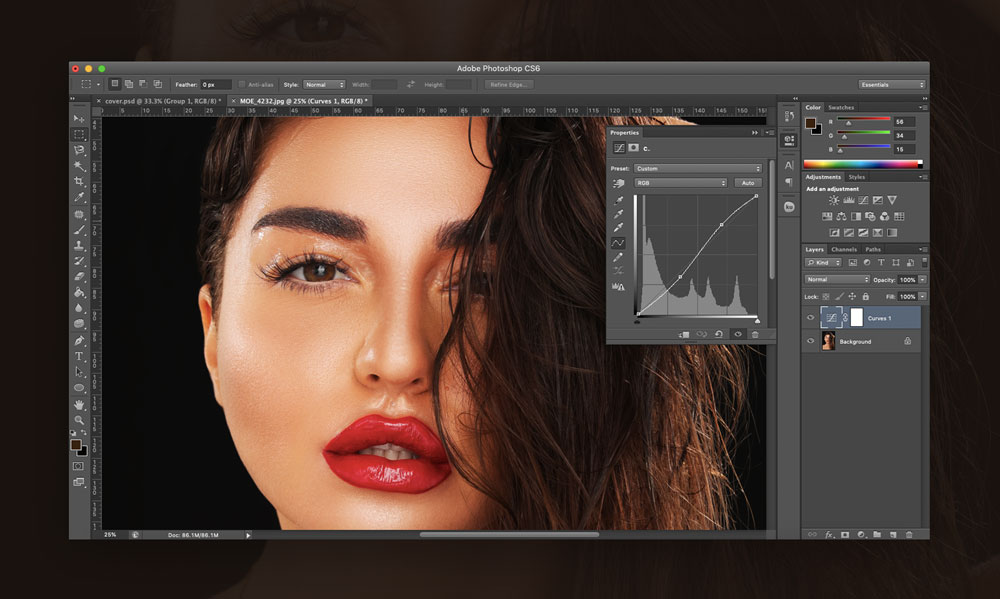
2. Applying Curves
Curves let photographers to improve their exposure by differentiating the level of light within the image. The exposure feature adjusts the whole image, curves adjust light, darks as well as middle tone pixels separately. Adjusting curves is for creating contrast (or tones down the contrast, if you desire a muted appearance). Making the lights lighter and darks darker aids the colour ranges in popping, since it increases what differentiates the tones.
Using Photoshop, you can see this option under Image > Adjustments > Curves.
3. Color Adjustments: Adjusting Saturation And Vibrance
Color always plays an important part in any photograph – as well as in many image post-processing techniques. The fundamental adjustments are saturation and vibrance, while manipulating individual colors allows for extra control.
Saturation is for adjusting a color’s trueness – having saturation adjusted will make red to look red, reducing it will output a muted pink – getting rid of saturation completely will lead to grey shades. Vibrance turns out to be a better method of saturation since it compromises muted colors than those colors which are well-saturated already.
Although adjusting vibrance and saturation can be handy and useful, understanding the concept of individual color adjustment will aid your course in carrying out special edits, according to a particular technique.
The easiest method for adjusting individual colors alone in Photoshop remains adjustment layers.
4. Sharpen Image Tools
Focus cannot be fixed with post-processing (except you possess a focus light field camera that is adjustable). However, there are some tools for increasing the sharpness of a photo. When shooting in RAW, unlike JPEG, zero sharpening is applied on the image, making it necessary to include your sharpening.
Executing image sharpening in Photoshop can be a little more difficult. The Filter > Sharpen menu comprises various options. The smart sharpen and unsharp mask are known features, both having amount as well as radius sliders.
5. Dodge And Burn
Dodge & burn happens to be a remnant technique for film processing, though still useful. Similar to the clone as well as heal tools, dodge & burn is like a brush, allowing you paint the part of the image you are interested in.
Dodge helps to make specific image areas to be lighter, but burn is for darkening. Both tools are available in Photoshop toolbar, with a menu on top that lets users adjust the exposure and range – or how dark or light the amount of effect – and brush size, given the edge of the brush whether it is faded or solid.
6. Frequency Separation
Various image post-processing techniques and methods are born out of using Layers inside Photoshop – with frequency separation is an option that is broadly used. Frequency separation succeeds an advanced process for differentiating the color, texture of the image into various layers – letting you adjust them separately. In effect, you can get rid of wrinkles without compromising skin tone.
By the time layers have been separated, it will be easy to employ brushes for eliminating or adding texture, or adjusting colors. Frequency separation turns out to be an advanced process, but when you understand how the colors and textures can be separated, it can turn out as a handy tool.