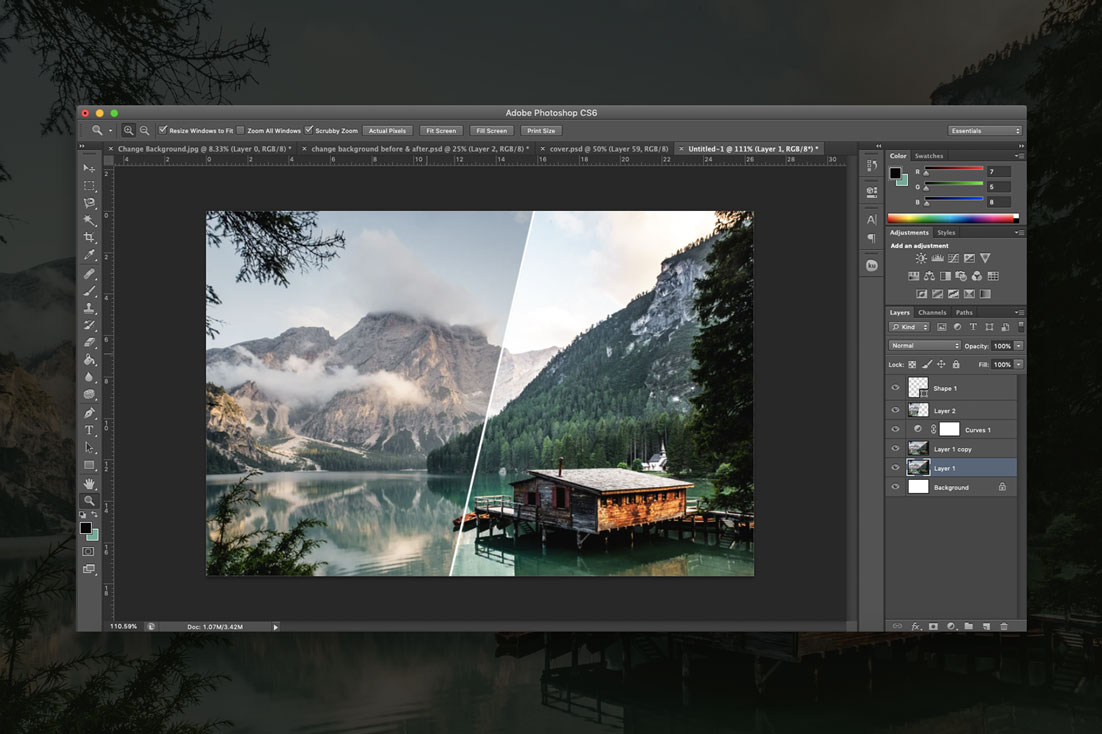
We talked about post-processing mistakes that are usually made by newbies, but those who are not using post-processing the right way are beyond beginners. Experienced photographers equally experience tough times with it, even though they tend to struggle a little differently.
Let’s look at the 6 most common advanced post-processing mistakes:
1. Adding too Many Effects
You might want to showcase your post-processing skills, but fitting an excess f it on just one picture isn’t the best way to go about showcasing such skills.
The fact remains that Orton Effect, Luminosity Masks, as well as Dodging and Burning are not always necessary. Some images may gain from it but others do not. Rather than using all what you have learned, use them on pictures that will reflect their effect.
2. Neglecting Corner Control
Being in control of the corners of the image is what you should do on field as well as during post-processing. It does not matter the quality of composition or how good the image has been processed; if you neglect the corners, you could ruin the image.
Therefore, what does corner control mean?
Taking charge of the corners implies that you should rid your image edge of any distractions. It equally means removing anything that causes a distraction from the core subject. This may be light and physical elements.
3. Not Using Spot Removals
This mistake is more like the previous one, but has to do with removing distractions from other places in addition to the corners. Many photo retouchers seem to be extremely careful with getting rid of picture elements.
Get rid of huge landmarks from all your pictures so they can appear different without sticks scattered all over the place or a car that is parked down there. Again, get rid of every elements that do not serve any purpose within the image.
4. Poor Blending
Blending several images to better dynamic range (equally called HDR) is another great way of overcoming specific limitations in the camera. But, it is a strategy which requires precision and practice.
Before publishing the picture, have a critical view of it and quiz yourself: does that blend appear natural? If you can spot the blend, then you can equally expect others to spot it too.
5. Lightening Shadows Too Much
Always make sure you get a good camera exposure as much as possible. You can be sure of a grand output when you kick-start things with a befitting exposure as opposed to depending on the shadows and highlights sliders within post-processing for your balancing.
Having said that, you would still be tempted to apply shadow sliders for bringing out further details around the dark portions of your picture. Just do it carefully so you don’t end up with an unnatural image.
If you intend to balance how bright the shadows and highlights are, you will be left with a picture that is not natural and lacks the necessary contrast and making the image appear uninspiring. Contrast is beautiful. It is more appreciated in scenes that have reflections. The reflection is expected to be darker when compared to the scene it’s reflecting, just like in nature.
6. Not Understanding the Importance of Color
It may be hard and boring to grasp this, but you cannot do without Color Theory when it comes to photography. Although it is harder to manipulate in landscape focused photography (because changing field color is impossible), we can accentuate or alter color during post-processing.
Nevertheless, the significance of color within landscape photography does not just refer to Color Harmonies. It is also relevant to note how our eyes are led by colors when viewing an image. Some other mistakes include warm shadows or much warmer than highlights. This can mislead one’s eyes from the main subject to shadowy areas.
To maintain the natural perspective of an image, the shadows should be less saturated and colder when compared to the highlights. Applying a Dark Luminosity Masks in conjunction with one Color Balance Adjustment Layer within Photoshop can be a brilliant way to resolve this.
Bottom Line
Do not bother if you are guilty of any of the above mistakes. You are not alone, and you make these mistakes to improve. Spend some additional time concentrating on the above mistakes when next you do a post-processing or photo retouching on your picture.
Which other errors have you noticed in other photographers or yourself? Is there any mistake you are struggling to be a master of? You can go ahead and tell me via the comment section!


