Are you interested in changing or removing a photo background in Photoshop? Or maybe your focus is changing a cloudy kind of sky to an adorable sunny day? Or even include a background that is flat for your own corporate headshot?
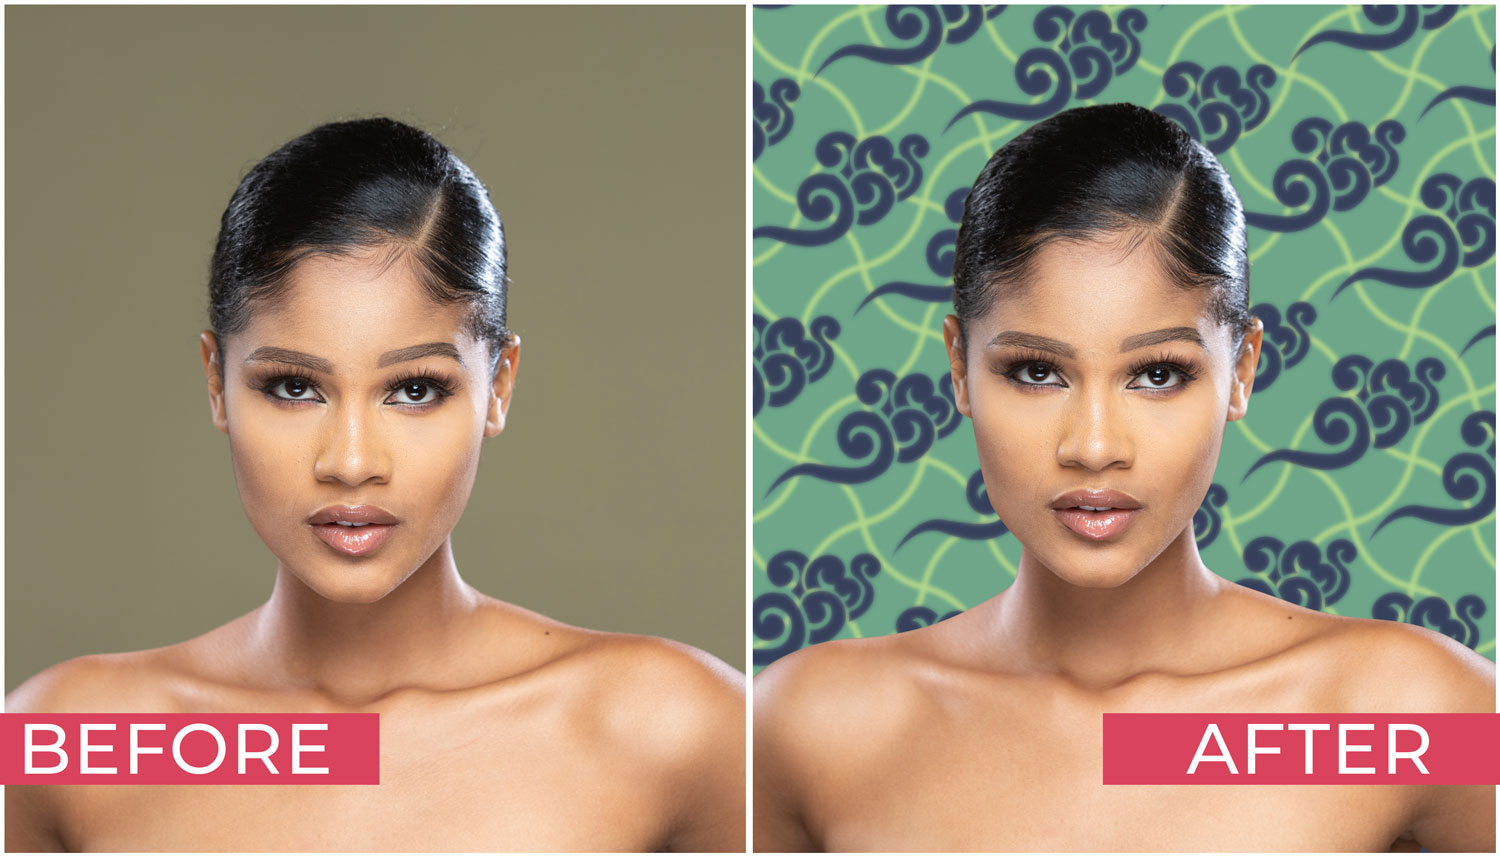
Sometimes a photo that is average can be improved to a large extent by changing a drab-looking background with an exciting one. Swapping skies or some other background components with Select & Mask feature as well as layers within Adobe Photoshop can be very easy.
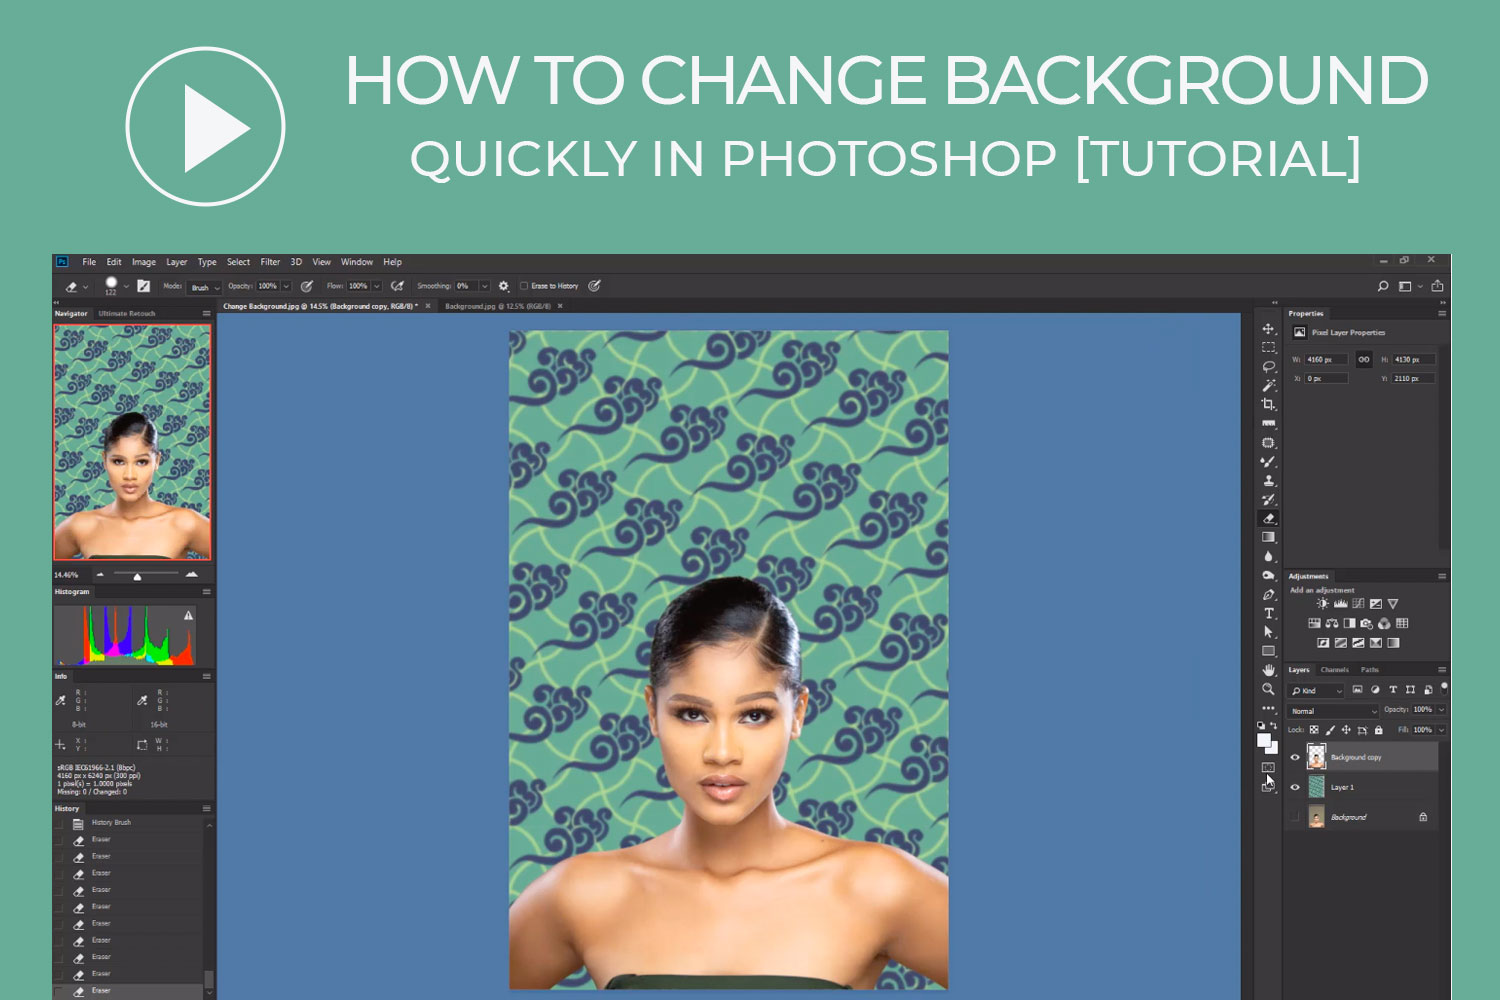
Learn the quickest and best way to cut out a photo and put it on a different background in Photoshop.
1. First, you should have your target image opened inside Adobe Photoshop. You should also get the background you want to use ready.
2. Next, you will have to do a little selection. Choose the image parts you wish to remain by using the Lasso tool or Pen tool to draw a boundary around the image telling Photoshop the sections you are after. After your selection, you can round things off by clicking on Refine Edge atop the screen for removing the target background.
3. For those sensitive portions such as hair, masking is what you can apply. With the just created layer and the mask still highlighted, go to Select > Select and Mask. You’d discover the mask that you just finished on a semi-transparent or transparent background. With such tool at your disposal, focus on spotting those fine pieces, such as stray hair pieces, the edges, and portions where a background can be seen visible through a slim hair area.
At this juncture, you can effect adjustments for cleaning up the output image, such as adjusting radius slider so as to spot stray hairs as well as getting rid of the background existing between them. Having gotten your object in a transparent background, it’s time for you to put the new background underneath the layer.
Learn more from our other Photoshop Tutorials.
Subscribe and watch more Photoshop video tutorials in our YouTube channel about Techniques on Photo Editing and Retouching.
► CONNECT WITH US:
Facebook: https://www.facebook.com/Ephotovn/
Twitter: https://twitter.com/ephotovn
Instagram: https://www.instagram.com/ephotovn_official/