Photo background removal is among the most popular product image editing services. Aside from product photos, there are other applications that requires background removal service. Professional photographers use this technique to enhance their photographs. Photo studios also need to remove bg from time to time in order to meet the specifications of their clients. Even those who engage in non-formal photography, such as those who are using their smartphones, take interest in learning how to remove bg.
There are many techniques in Photoshop that that might be useful in background removal. Clipping path and image masking are quite popular methods for product image editing services. If you are new to Photoshop, you will find that some methods, like clipping path, are faster in background removal while some are a bit complicated to complete.
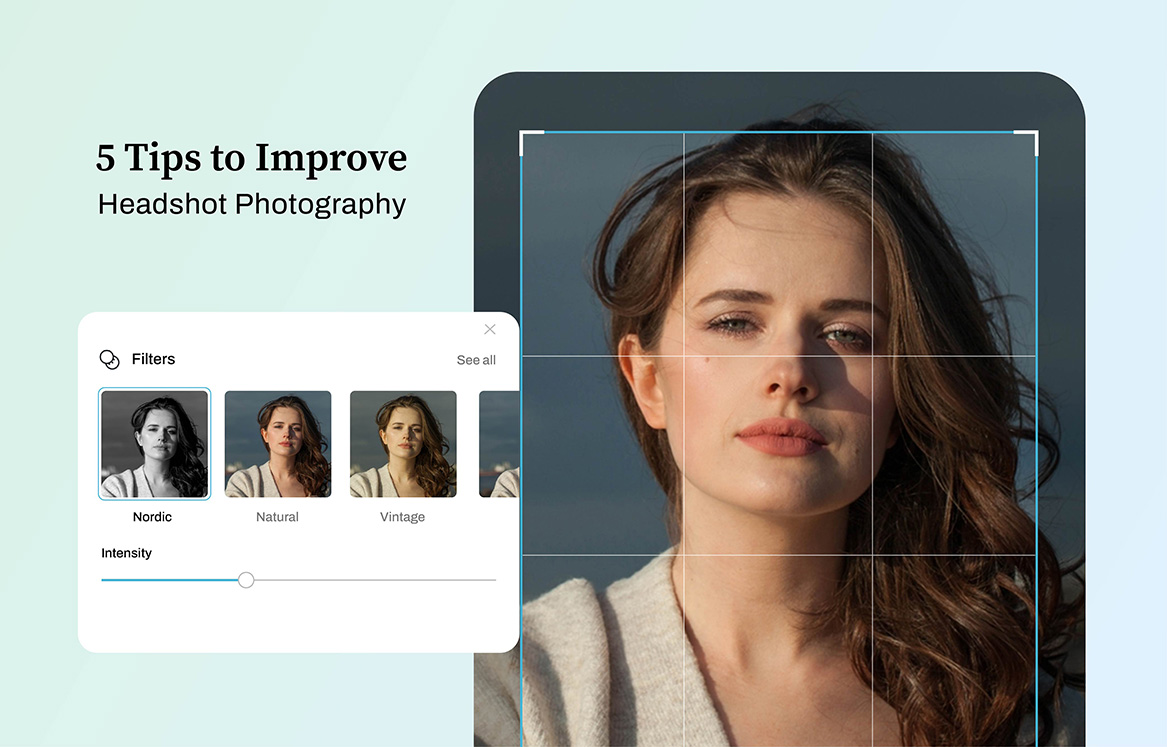
In this tutorial, you will learn how to use the proper tools to quickly and easily remove photo backgrounds in Photoshop.
Background Removal Using the Background Eraser Tool
Using the background eraser tool is the best way to erase complicated backgrounds. It works by sampling the color at the center of the brush then use that color to delete pixels that matches with the color. Do paint-like strokes and see the background melt away as if you are using acid to paint on the background. Here are the steps to do it correctly:
Step 1: Prepare the Image

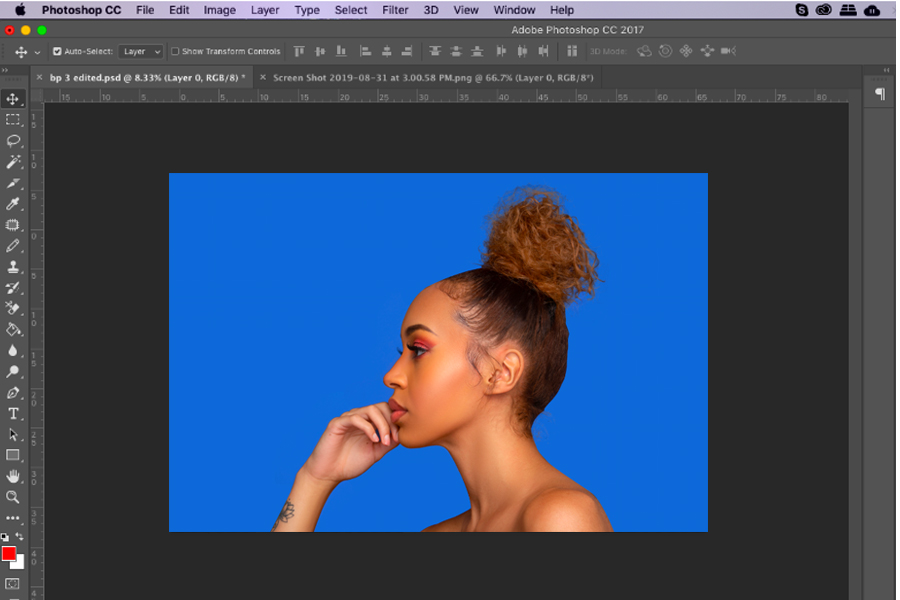
Open the image that you want the background removed. You may choose a picture that has easy areas to work on with some challenging features at the same time.
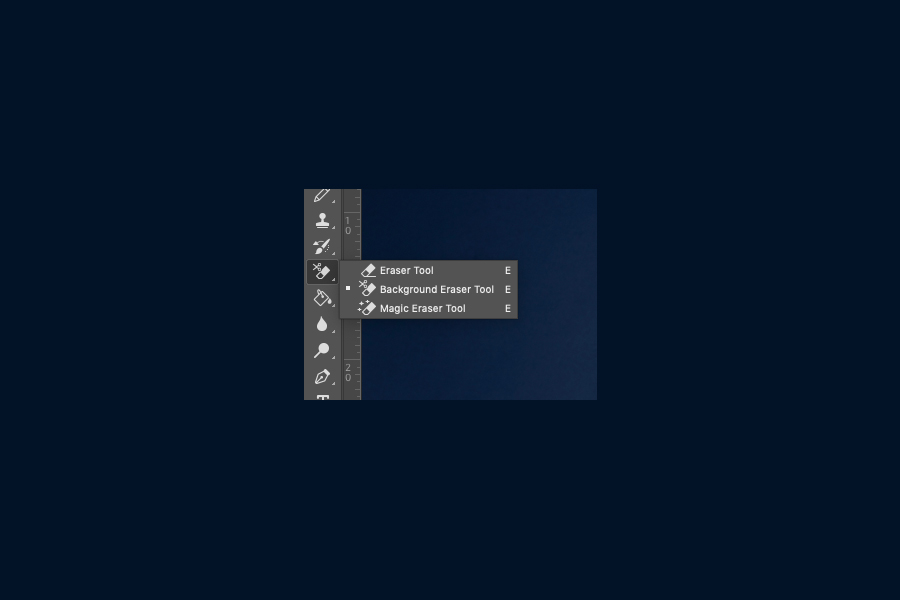
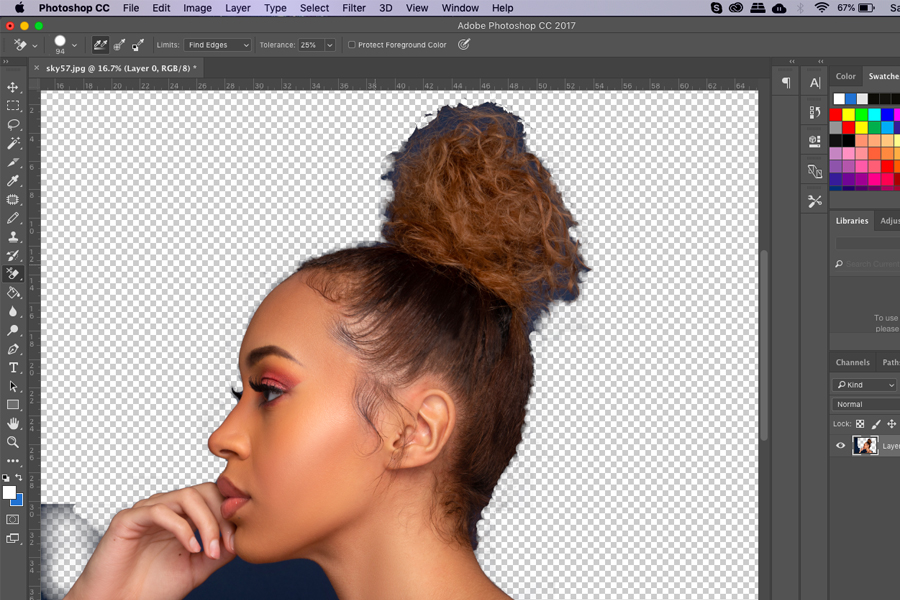
Step 2: Find the Background Eraser
You can see a lot of tools from Photoshop toolbox. The Background Eraser tool is usually hidden but you can see it along with other eraser tools after clicking the Eraser icon.
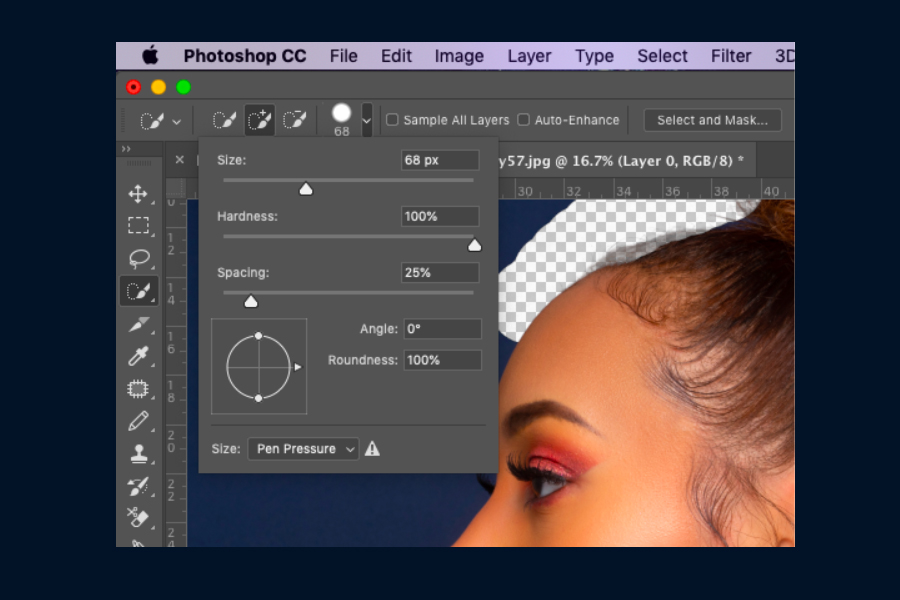
Step 3: Set the Eraser Tool
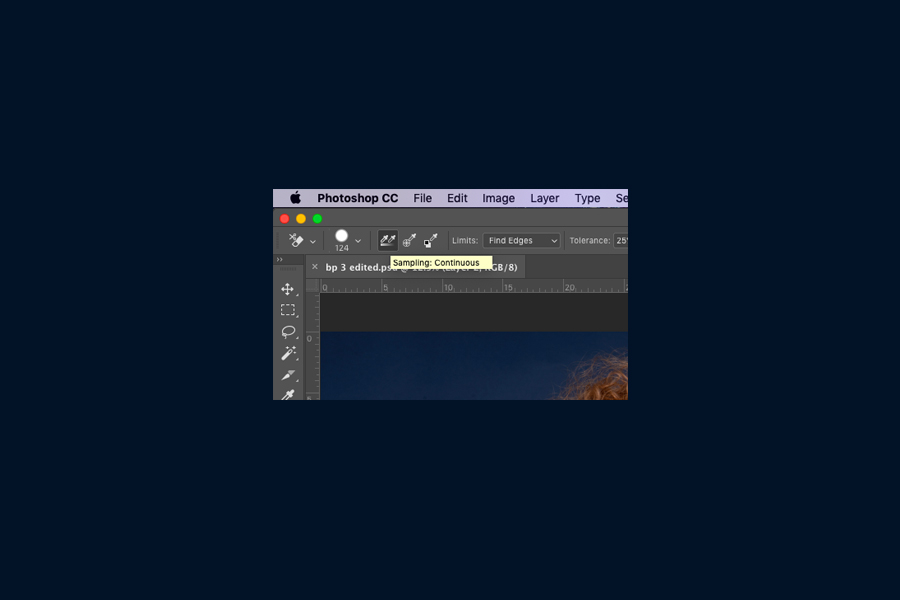
You will see on the tool options bar located on top of the screen, a round, hard brush. Adjust the size, hardness, and spacing to match with the appropriate brush setting that you will be working with. You may adjust the size, , among many other settings.
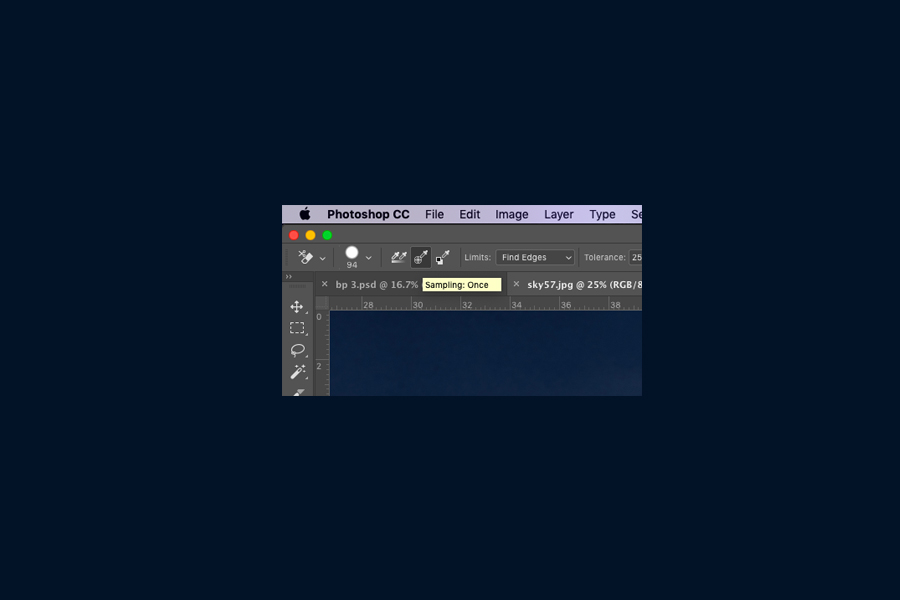
For this example, check the tool options bar on top then change the Sampling to Continuous, Limits to Find Edges, and Tolerance to 20-25%. Take note that with Tolerance, a low value will limit the areas that are almost the same to the chosen sampled color while a higher value will expand the range of colors that the eraser can select.
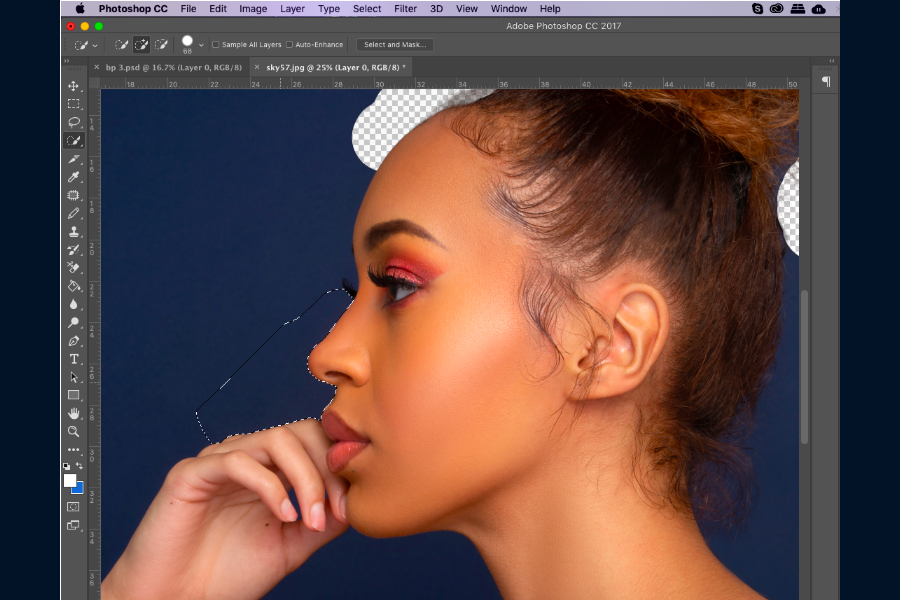
Step 4: Begin Erasing the Background
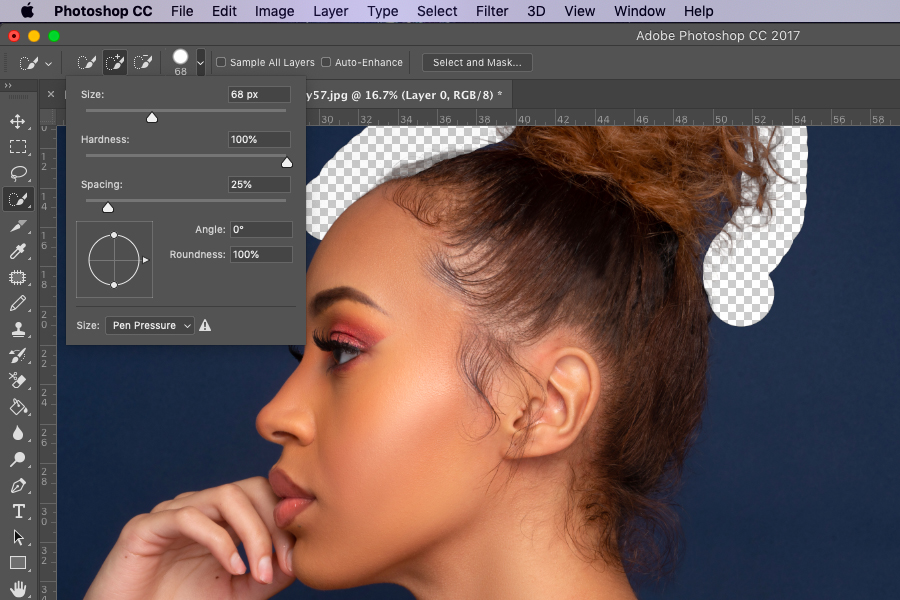
To start with background removal, try to paint on the background using the brush. The erased area will depend on the size of the brush. Take note that the circle with small crosshairs is the “hotspot”. The colors within the brush area will fade out. It can also do smart color extraction. Color halos that appear on the edges of the foreground objects will be removed. This usually happens when there is another background that’s layered on the foreground object.
When you are actively doing the background removal, try to zoom up your work area so you can clearly see where the crosshairs are. Keep them from overlapping on the foreground’s edge by reducing the brush size as needed.
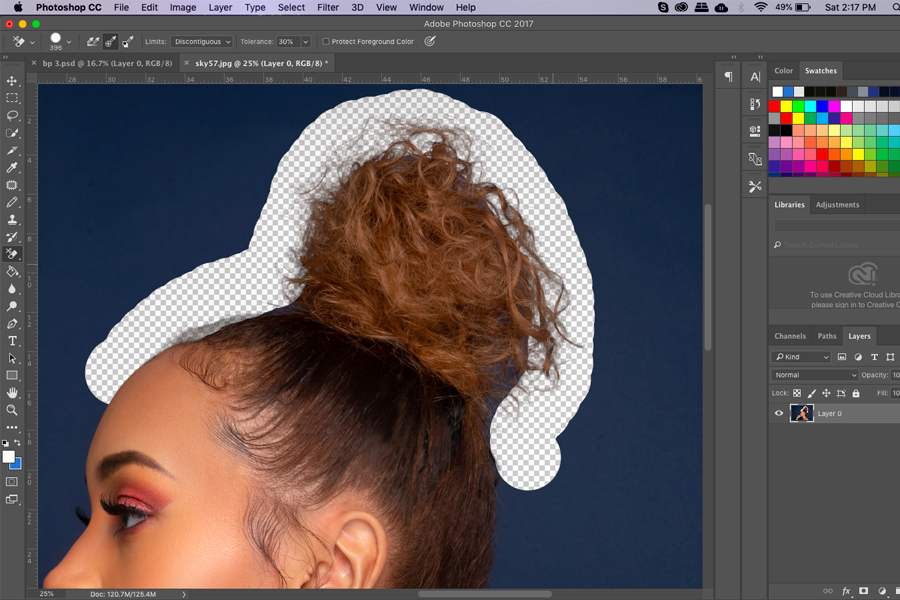
Step 5: Selecting the Correct Limit and Sampling Settings
There will be times that even if you will use a smaller brush around finer details. If this happens, the Background Eraser will cut a few chunks of hair or the shirt as well as the neck and hair areas.
This happens when the foreground has a similar color with the background. One example would be a white shirt and a white background. You can avoid deleting the foreground along with the background by adjusting the Sampling and Limits. On the Sampling tab, set the Limits to Discontinuous, then the Tolerance at 30%. This setting will allow you to delete the pixels that are matching with the sampled color.
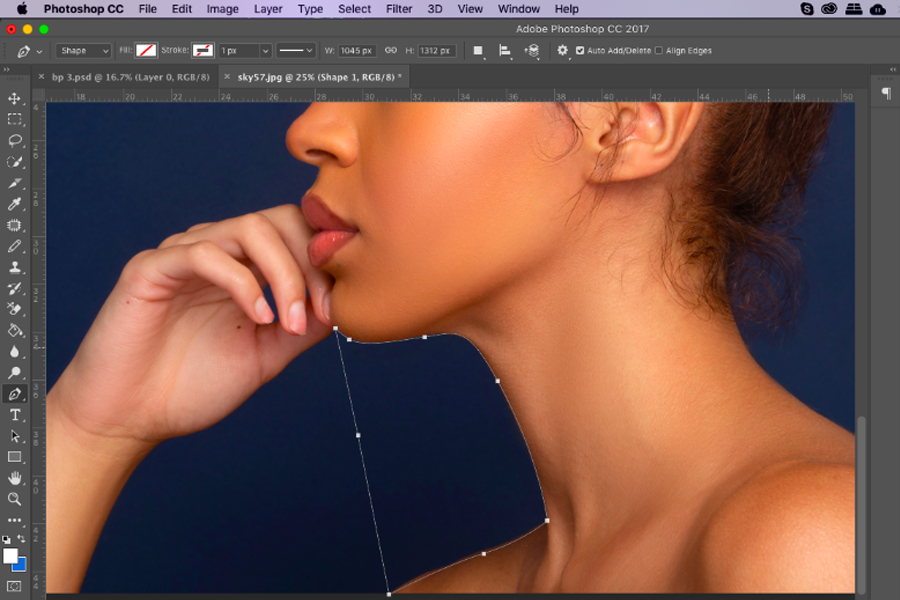
Step 6: Using the Quick Mask and Pen Tool
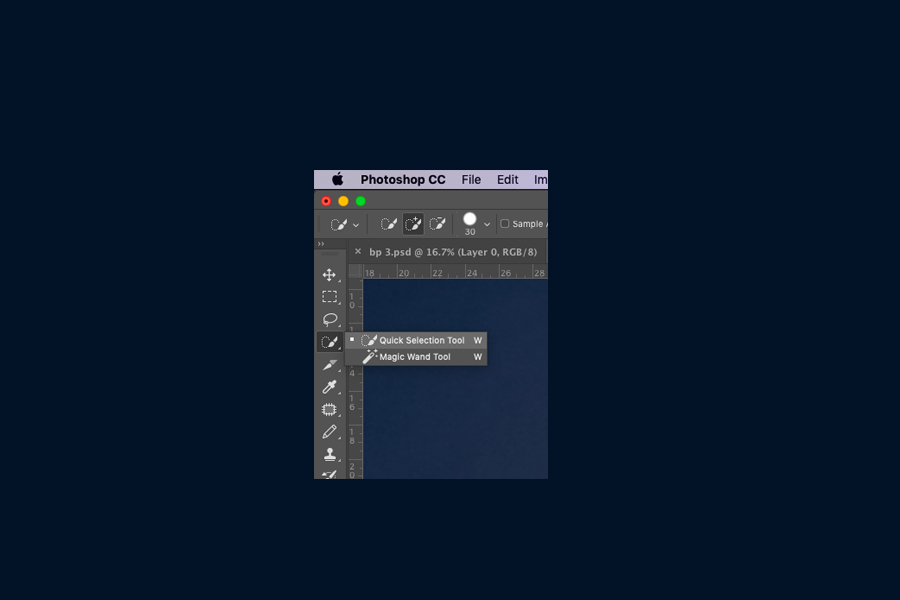
 Note: Using Quick Mask Tool
 Note: Using Pen Tool
There will be times that you do not have a solid background to work on. For pictures where there are inevitable areas that will mostly get wrongly erased, you must be able to work closely to the foreground’s edges. Using Photoshop’s Pen tool, you can touch up a small section by creating a clean selection on the image then proceed with background removal by deleting it.
Final Thoughts
When you need a professional to edit your photos, you may want to take a step back and see first if you can do something on your own. It is not only about saving something up since these services are not too costly. It would be nice to see if you have the skills to make basic photo touch-ups.
Background removal is easy to do if you are aware of the different tools in Photoshop. If what you have is a basic image that has clear outlining of the subject and background, then using the Background Erases would suffice.
For complex images that need to have a detailed background removal, there are a variety of tools and settings that can be used to completely remove the background. Adjusting the samplings, tolerances, and using the pen tool are a great help to get into the tiniest details. There may also be a need to manually impose a distinction by using the quick mask technique. This is applicable when there is no clear visual where the foreground and background meet.
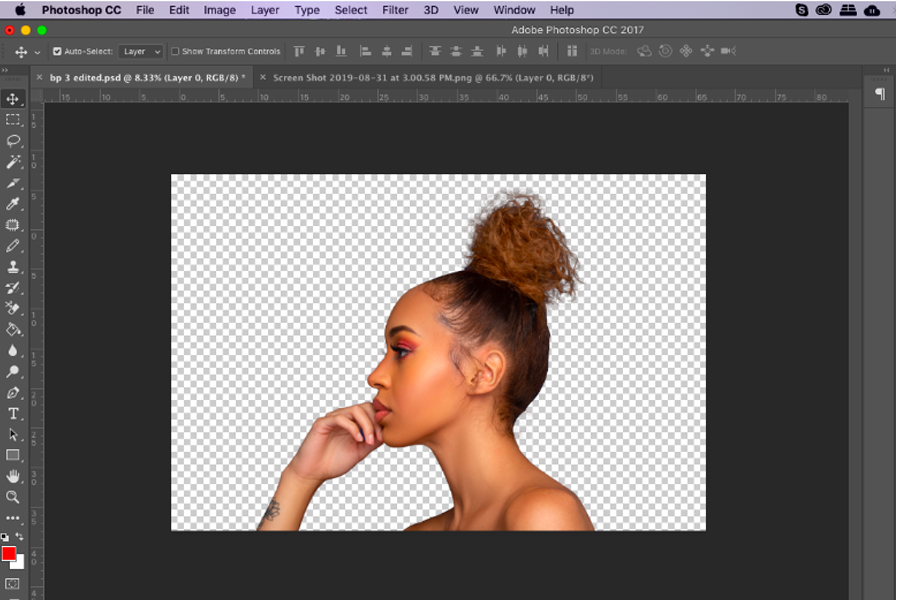
Take note that saving the photo as a JPEG file will create a white background. After successfully erasing the photo’s background and you want to save it without adding another background, you have to save it as a PNG file in order to keep the transparent background. This will let you use the image later on without having to go through all the steps of erasing the background.
Background removal is not as complicated as it seems. You just have to be careful enough to choose which tools will work best with the image that is in need of a touch up.