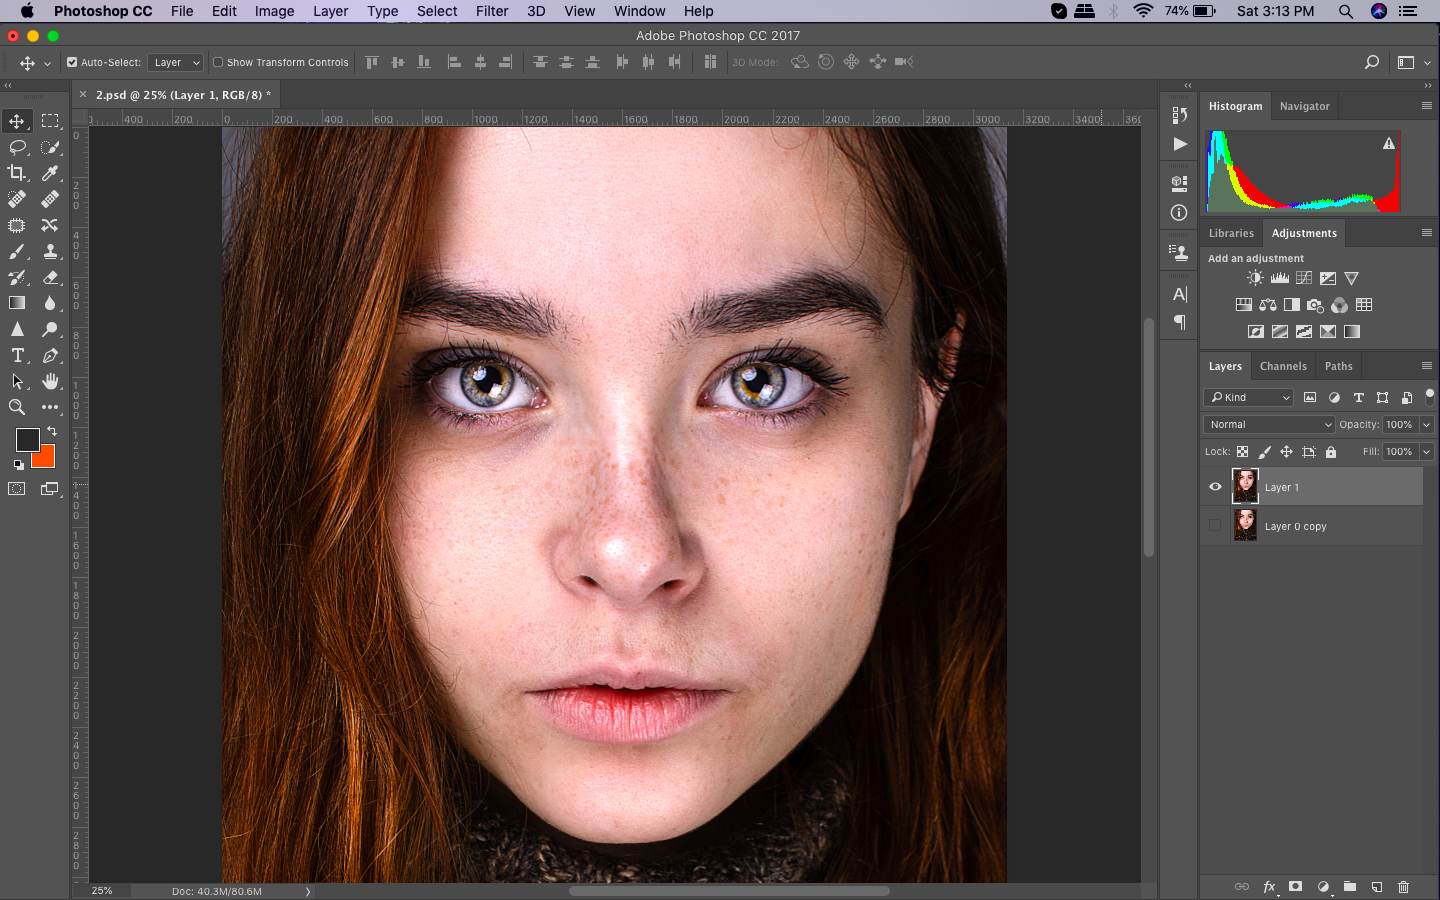
A headshot retouch is one of the many photo editing services that requires so much expertise. Most of the time, people see only perfect photos. But not all the post-processing methods they had gone through.
This type of photo retouching service is widely used in so many industries. Fashion, retail business, and the corporate world requires a lot of headshot retouch needs. Quality product shots/images are one of the most important and versatile assets your business should invest in. Image retouching and editing is as important as the photo itself, in digital photography.
If a headshot photo editor don’t have the best skills to do a perfect headshot retouch. Can you imagine how these industries would be like without these photo editing services? Those in line in this businesses rely on having extraordinary images to impress customers and clients.
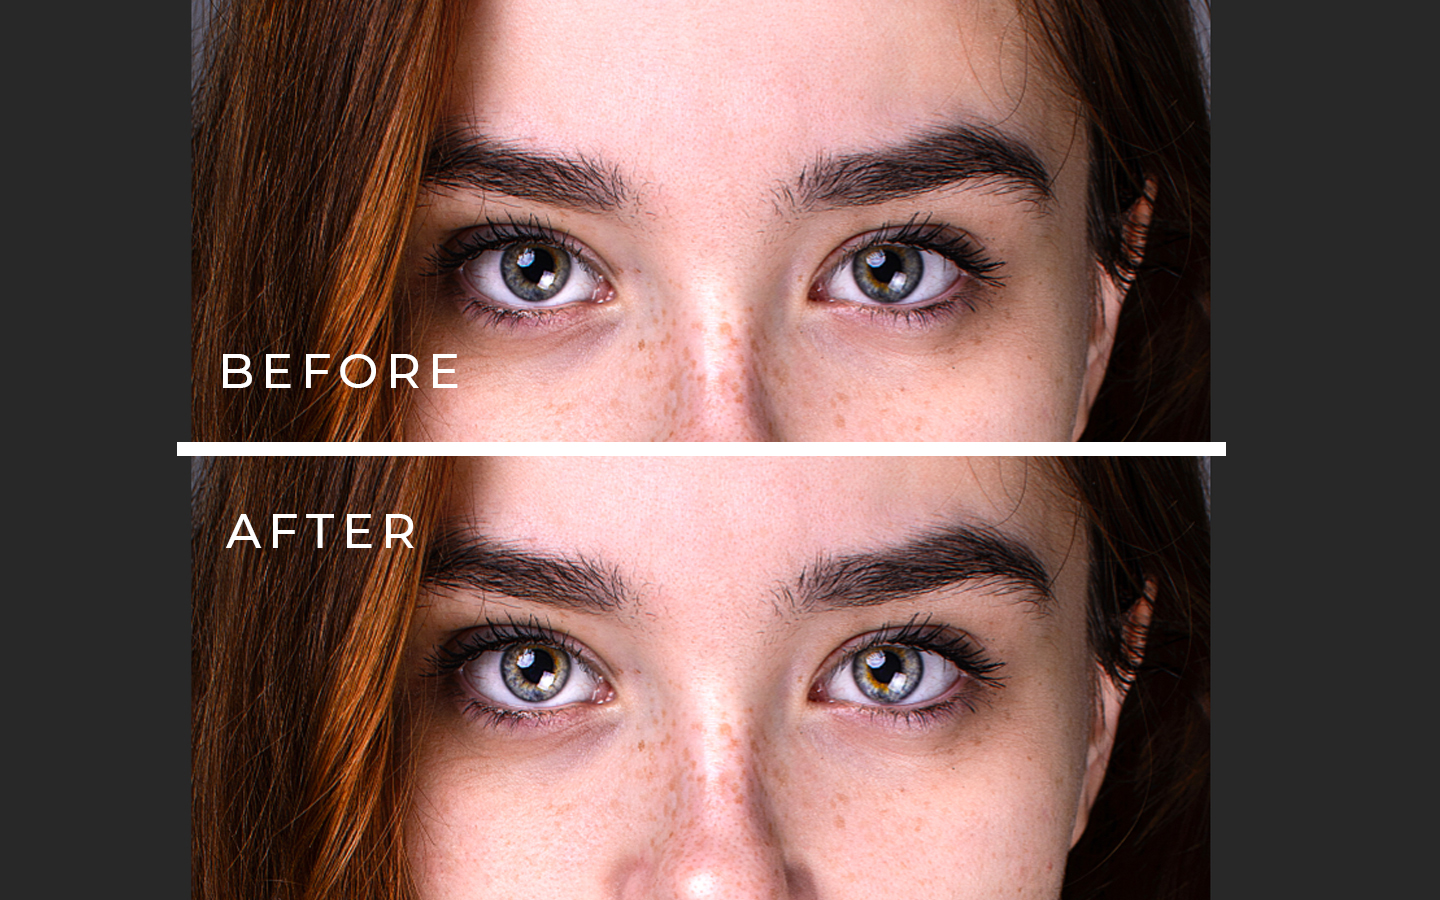
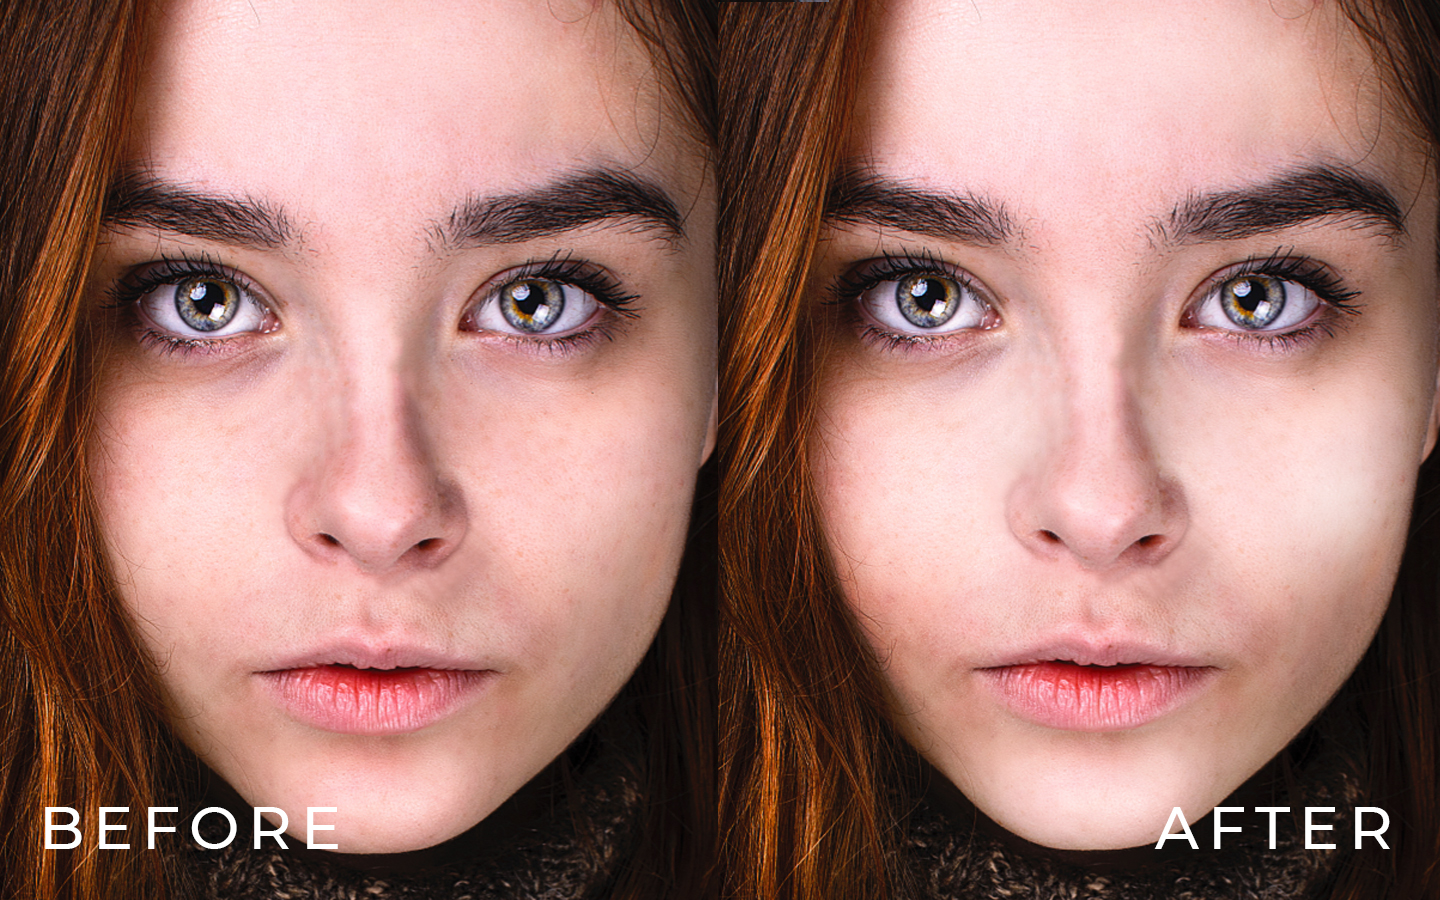
The following guide is a set of simple process on how to apply easy techniques to achieve natural-looking headshots. Remember, when you are trying to create a natural look, you want to let the genuine beauty shine. Keeping the integrity of facial expressions, features, and clarity of the image is a must.
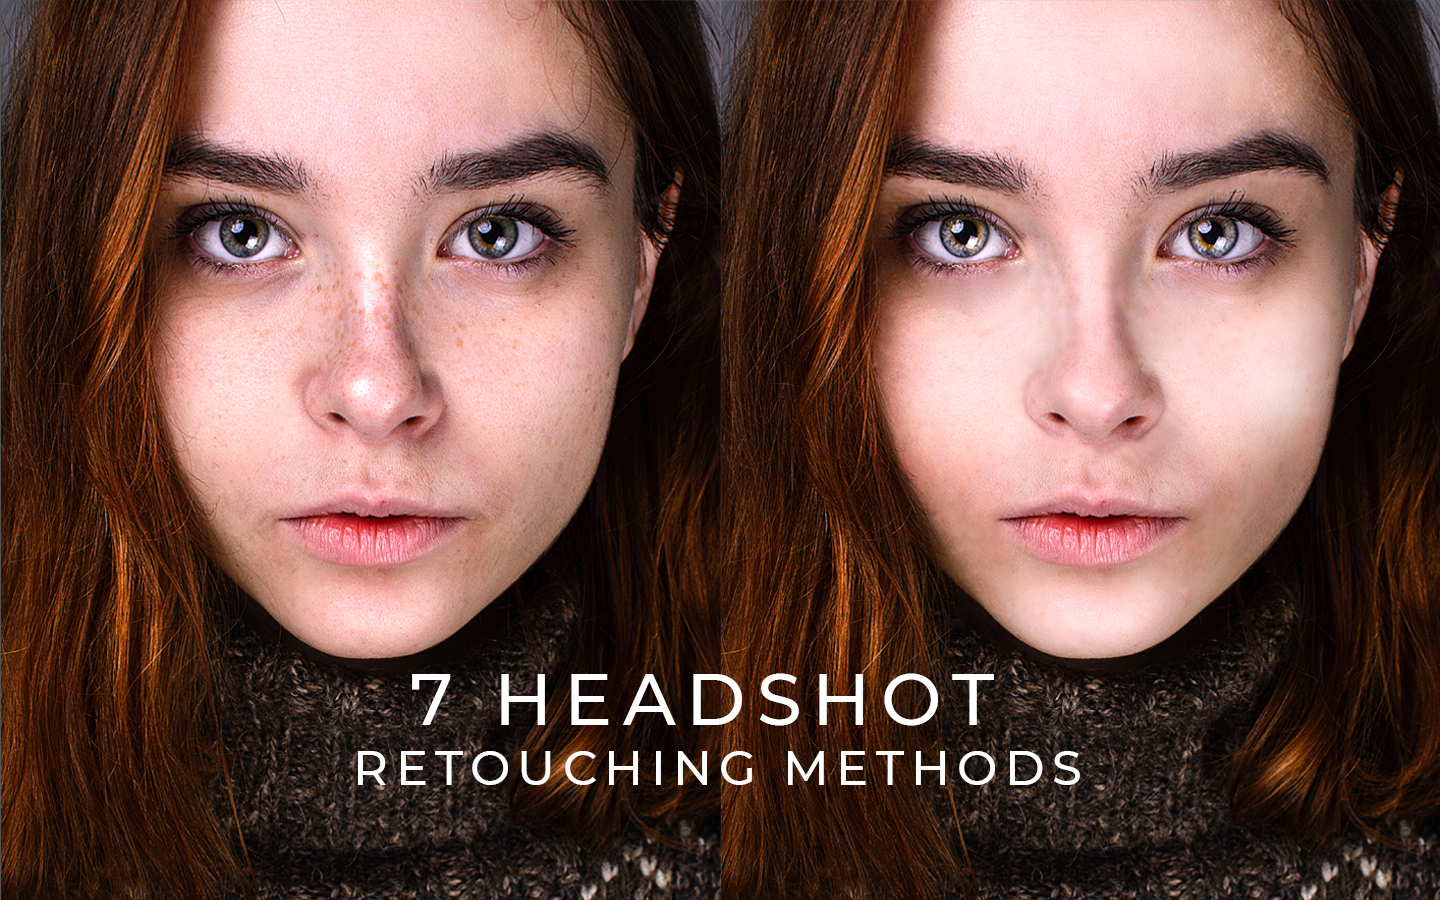
Here are 7 Essential Tricks That Will Help Achieve a Professional Finish for Portraits
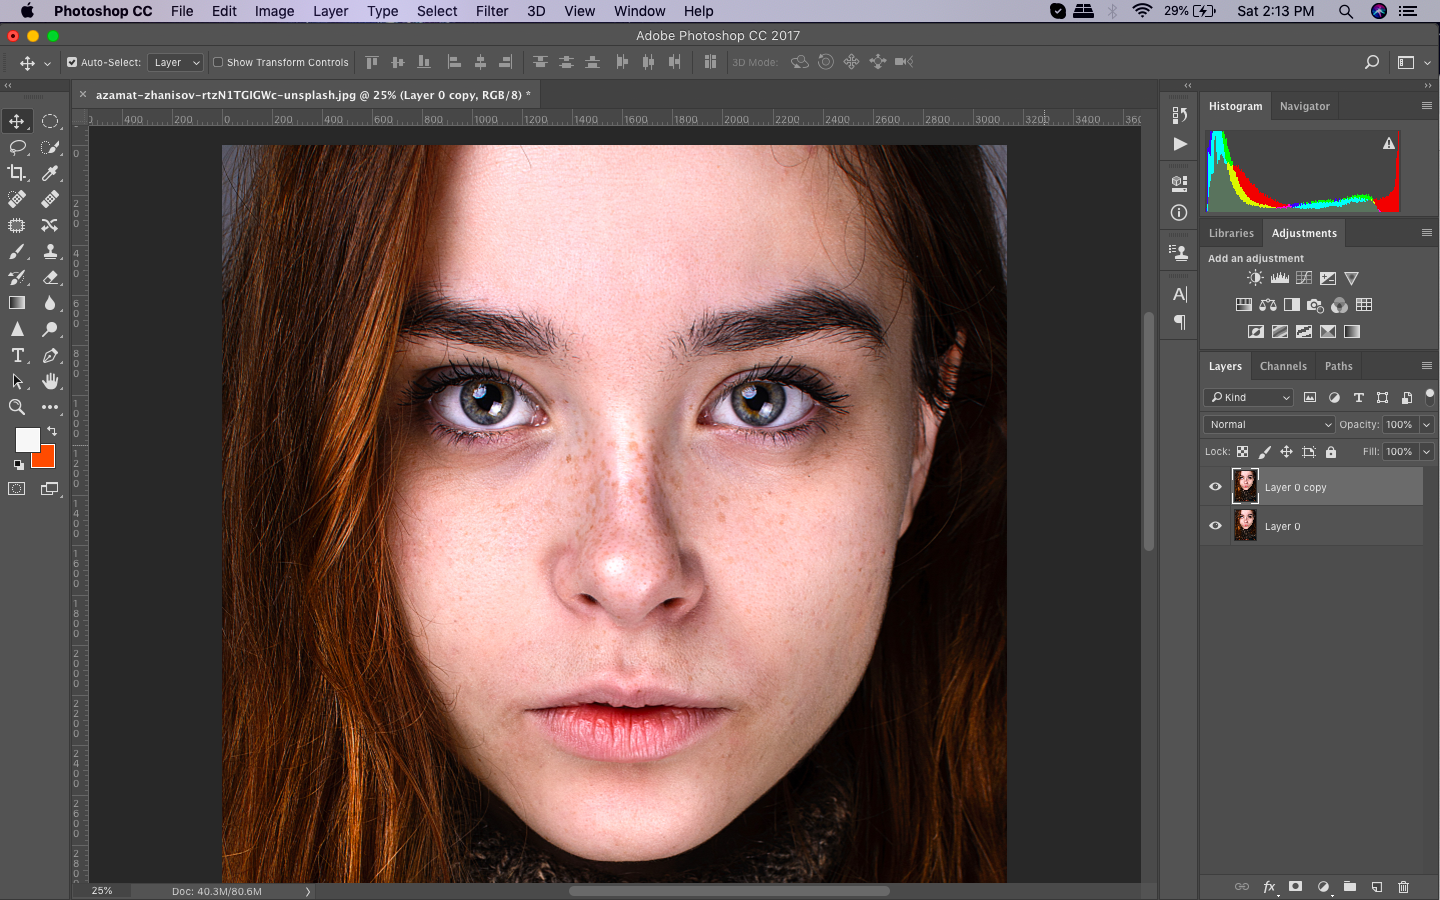
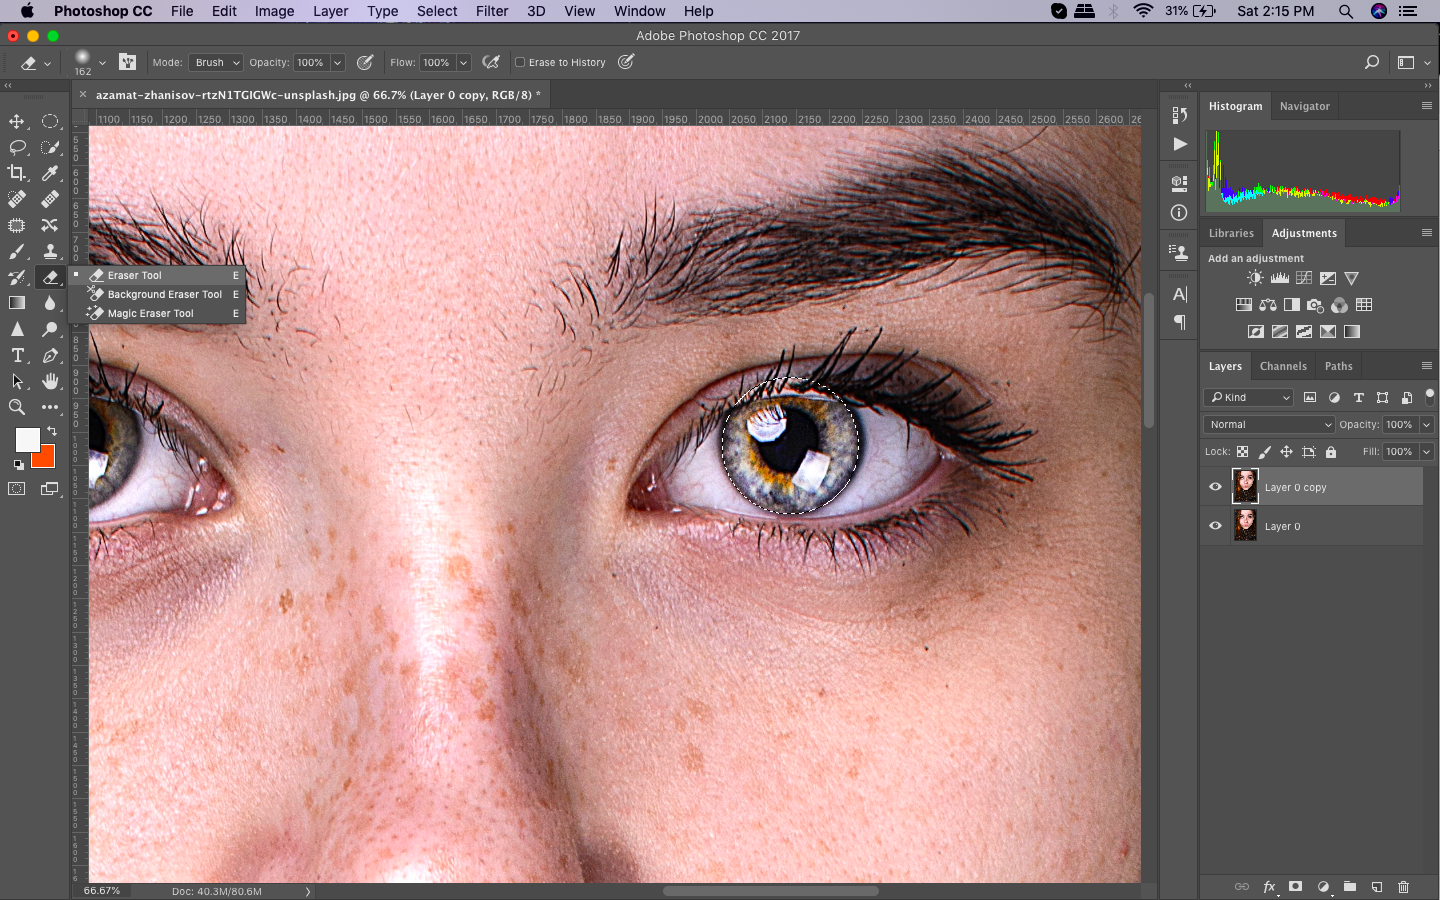
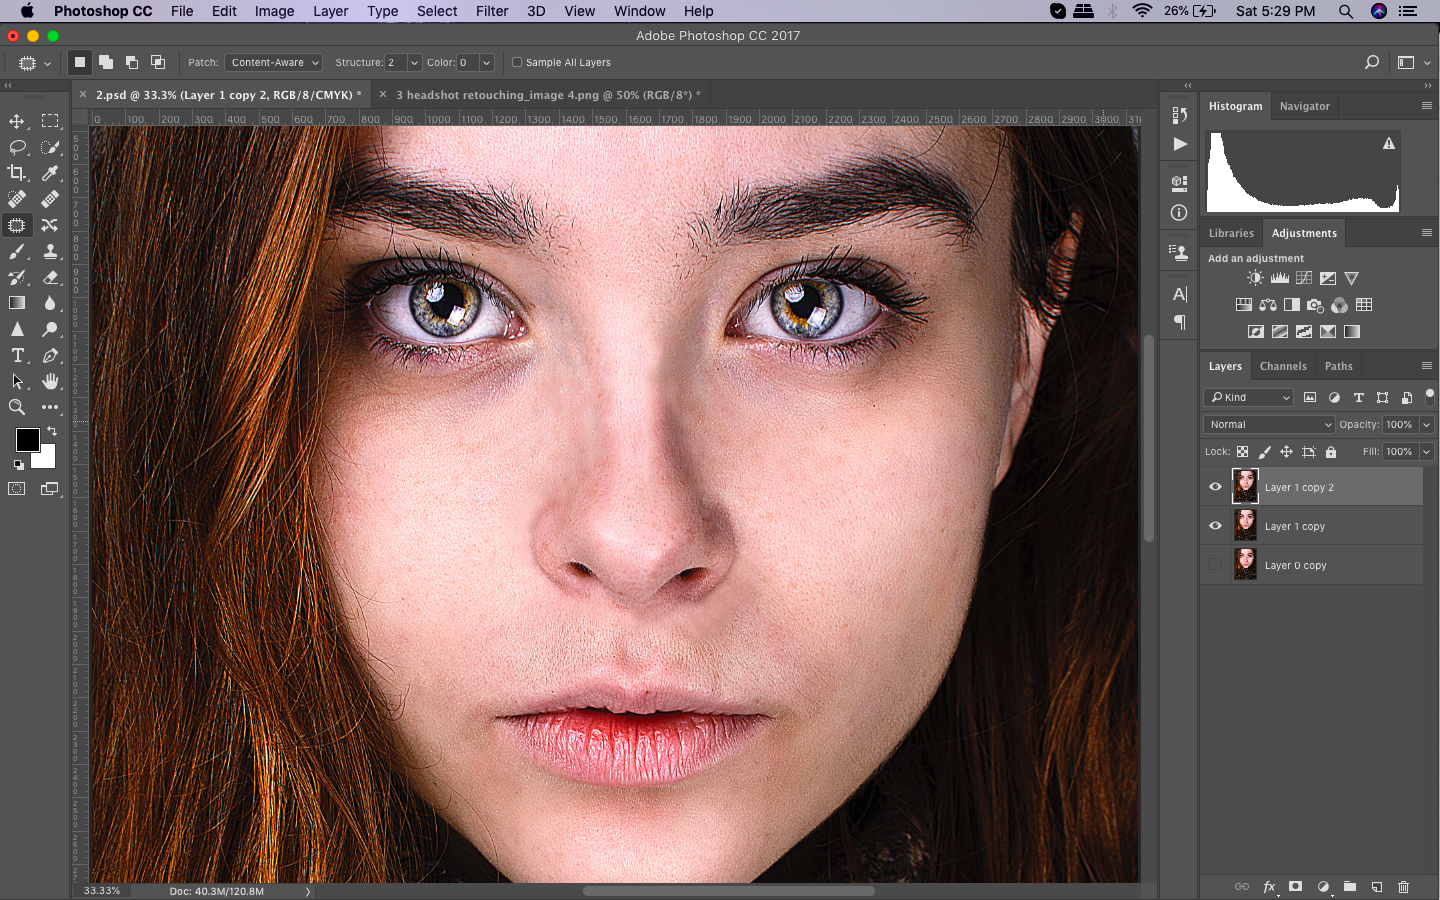
1. Pay attention to the eyes.
The most important feature of a portrait is the subject’s eyes. Make them stand out by boosting the irises.
First, Make an ellipse over the iris.
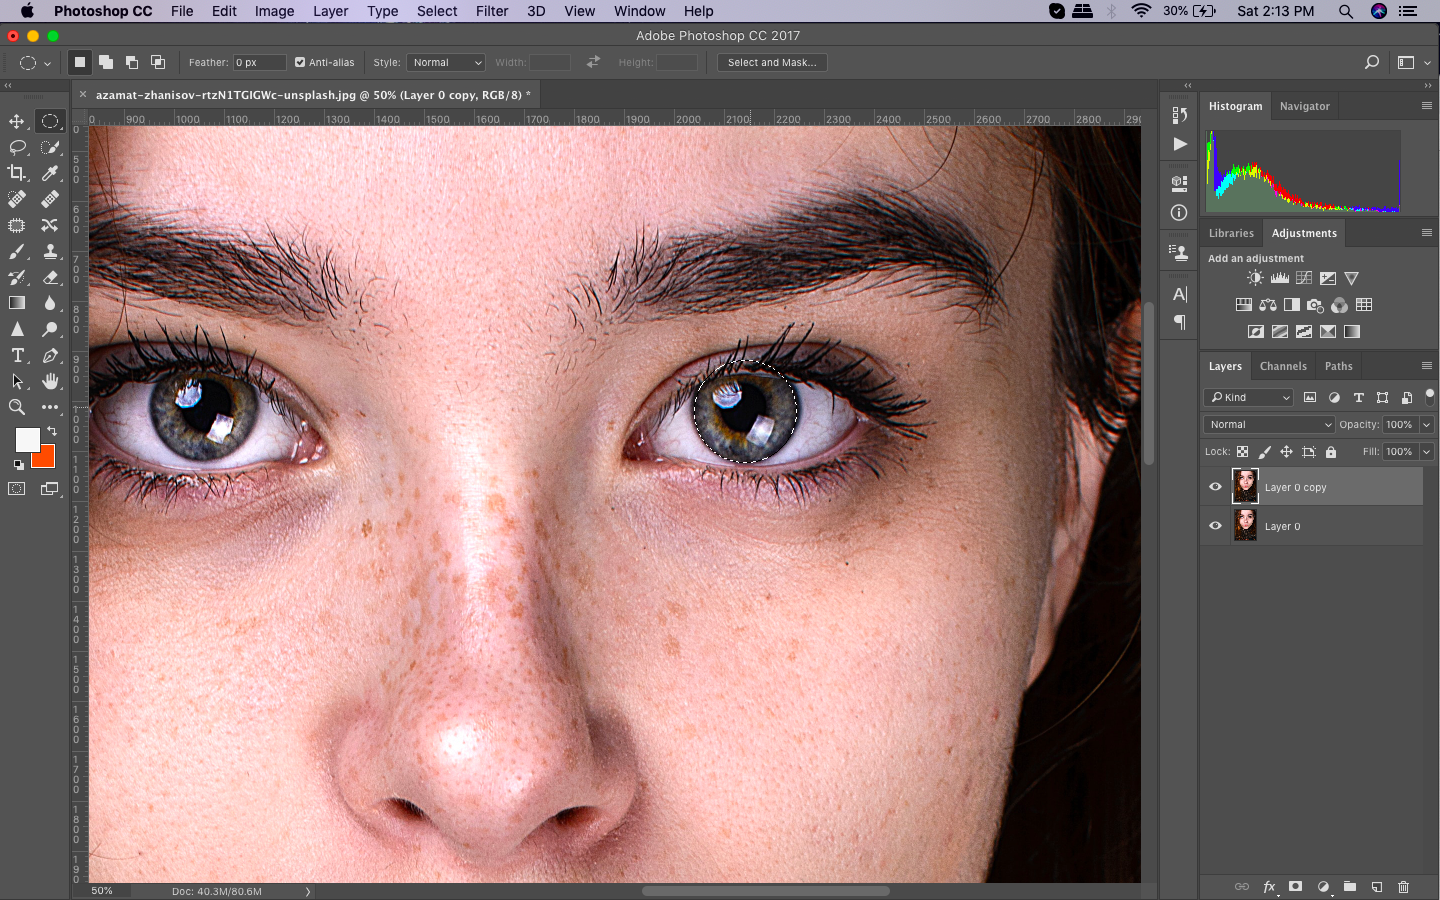
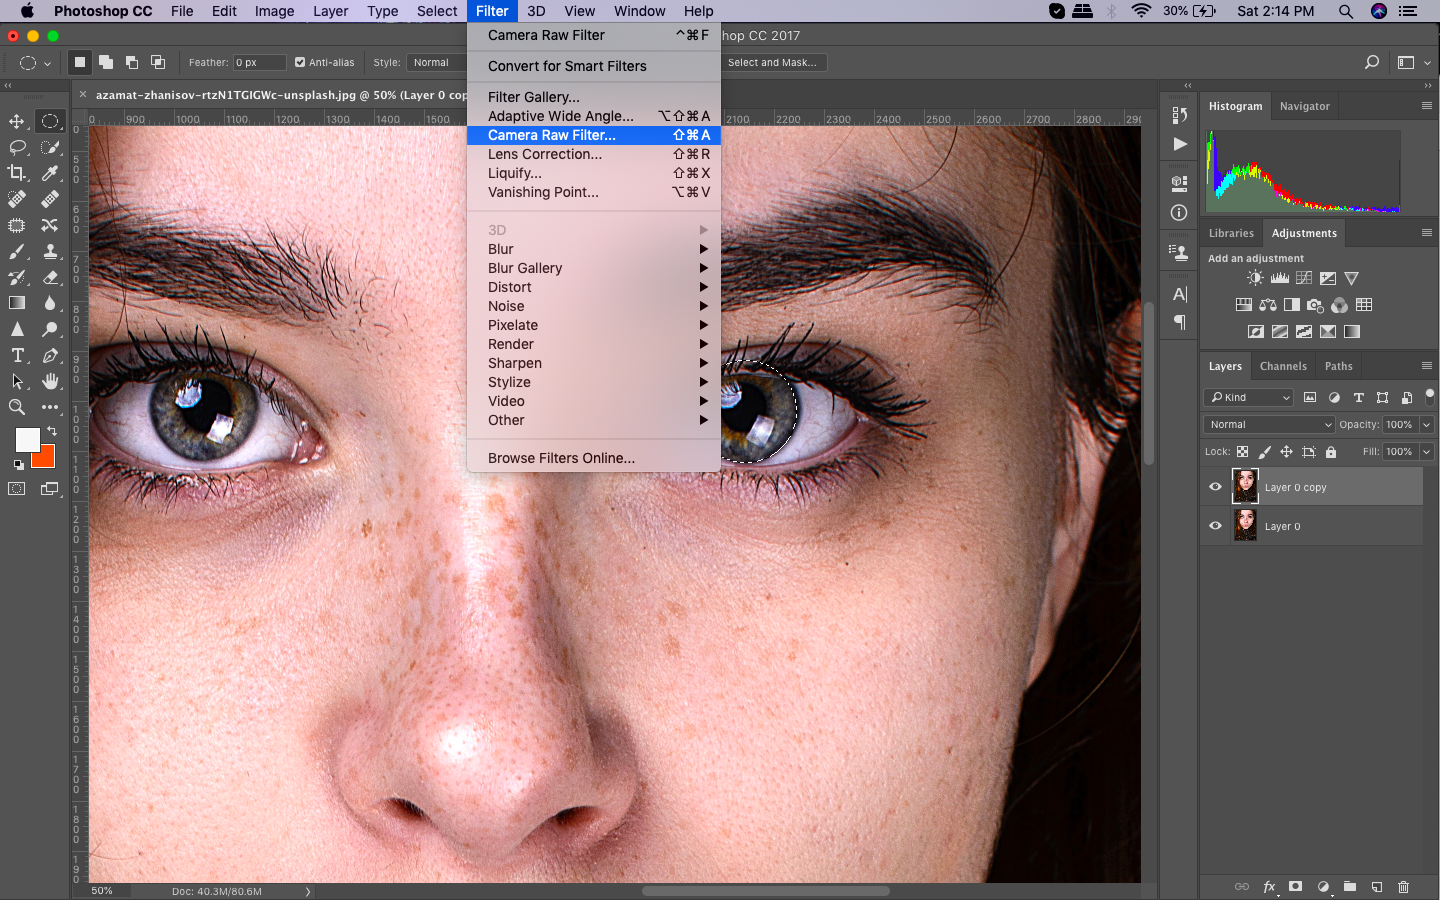
To give the eyes extra impact, you can boost the contrast and the color in the iris. The Radial Filter is excellent in achieving this goal. Choose either Camera Raw or Lightroom or the Camera Raw Filter of Photoshop CC, select the Radial Filter located at the toolbar.
Next, erase the outer parts using the Brush until everything in the iris is covered. On the Radial Filter tab, lower the Exposure to make the iris look darker. Adjust the Clarity, Saturation, and Exposure until you have the boost that you need.
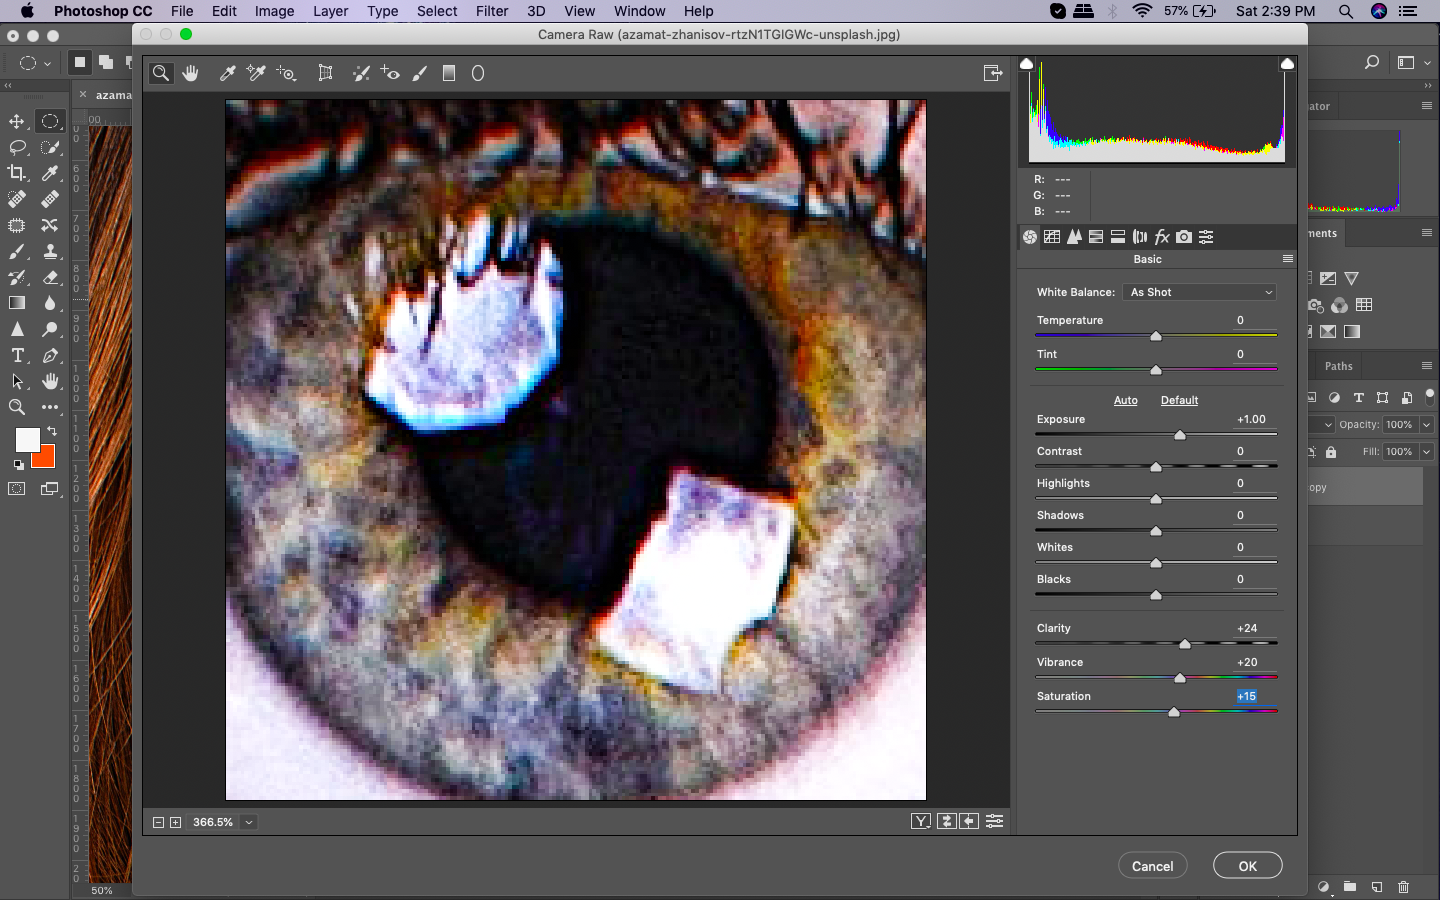
To make the iris pop out, darken the edges a little bit. Find the Brush tool and remove the center of the circle. Leave only the edges with a darker tinge.
Tip: After making the first iris perfect, press and hold Ctrl/Cmd+Alt then drag the pins across the other eye. This step copies and applies the effect on the second iris.
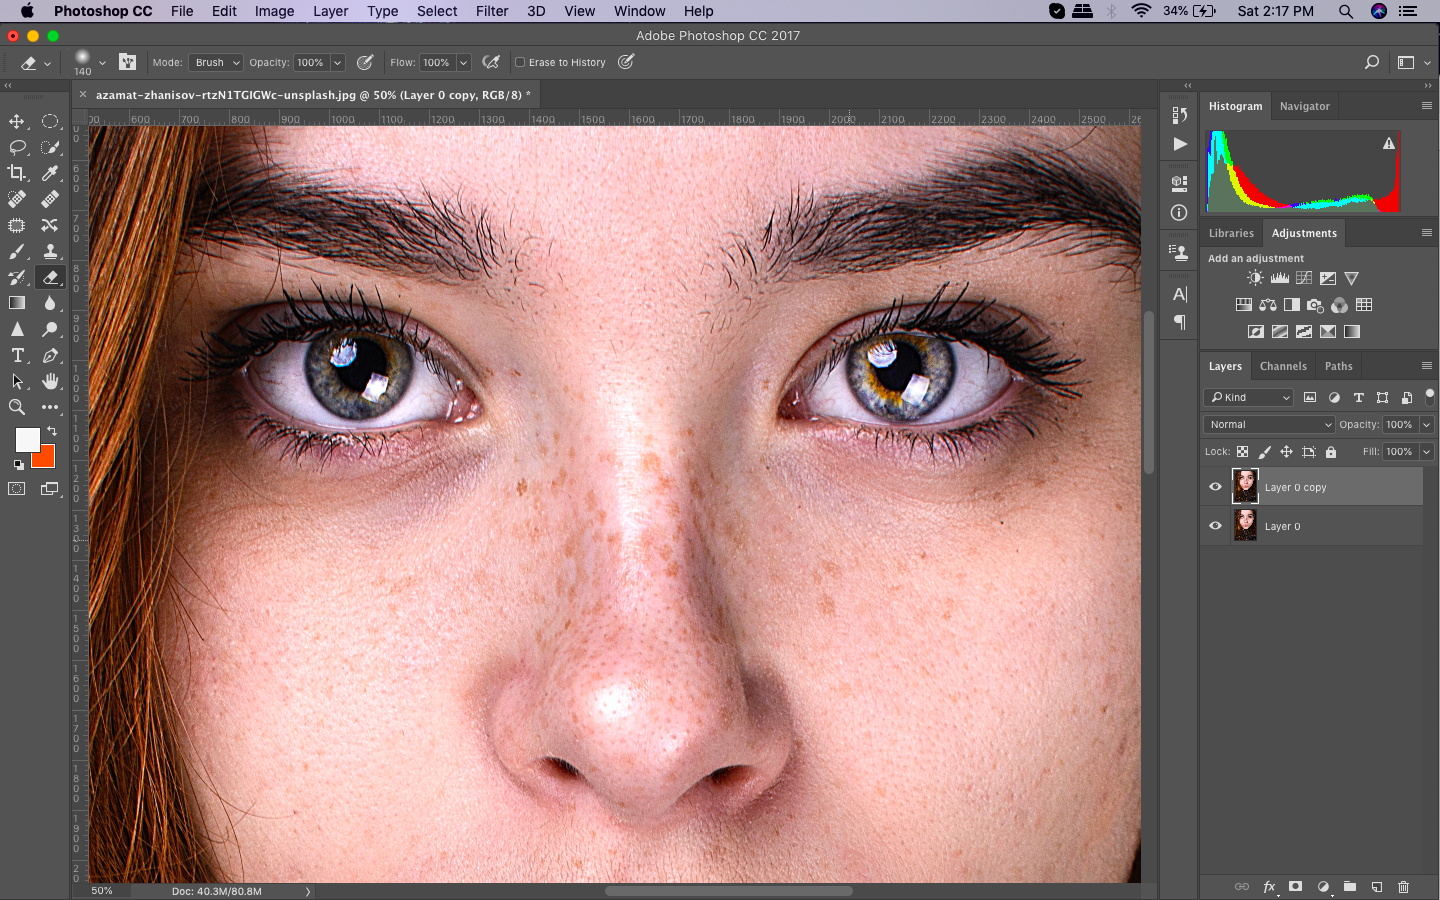
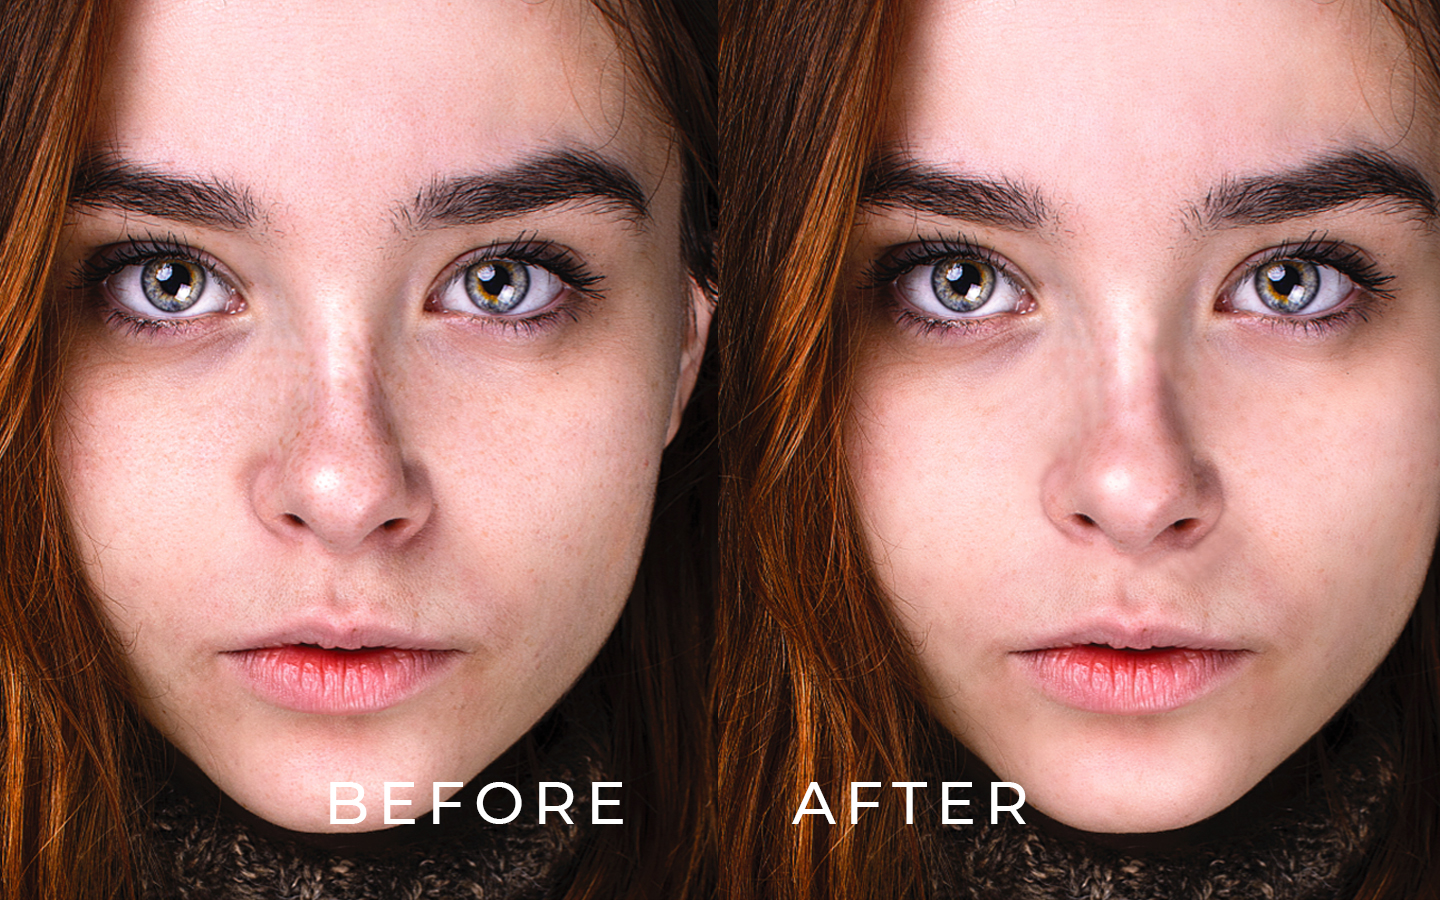
2. Flawless skin softening.
There is a trick you can resort to make the skin look flawless without looking too unnatural.
First thing that you need to do is to get rid of the skin. Remove any blemishes, ugly marks, and unnecessary imperfections. Use the Spot Healing brush and Clone Stamp tools to do this. Duplicate the layer by hitting the command Ctrl/Cmd+J then invert the layer by pressing Ctrl/Cmd+I.

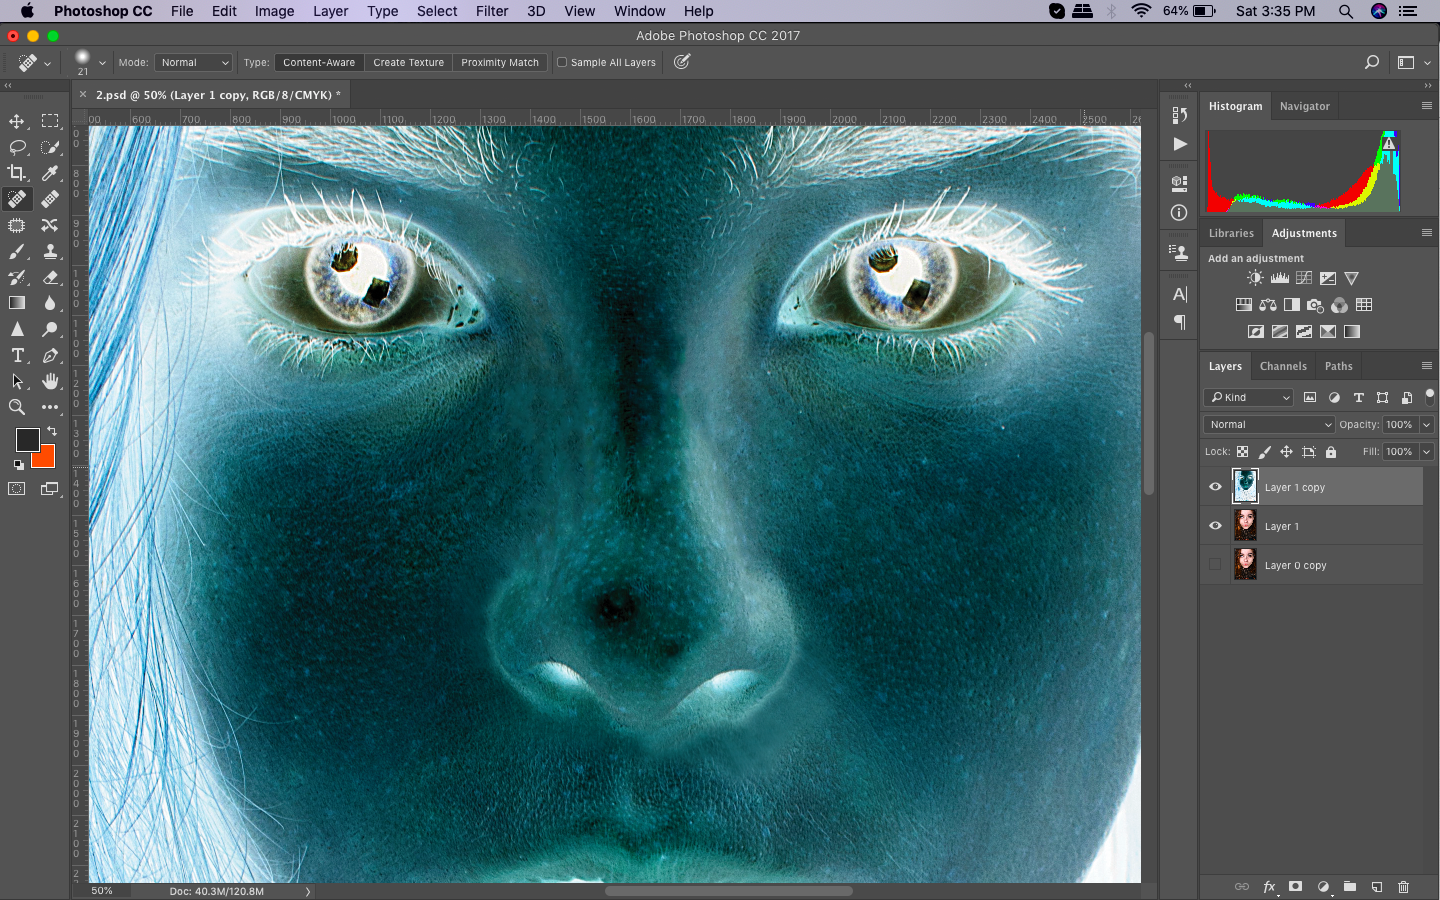
On the Layers Panel, adjust the opacity to 50% and change the Blend Mode to Linear Light.
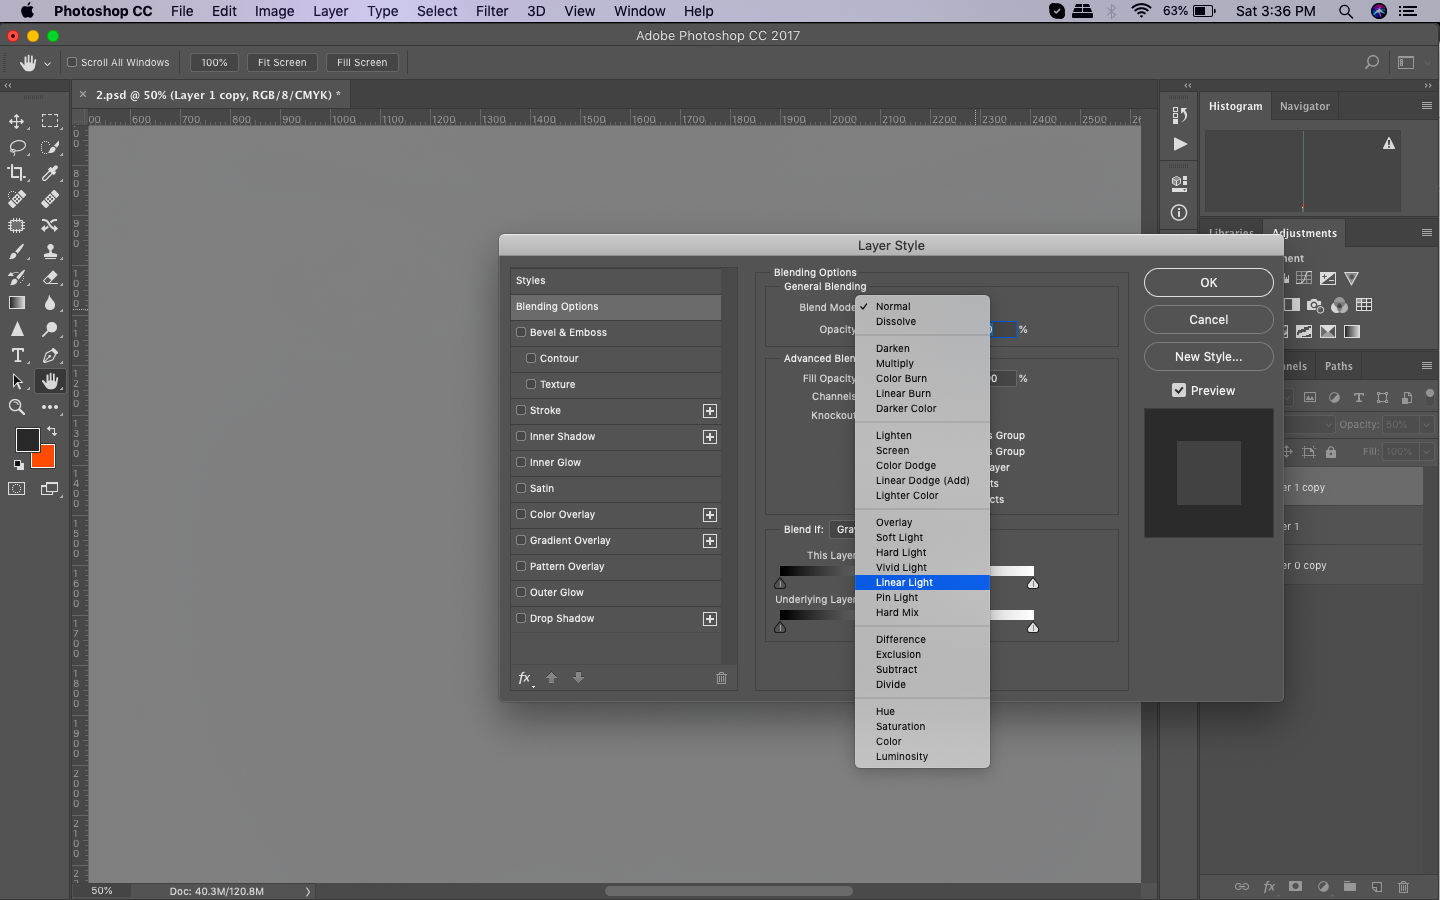
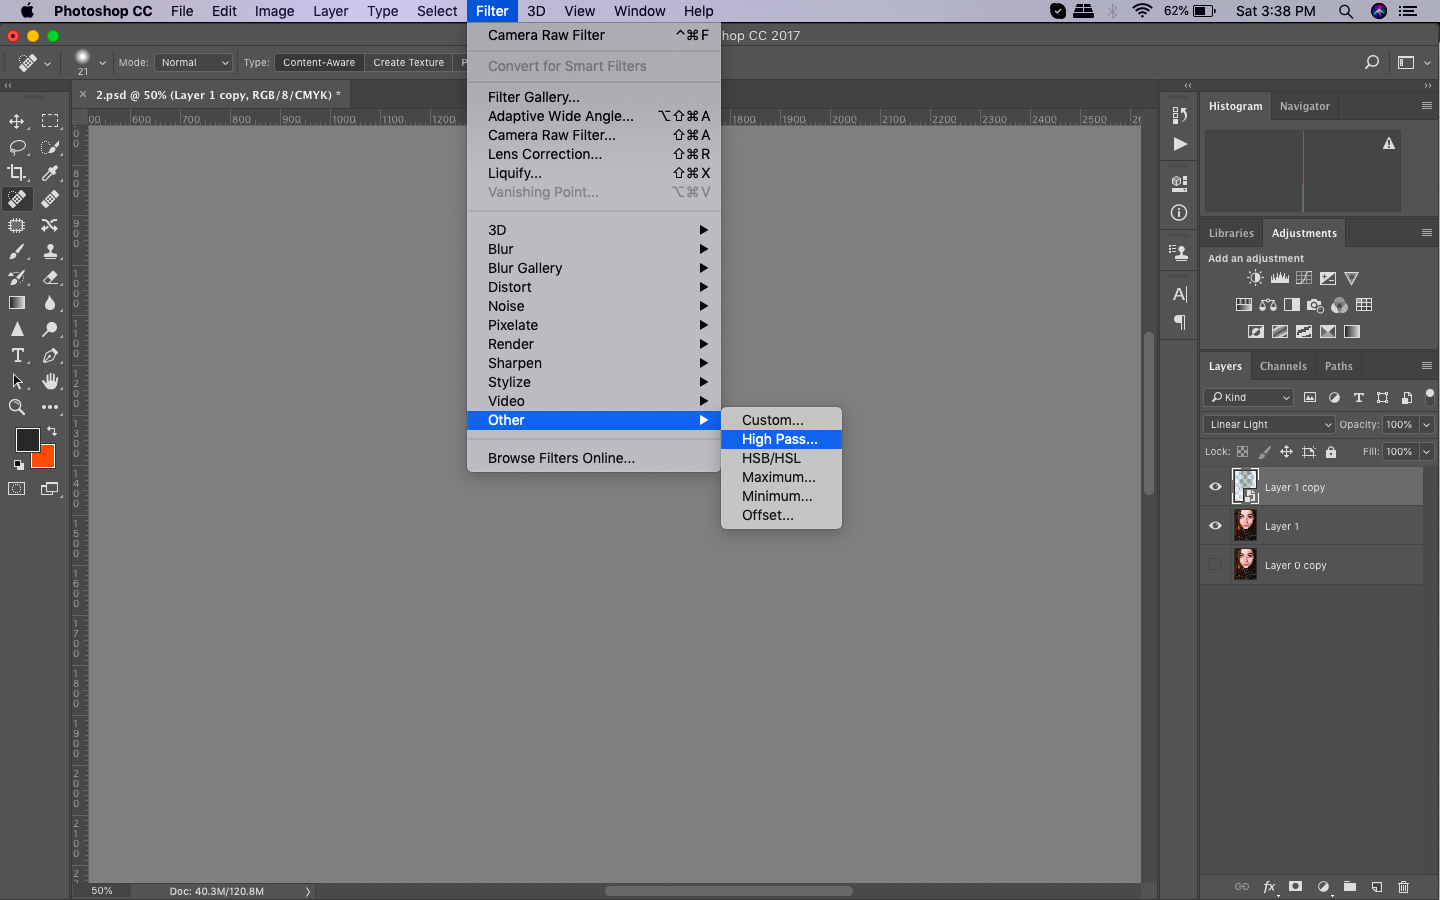
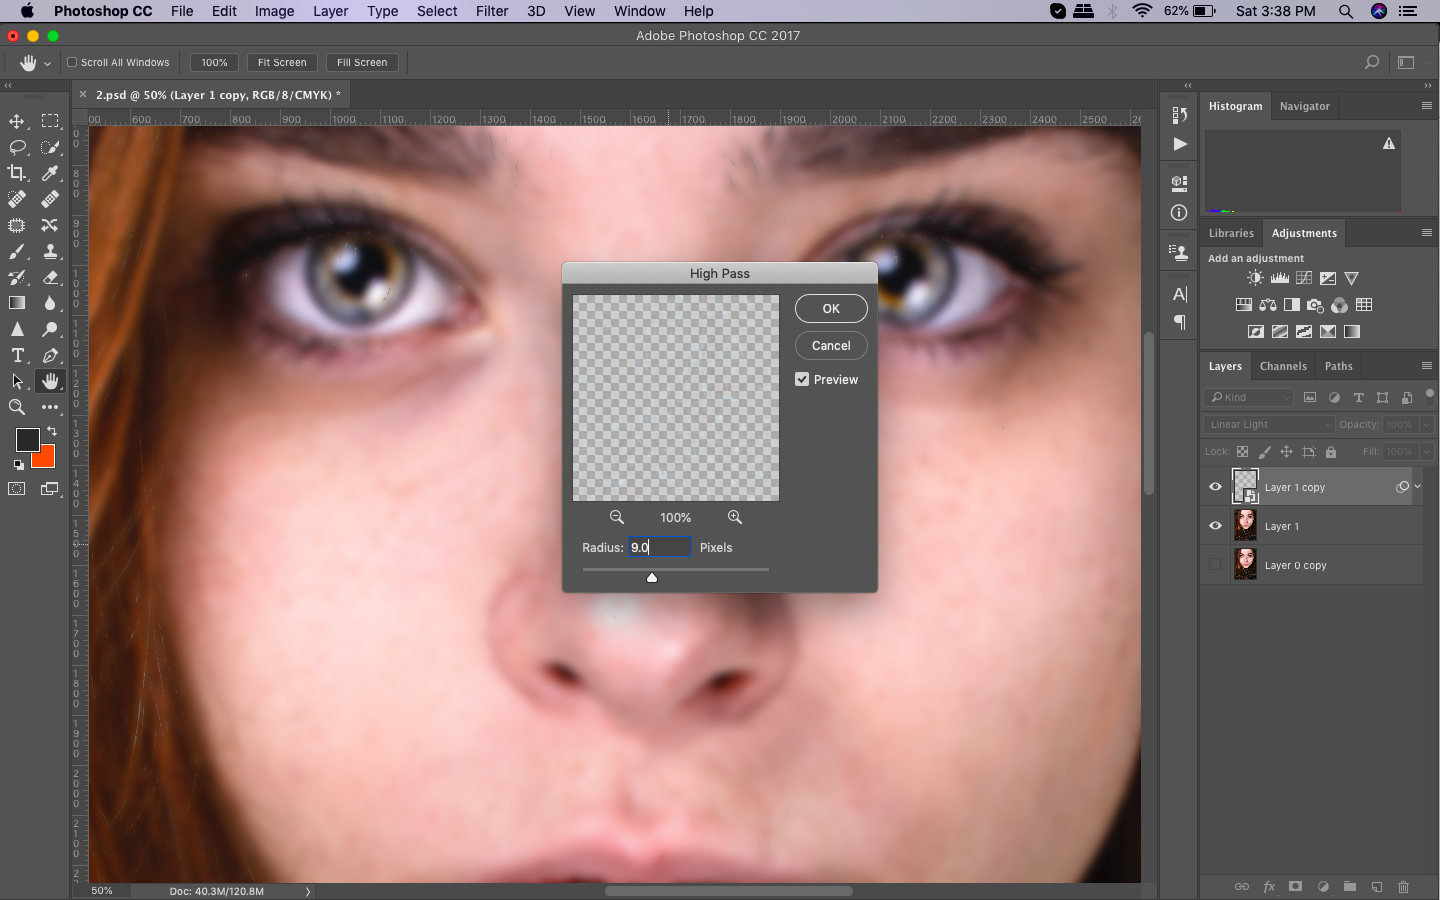
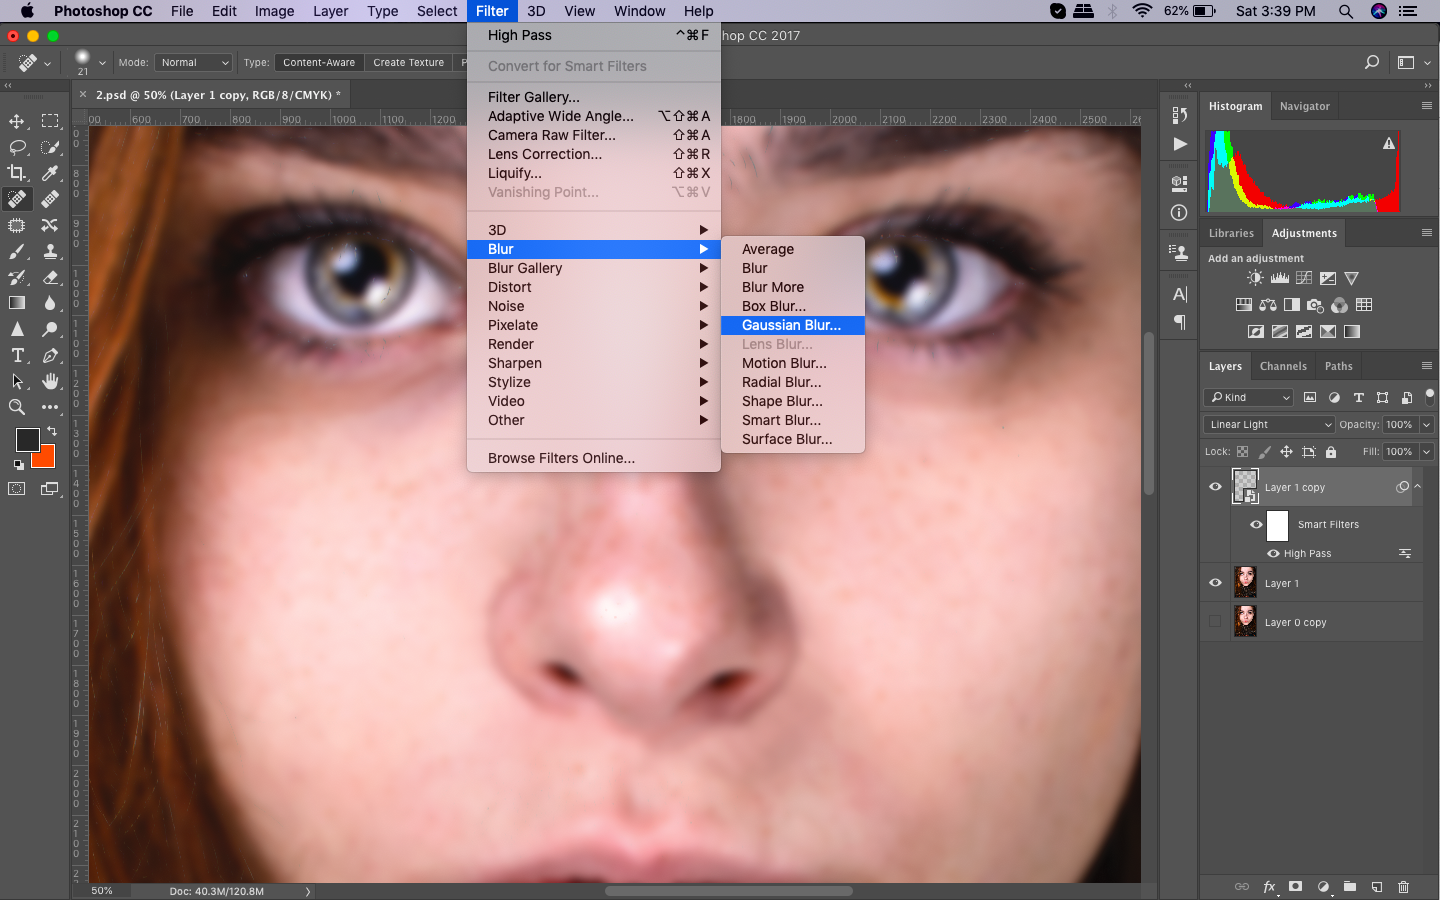
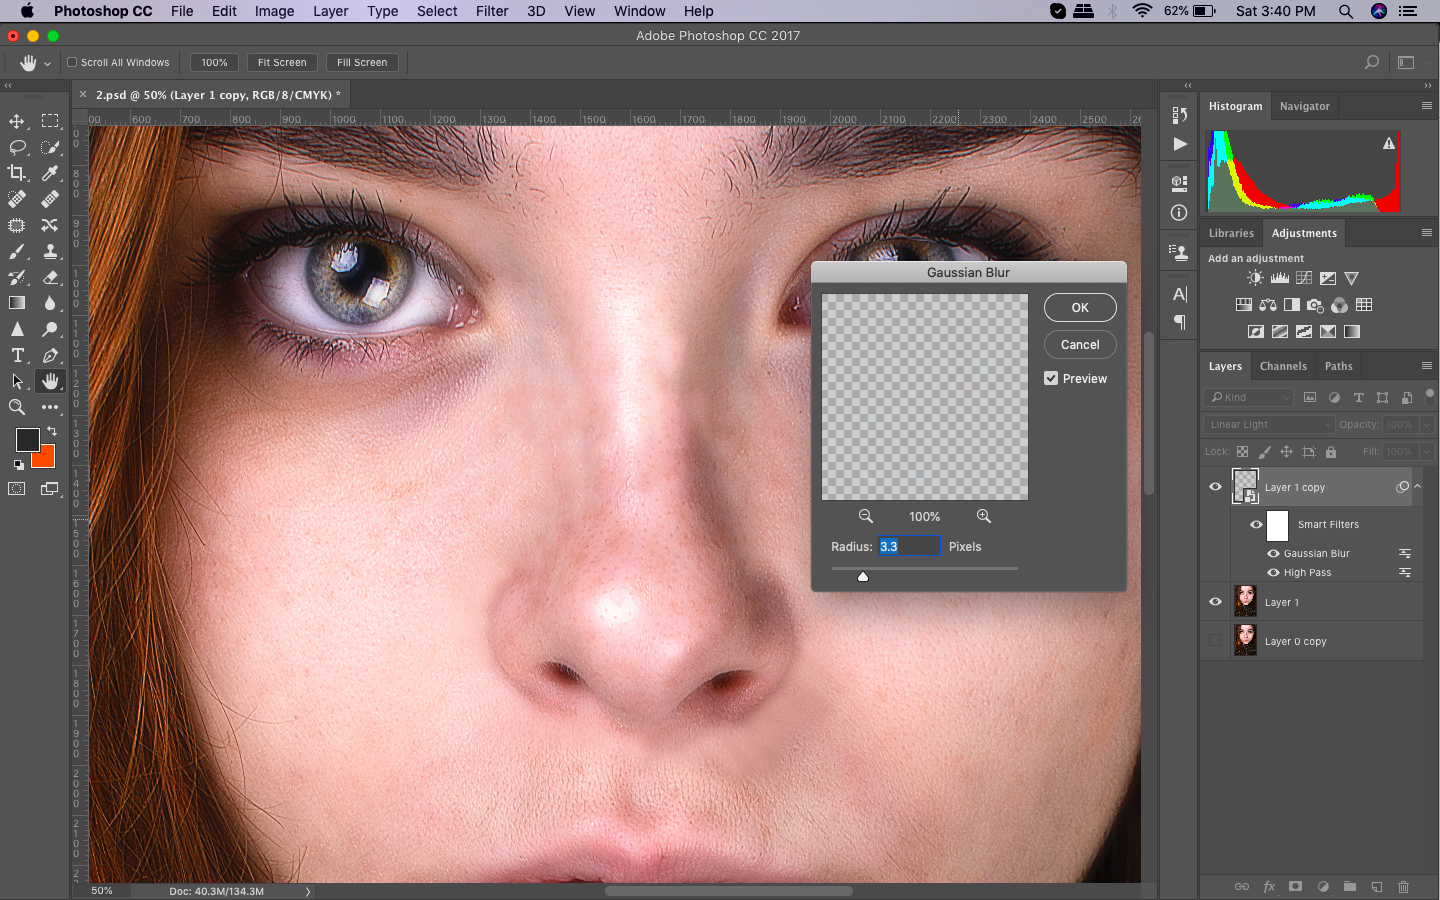
Right click on the layer then select Convert to Smart Object. The next step is to go to the Filter tab select Other and choose High Pass. Blur the skin by setting it to 9.9 px. To bring back the natural texture, simply click on Filter then choose Blur Gaussian Blur. The value for the blur should be a third of the value that is in the High Pass Filter so it is going to be 3.3 px for this sample.
Add Layer Mask by Alt-clicking on the icon. This will hide the effect using a white brush. Slowly reveal the skin by softly painting over it.

Tip: Remember that doing a retouch doesn’t have to be perfect. You only need to apply selective adjustments to boost the eyes, soften the skin and lift sagging areas. Working with Layer Masks will allow you do this. After making any edits on every layer, Alt-click on the mask icon to initially hide the effects. Reveal those parts that you would like to show up on the final image by clicking again.
3. Removing hotspots.
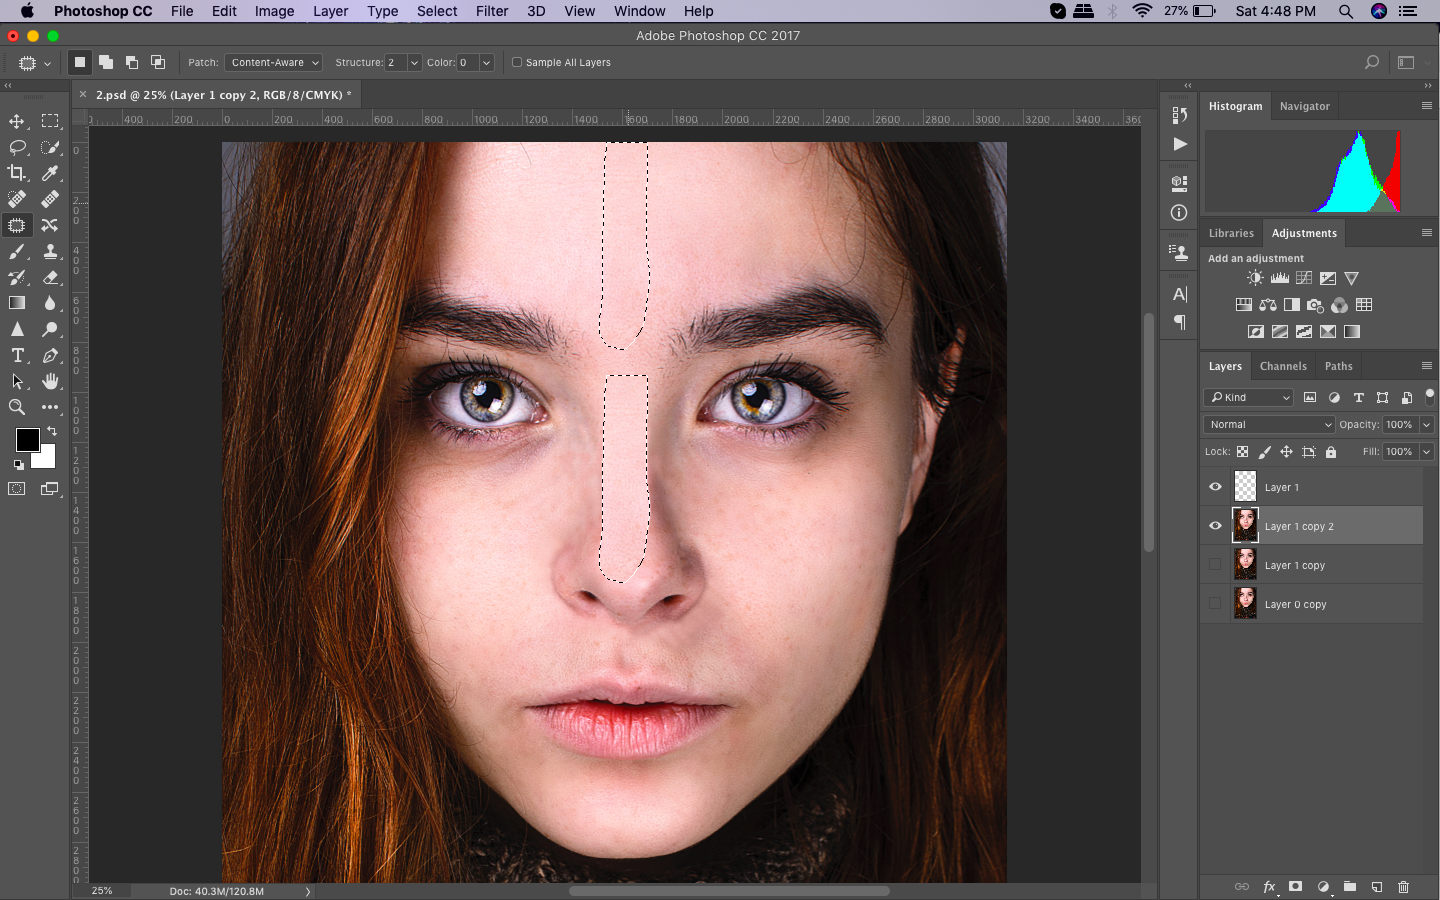
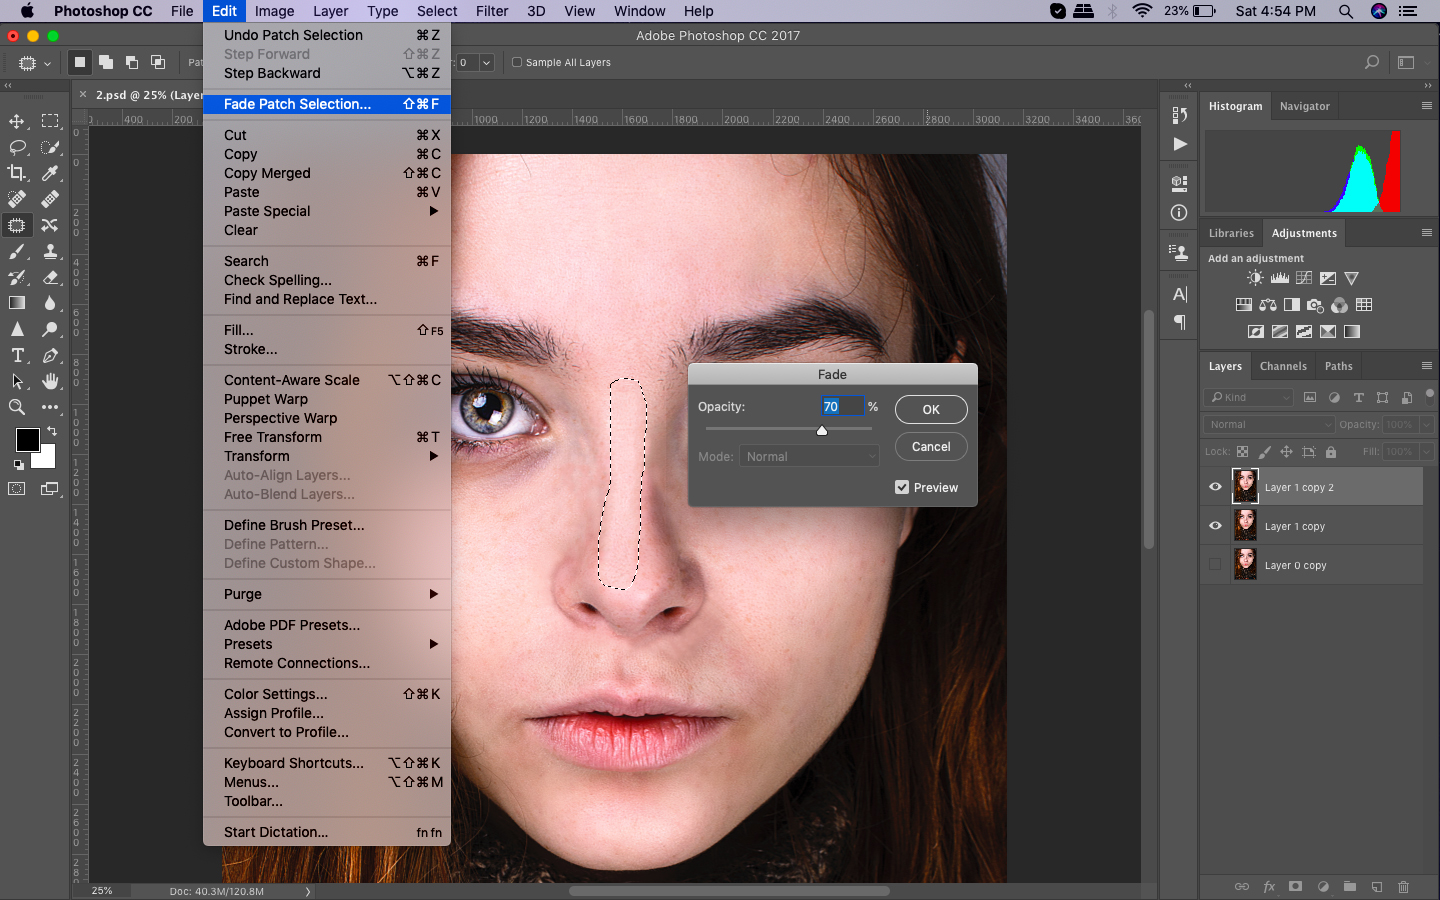
Hot spots are the highlights that look too bright on the photos. They make the face look sweaty. Of course, using a powder on the subject prior on taking the shot is better. However, These hot spots can also be eleminated with the aid of a patch tool.

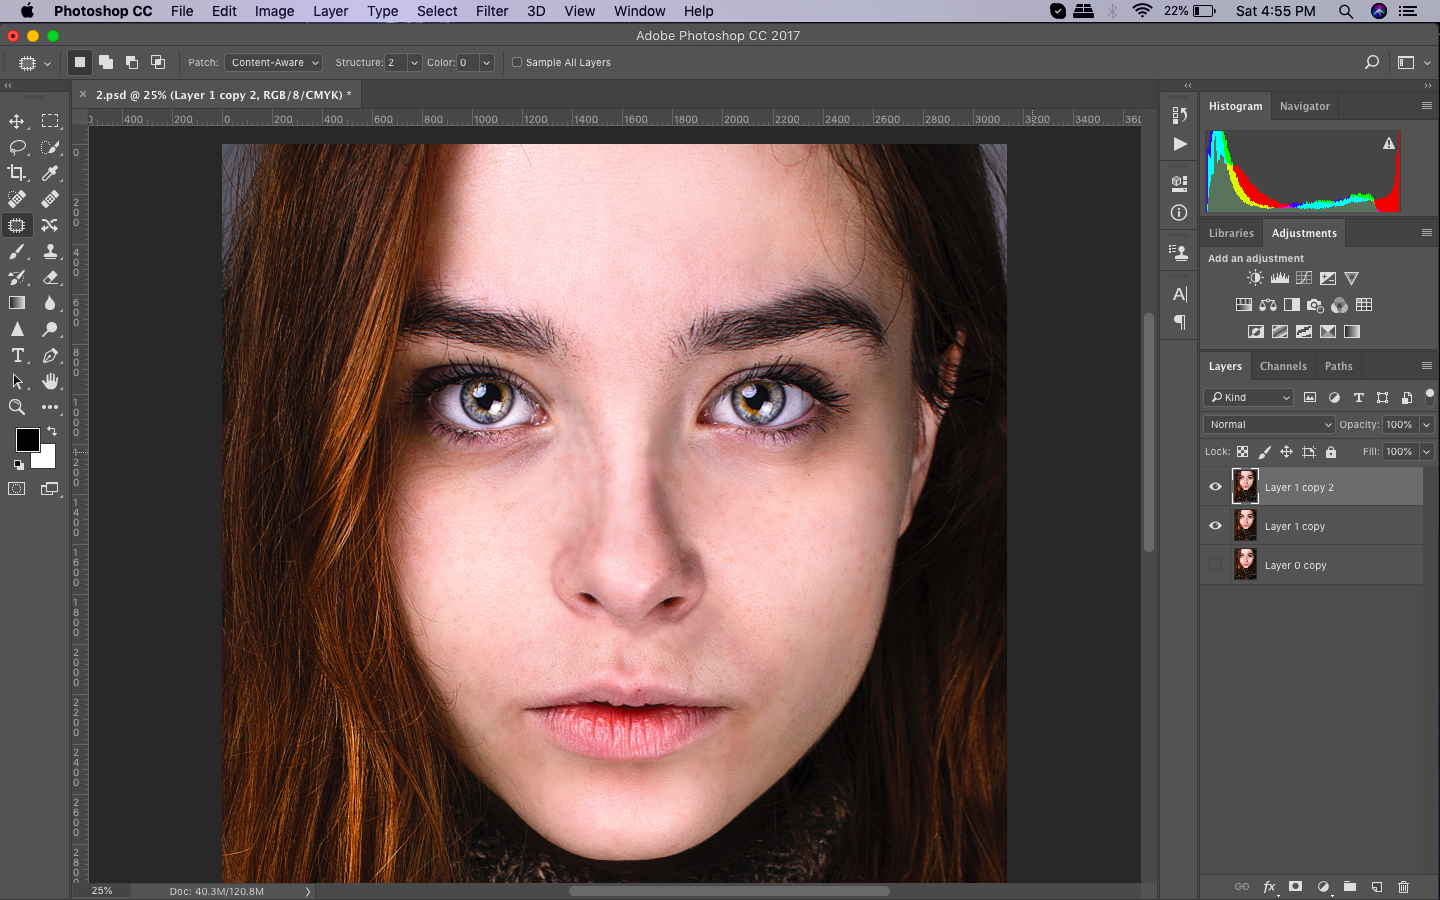
The Patch tool is the most ideal instrument to use for eliminating hot spots. Draw rough selections on the area surrounding the hot spots. Drag them towards a clear area. Make a new layer for this edit then adjust the tool to Content-Aware and Sample All Layers from the tool options. Tone down the opacity slightly to create a natural shine instead of a blaring highlight.
Tip: By separating the layers according to the current edits that you made, you can do a seamless headshot retouch. Using a non-destructive workflow, means that you can undo every mistake. The edits or effects you make along the way without compromising the original photo layer. It will also tone down the effects so that a natural finish appears later on.
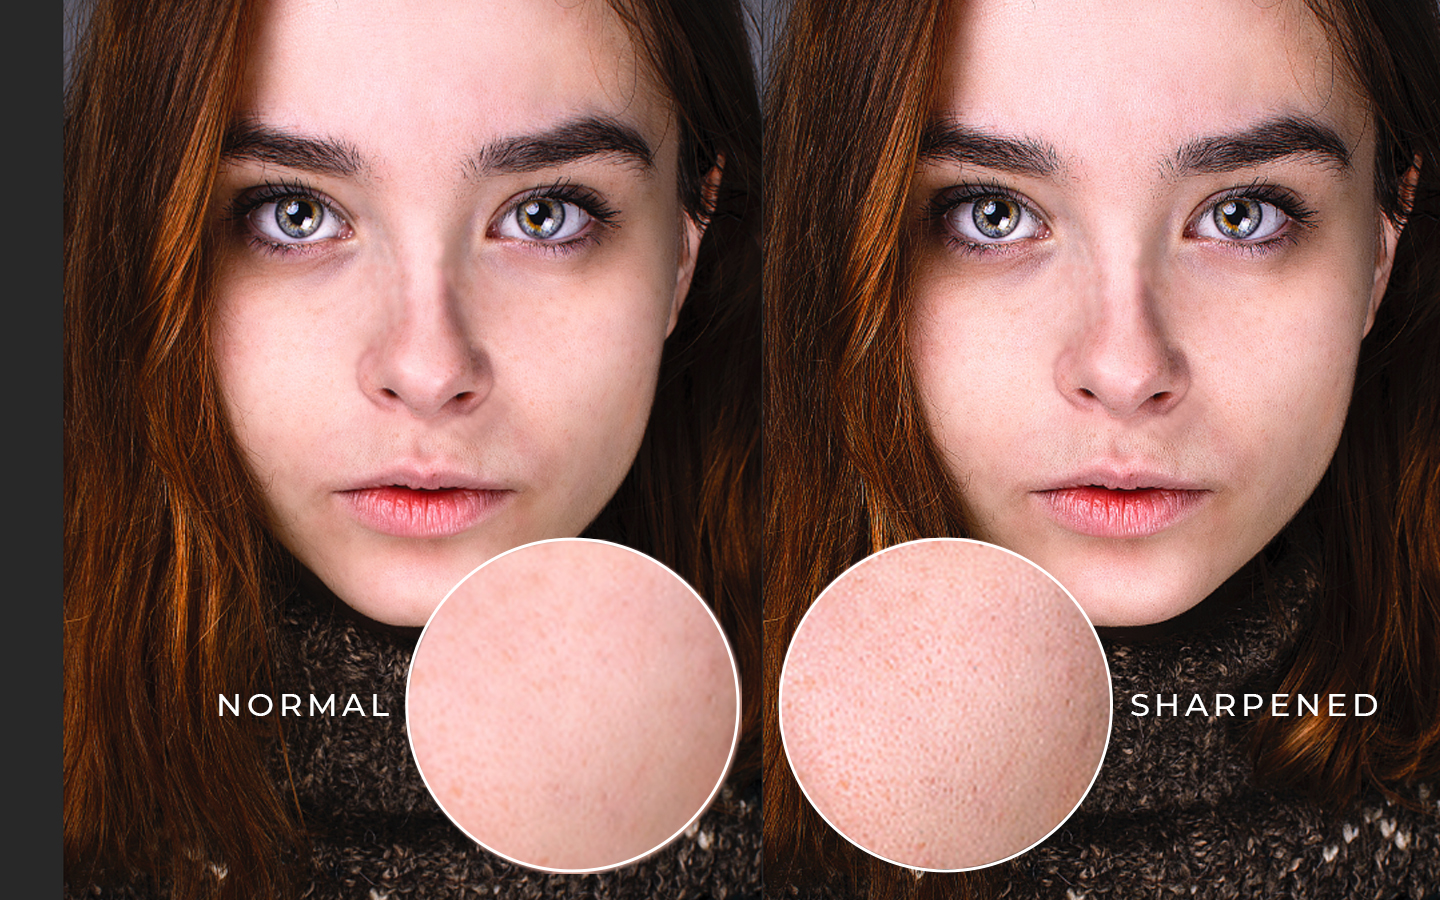
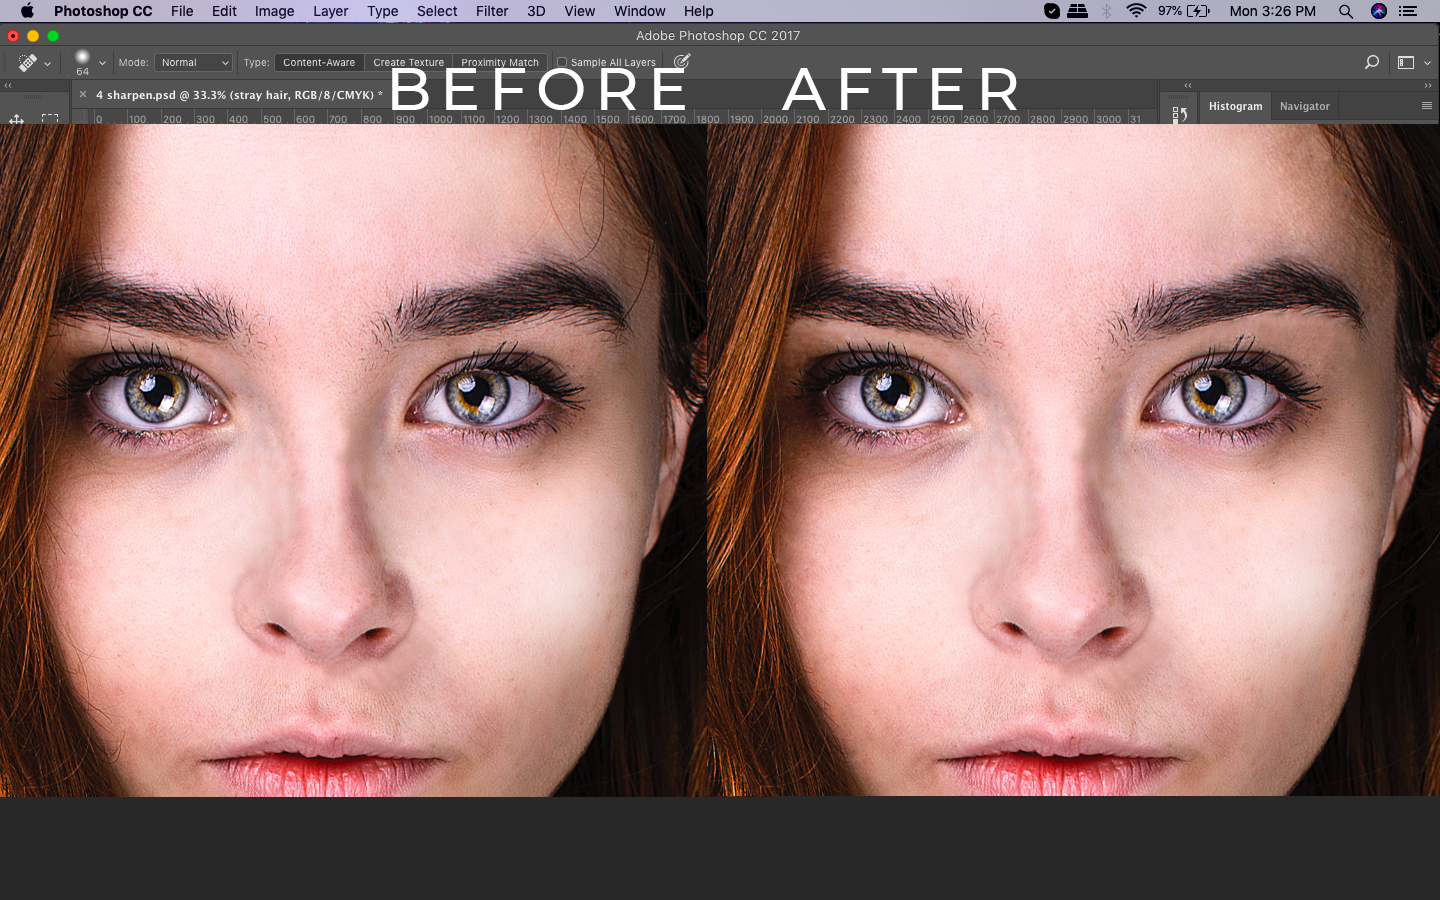
4. Sharpening the image.
Sharpening is one of the simples techniques in fulfilling a fine headshot retouch.
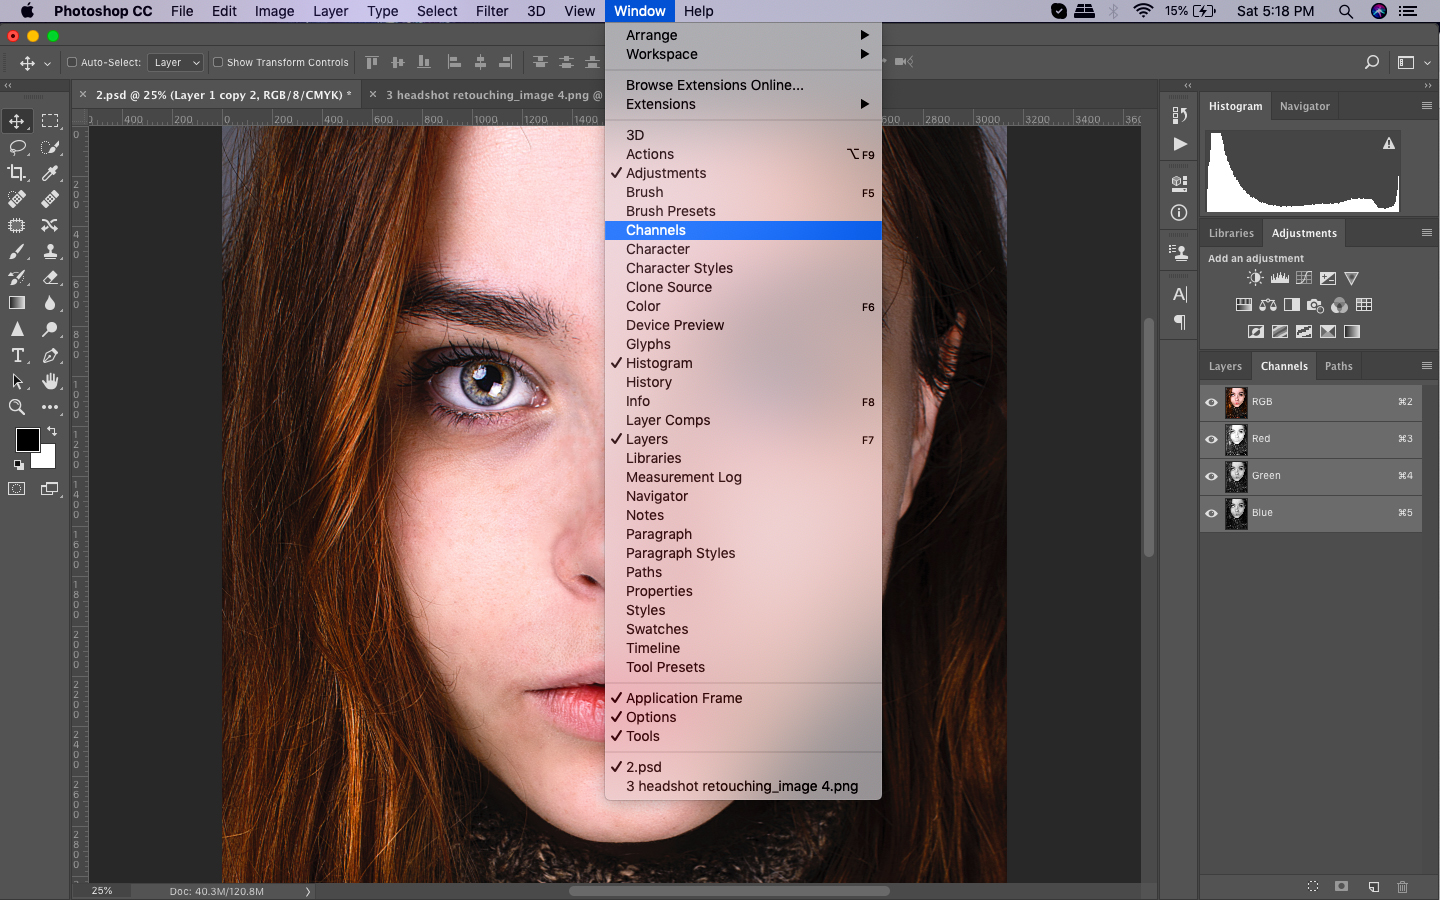
Sharpening solely on the red channel is a great trick because it contains very minimal skin texture. As you sharpen the facial details, the skin surrounding the details will be left untouched, retaining its softness.
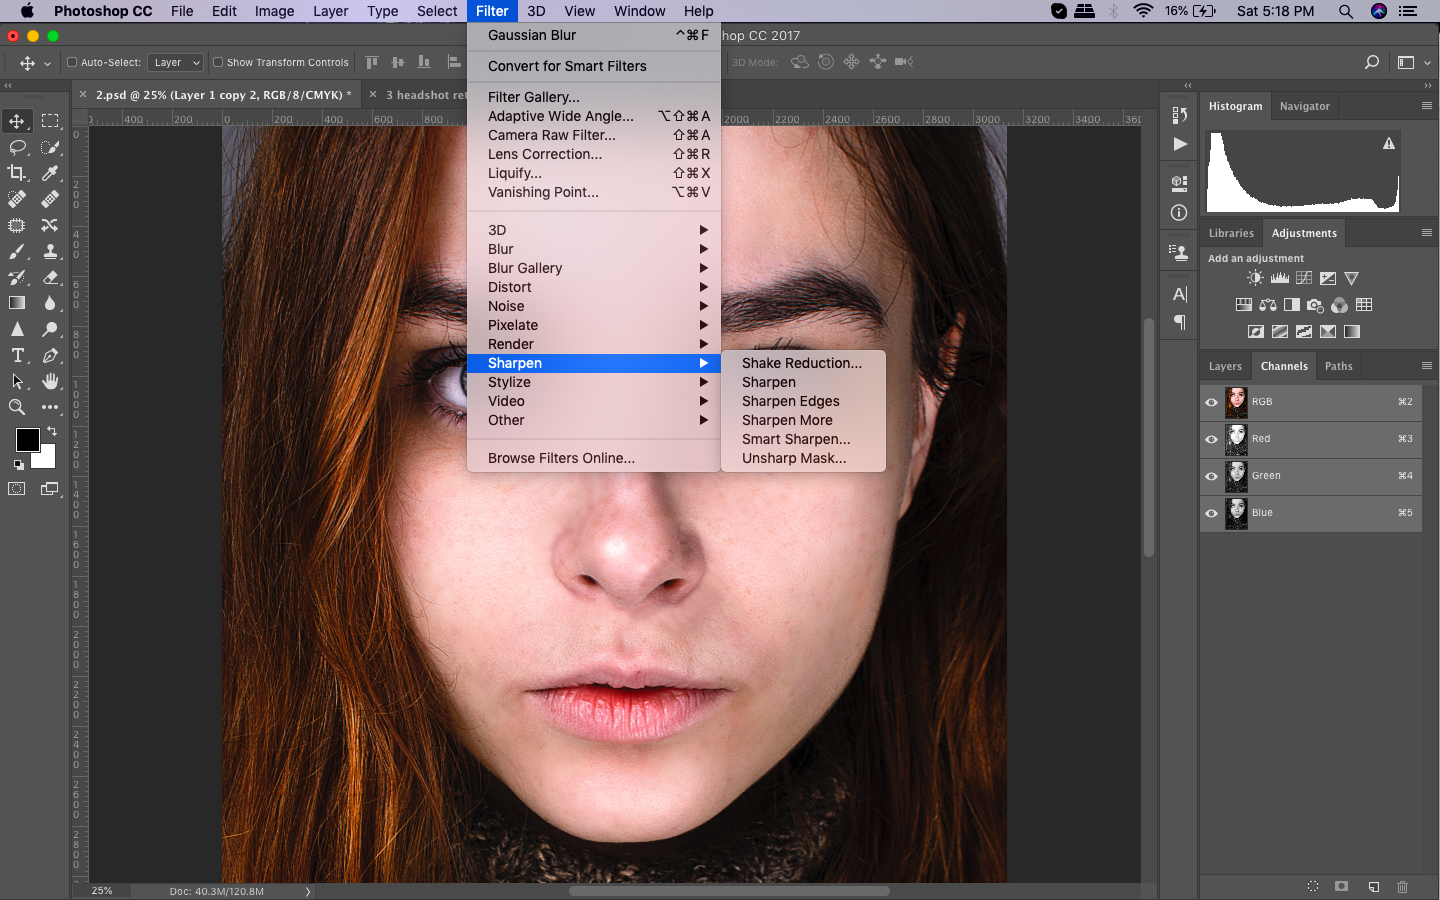
From the Channels panel, select the Red channel. Then, choose the Unsharp Mask from the Filter then Sharper tabs. The settings will vary according to the image resolution. These settings are great parameters to try: Amount at 100, Radius at 3.0 and Threshold at 0.

Click again on the RGB channel tab to see what happens on the image. You can expect the image to look more detailed but not too sharp.
Tip: Sharpening is one of the monotonous tasks that you will do when doing a headshot retouch. You can record an Action so that all the effects will show up without having to repeatedly do the tasks. Select the Action tab then click on Make a New Action. Click Record then start doing the edits and click Stop when you’re finished.
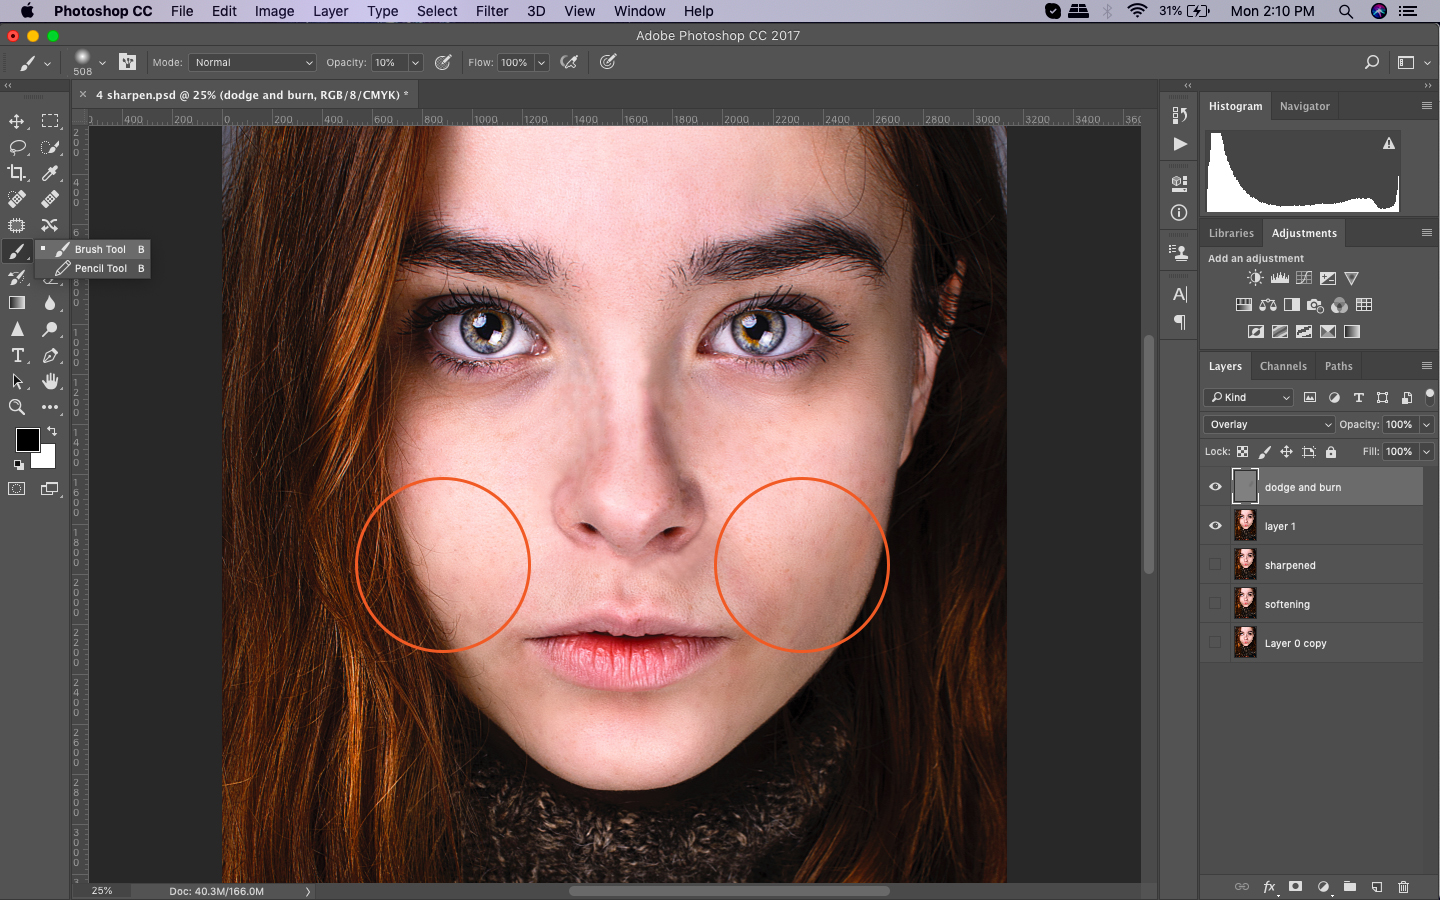
5. Dodge and Burn.
Selective application of light and dark elements will add depth to the image.
To dodge and burn some areas of the image, press and hold Alt then click Create New Layer. Name this layer to Dodge and Burn. Set the mode to overlay and check the box that will fill the image with a grey/neutral color. You will have a new invisible layer upon clicking OK.
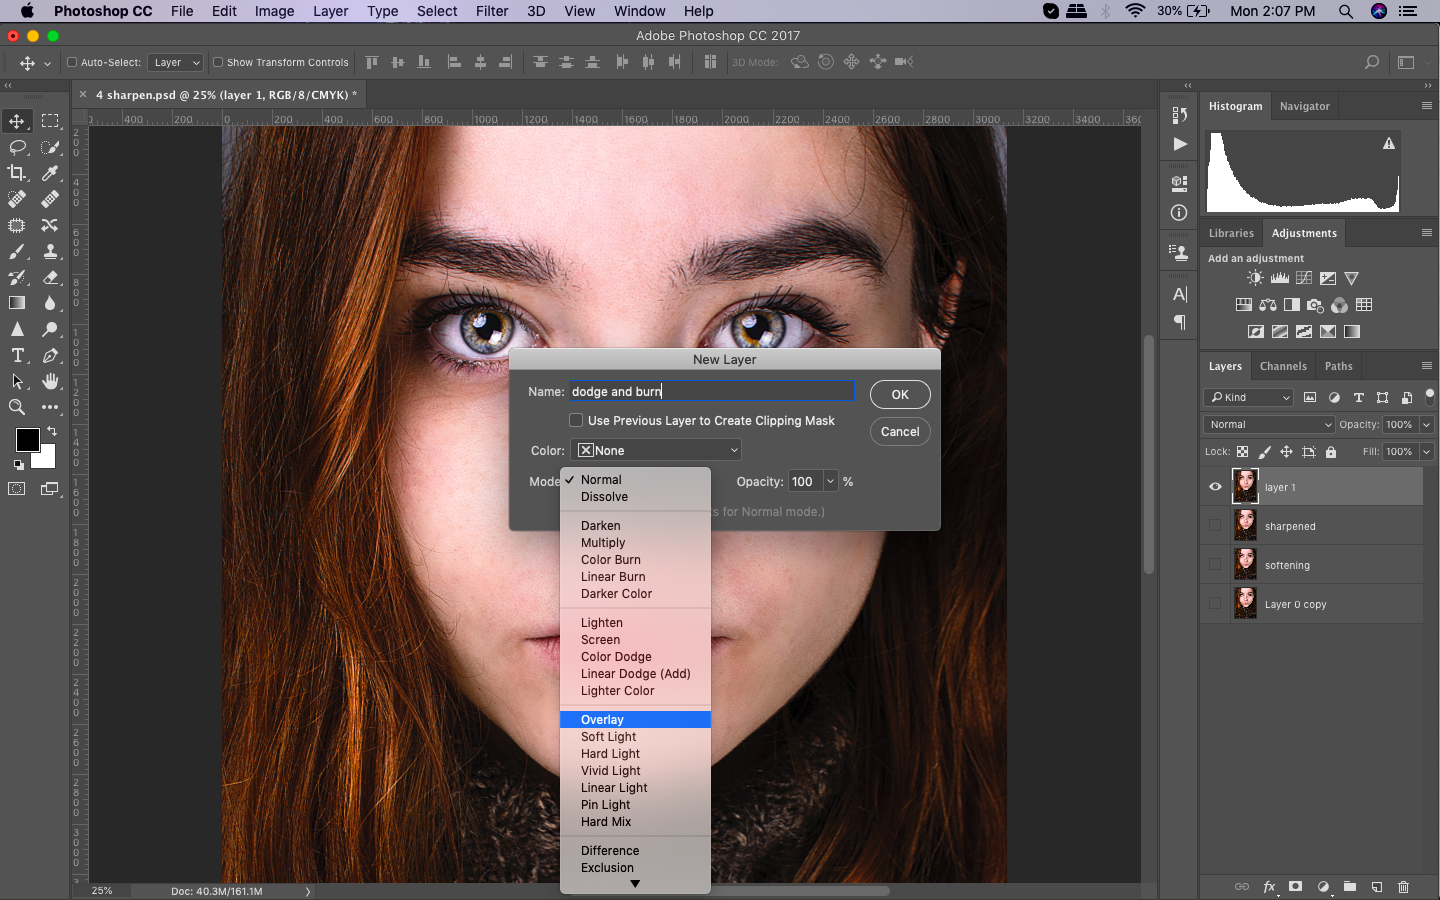
Use the brush tool to paint either black or white to darken or lighten the areas of the face. Set the Brush opacity to 10%. Try painting with black below the cheekbones, and other darker areas of the face. Paint white to lighten the lighter areas of the face, like above the cheekbones, by pressing X.
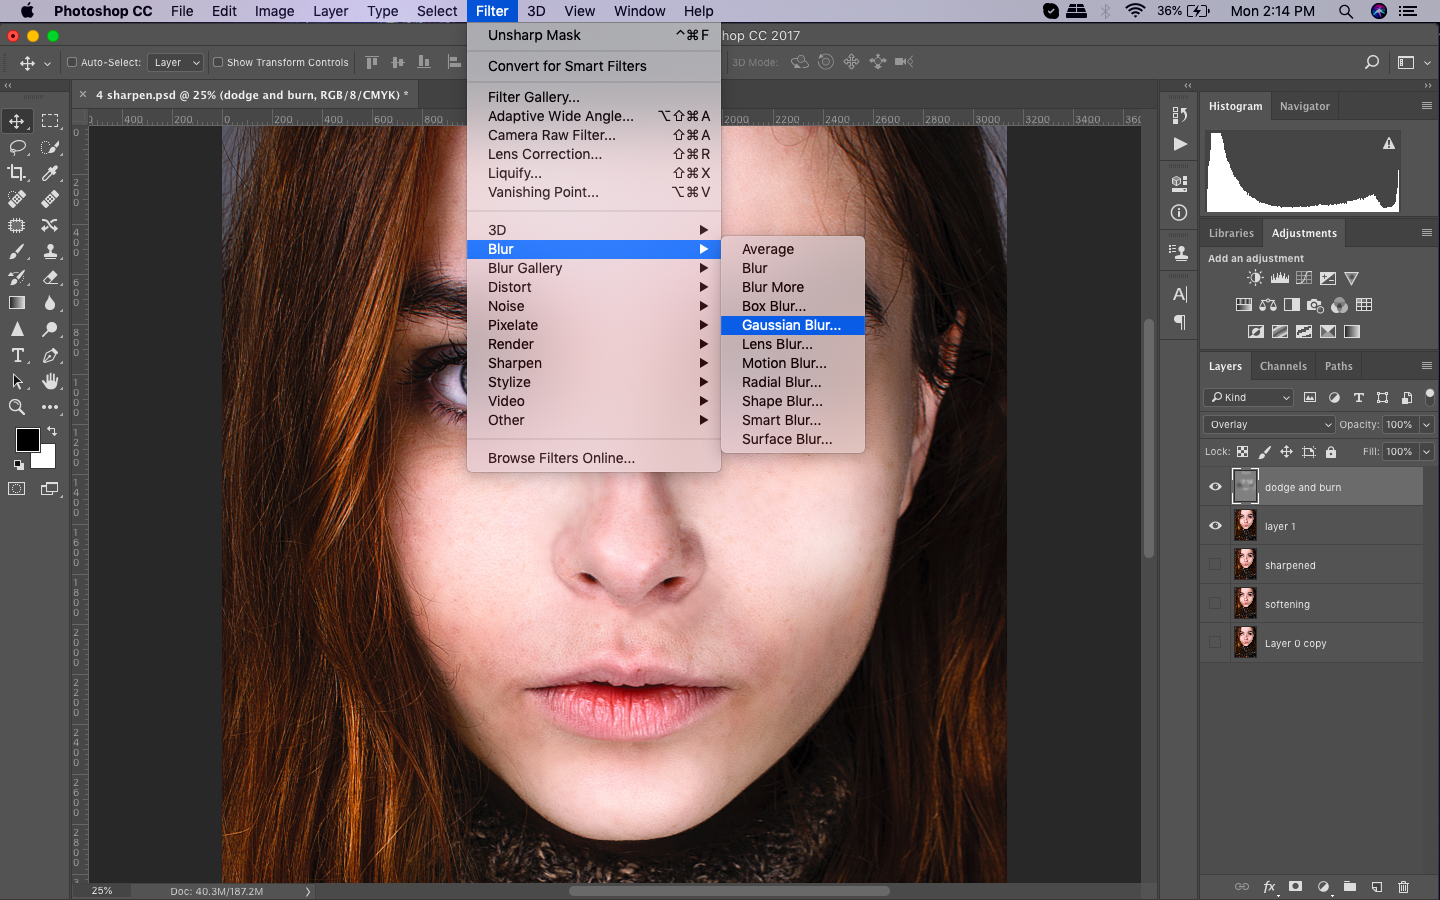
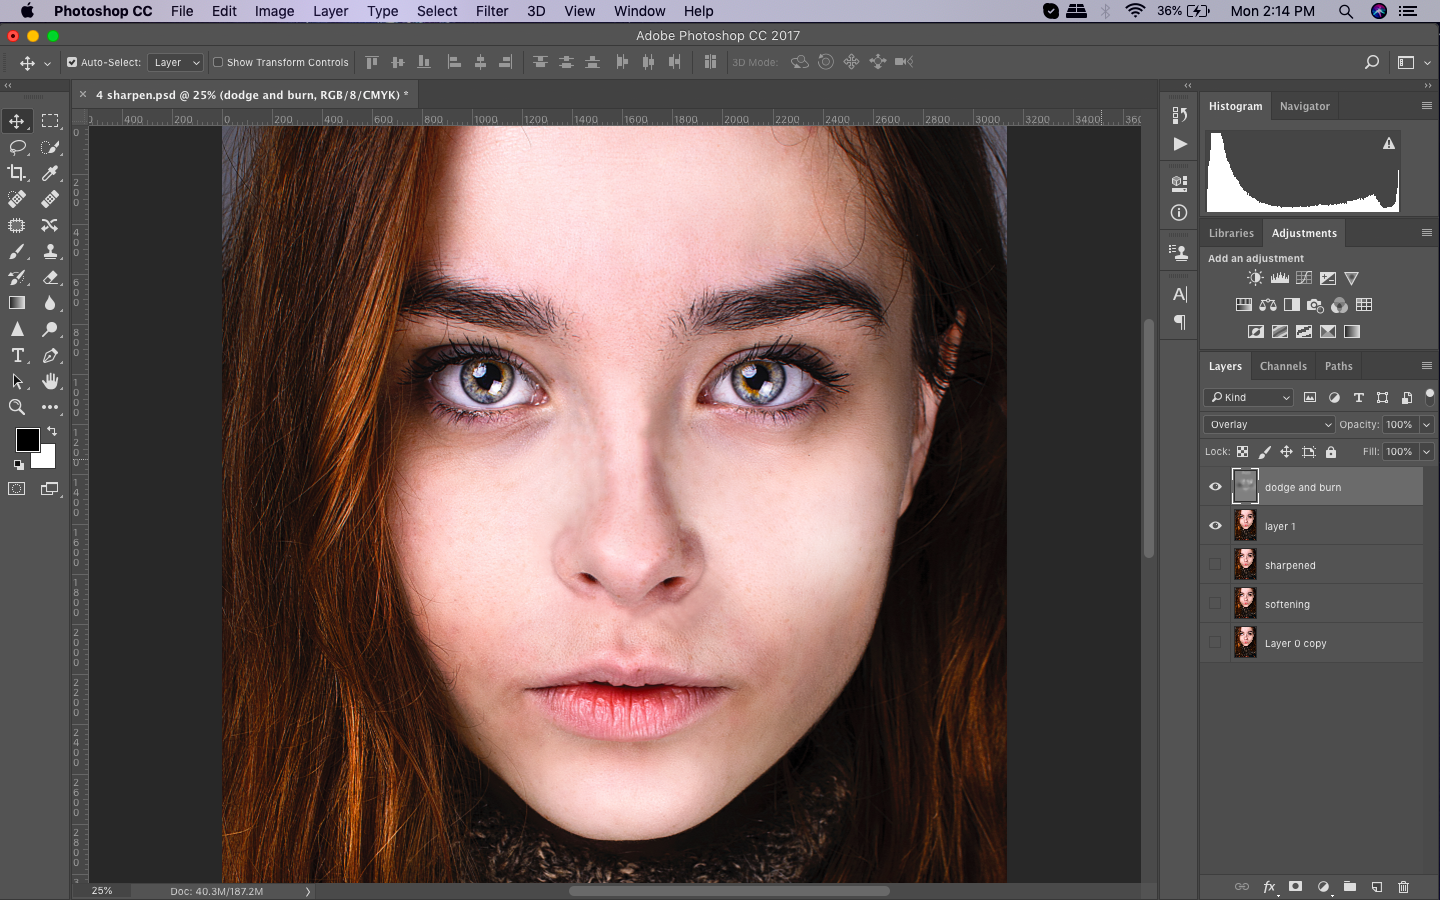
Tip: As soon as you finished with the Dodge and Burn Layer, choose Gaussian Blur from the Filter and Blur menu. You may use it to soften the layer and blend the brushstrokes for a more natural finish. Probably, one of the best effects in doing headshot retouch editing.
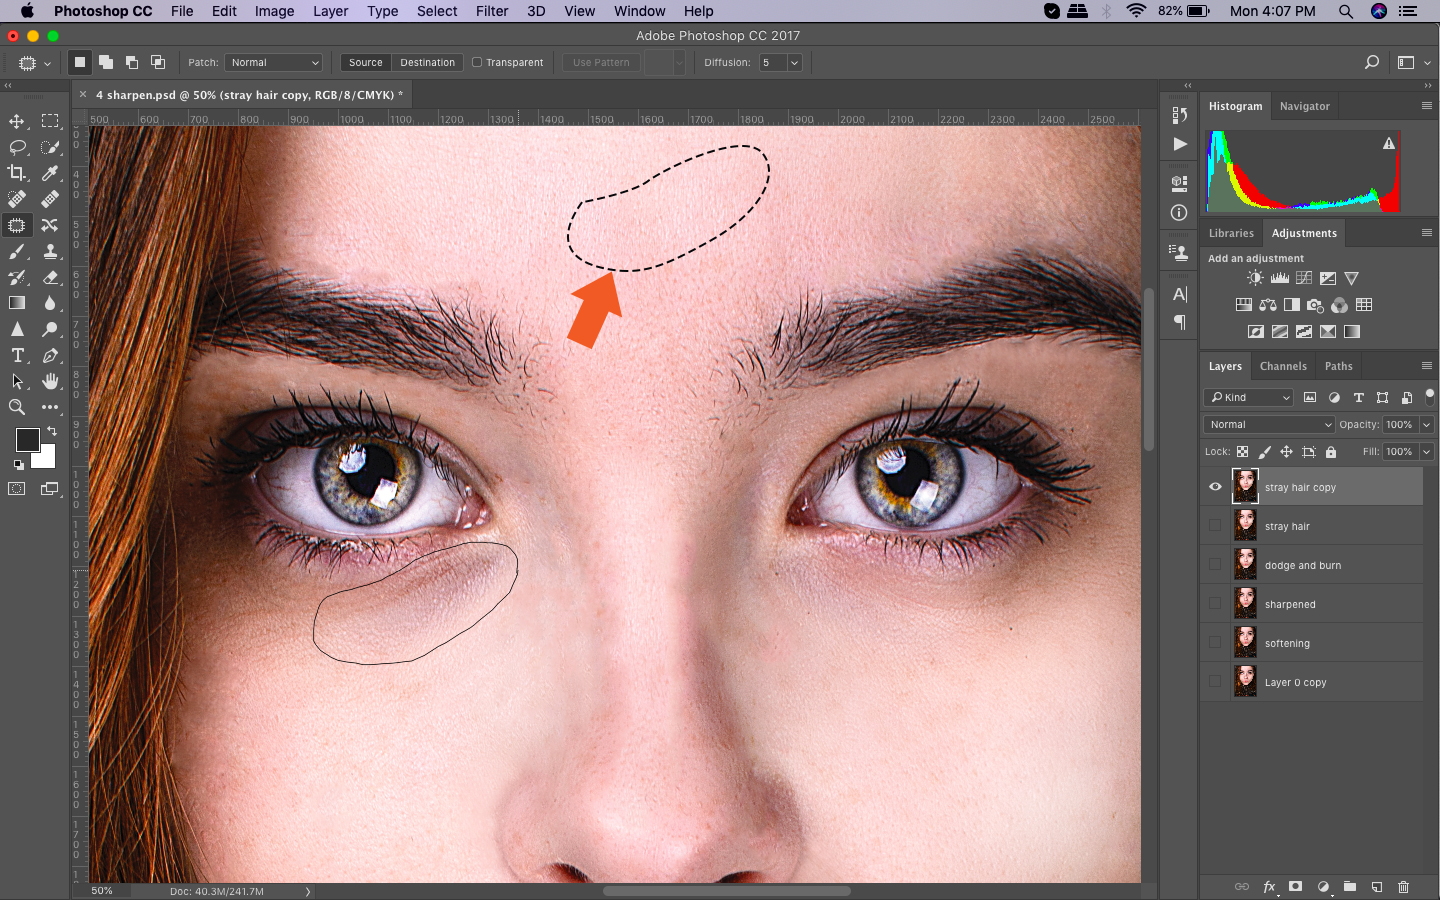
6. Stray Hair Removal.
Frizzy hairs may be retouched by utilizing the Spot Healing Brush tool. This tool can be tricky though. Because it tends to cause some smearing over the edge where the hair and the head meet.
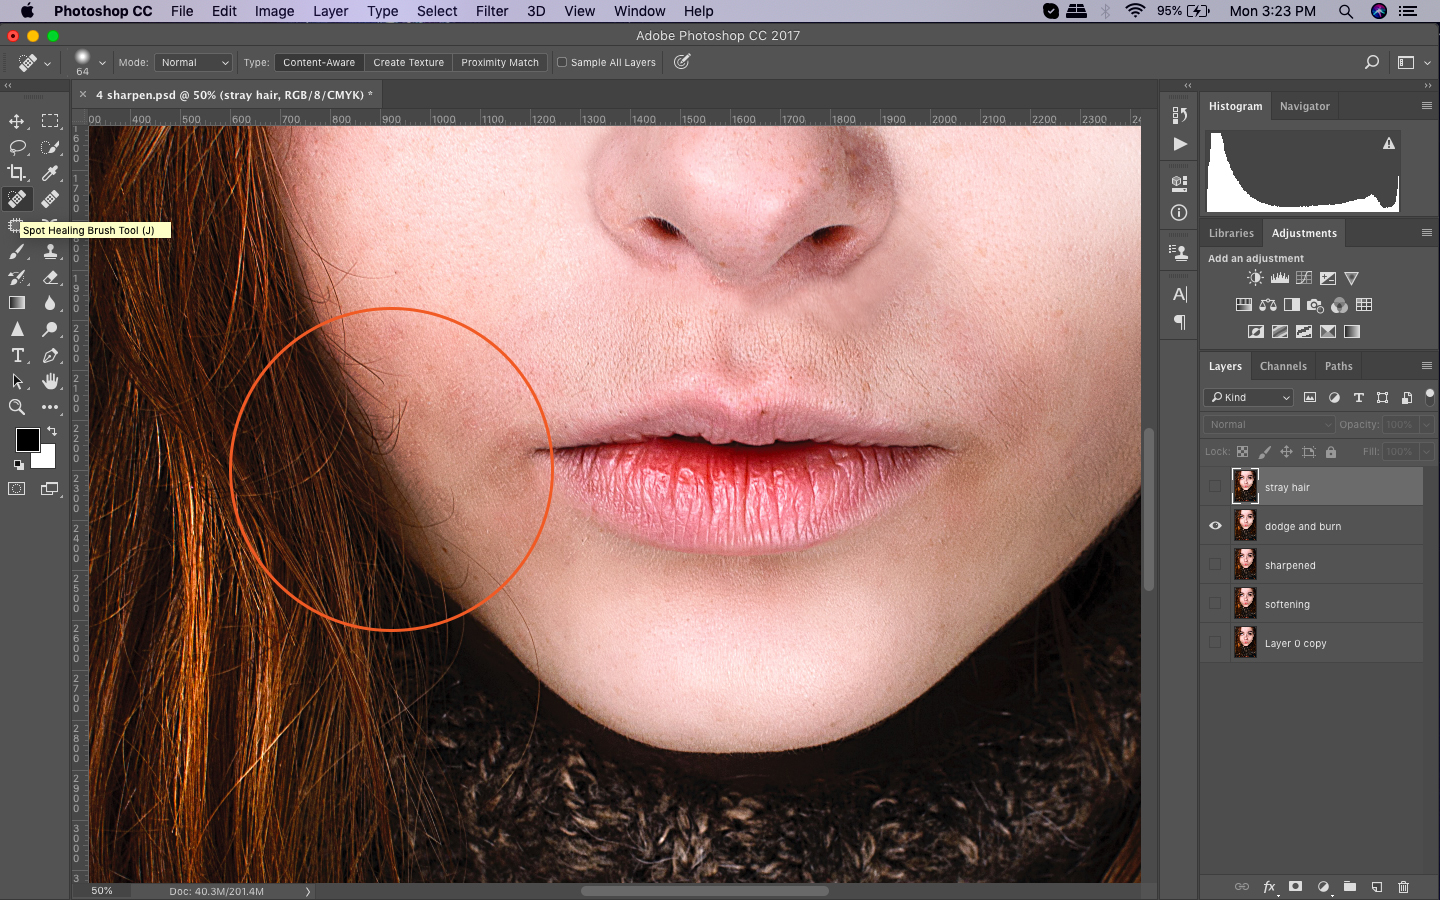
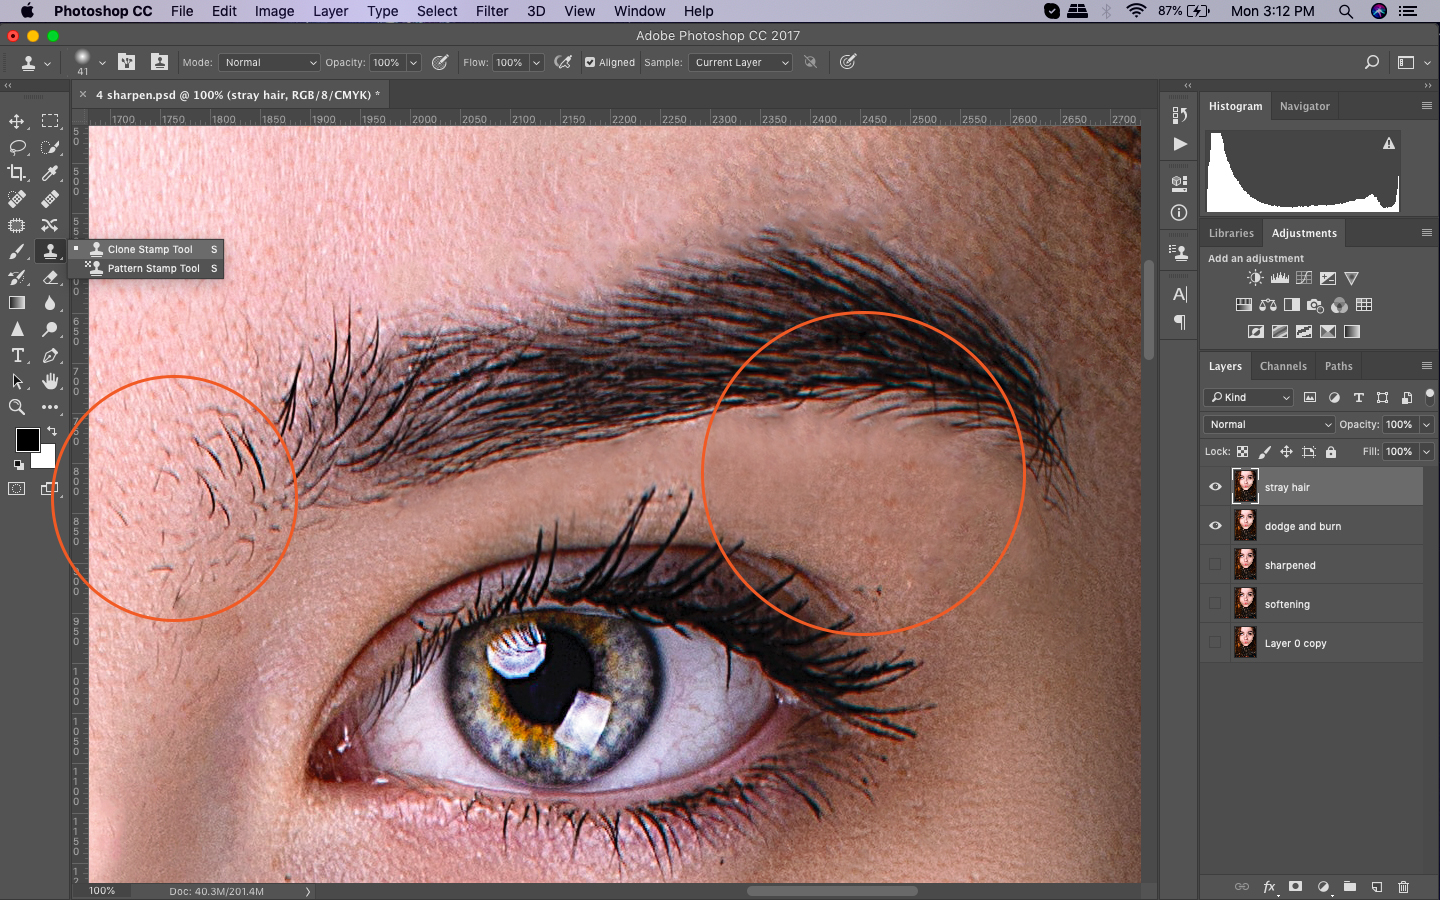
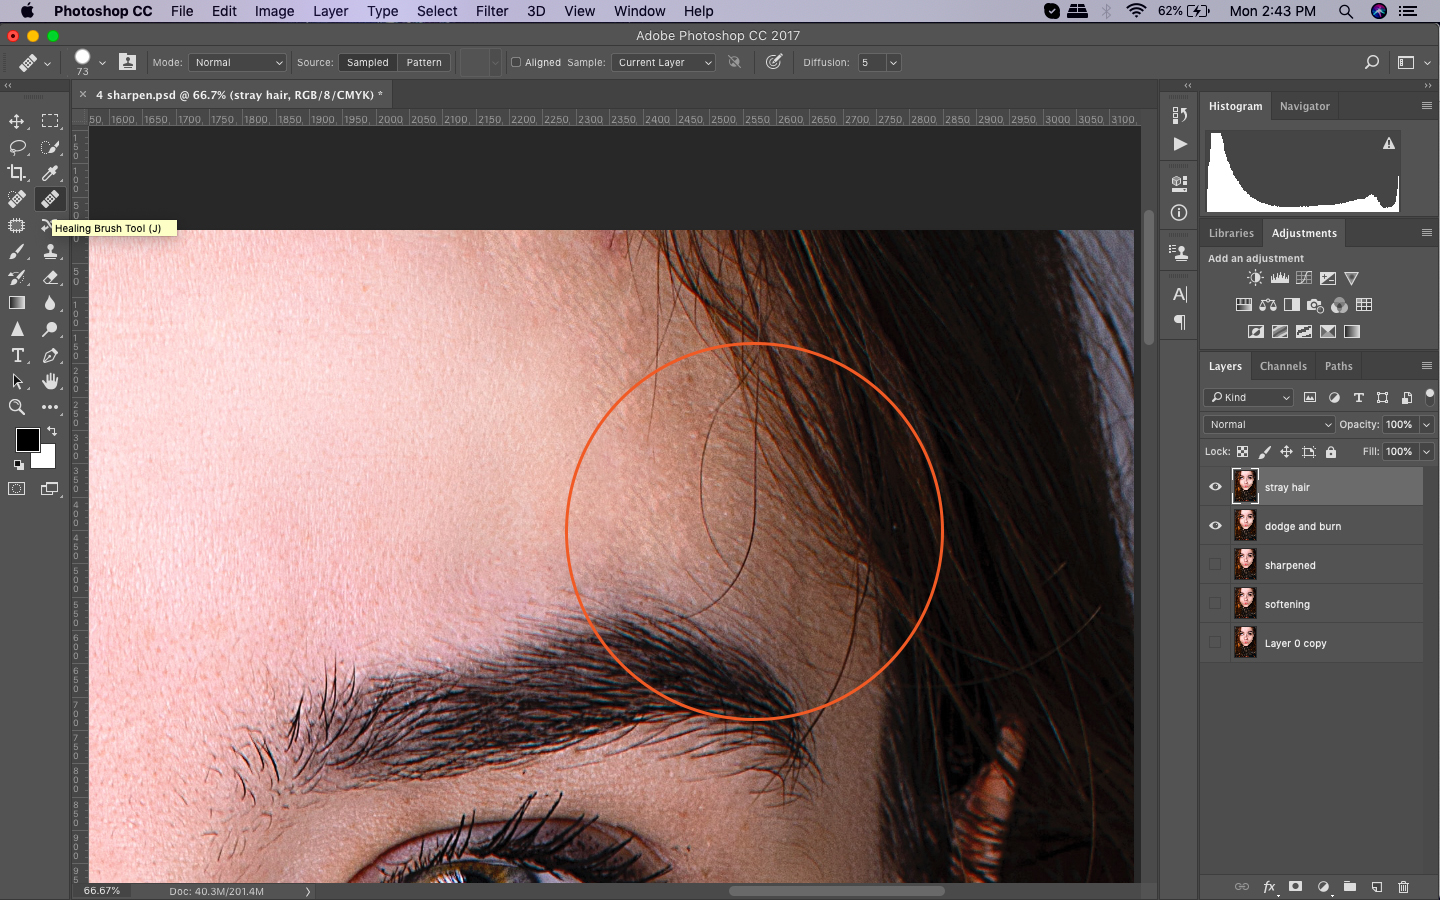
One way to remedy this is by either the Clone Stamp or the Healing Brush tool to cut off stray hair from the base. You can then use again the Spot Healing Brush tool. Paint on the area to get a sample color then use it to remove most of the strand.
Tip: Set the Spot Healing Brush, Healing Brush, and Clone Stamp tools to Sample All Layers. So that, you can non-destructively get color samples from below and still work on the new layer.
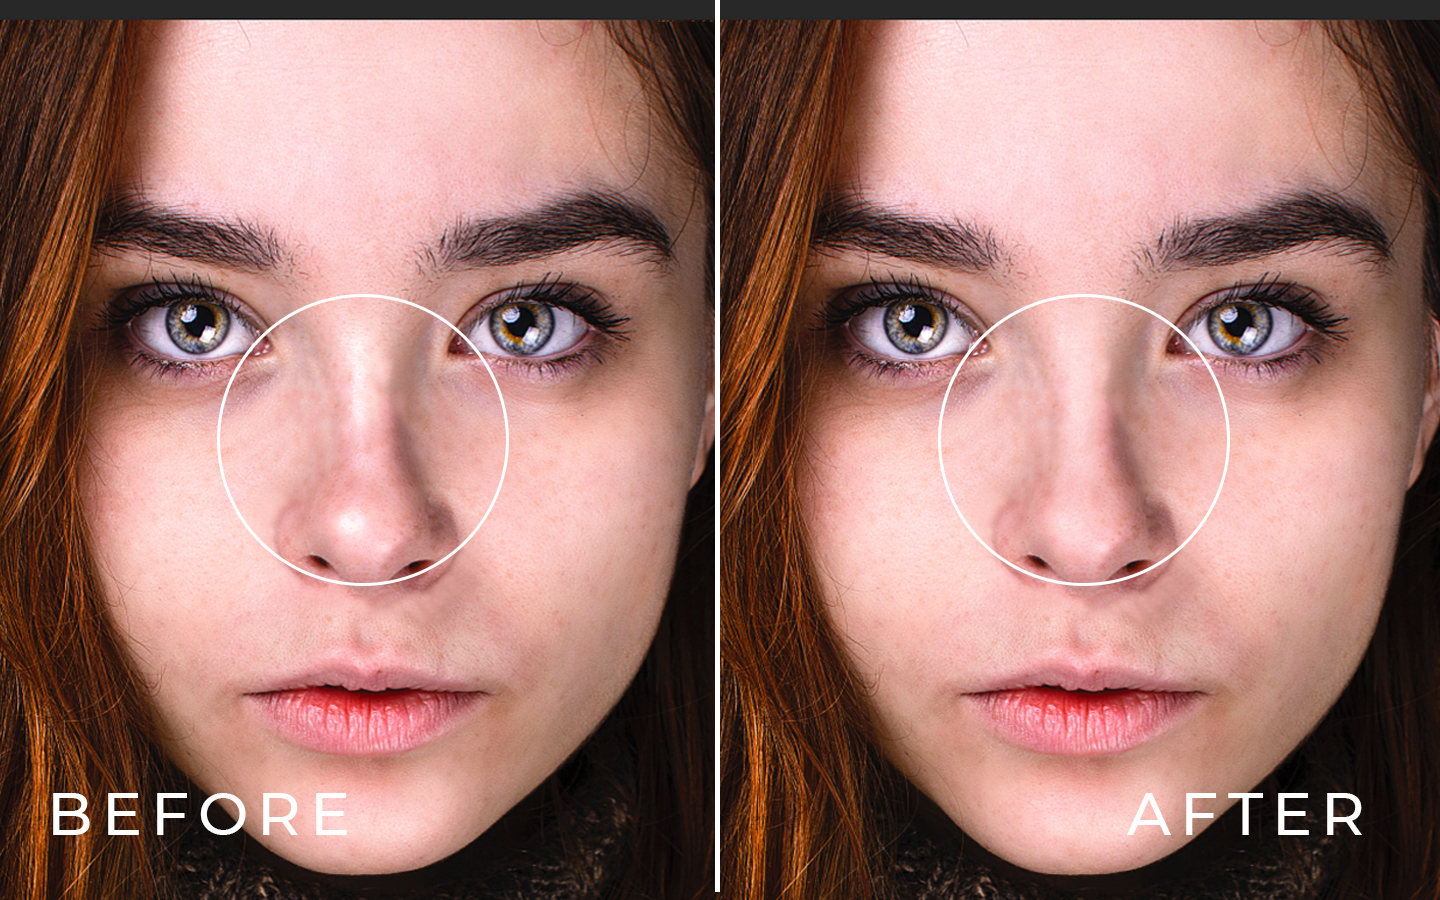
7. Eye bags removal.
It is easy to remove eye bags or the signs of not having enough sleep of your subject in the photo.
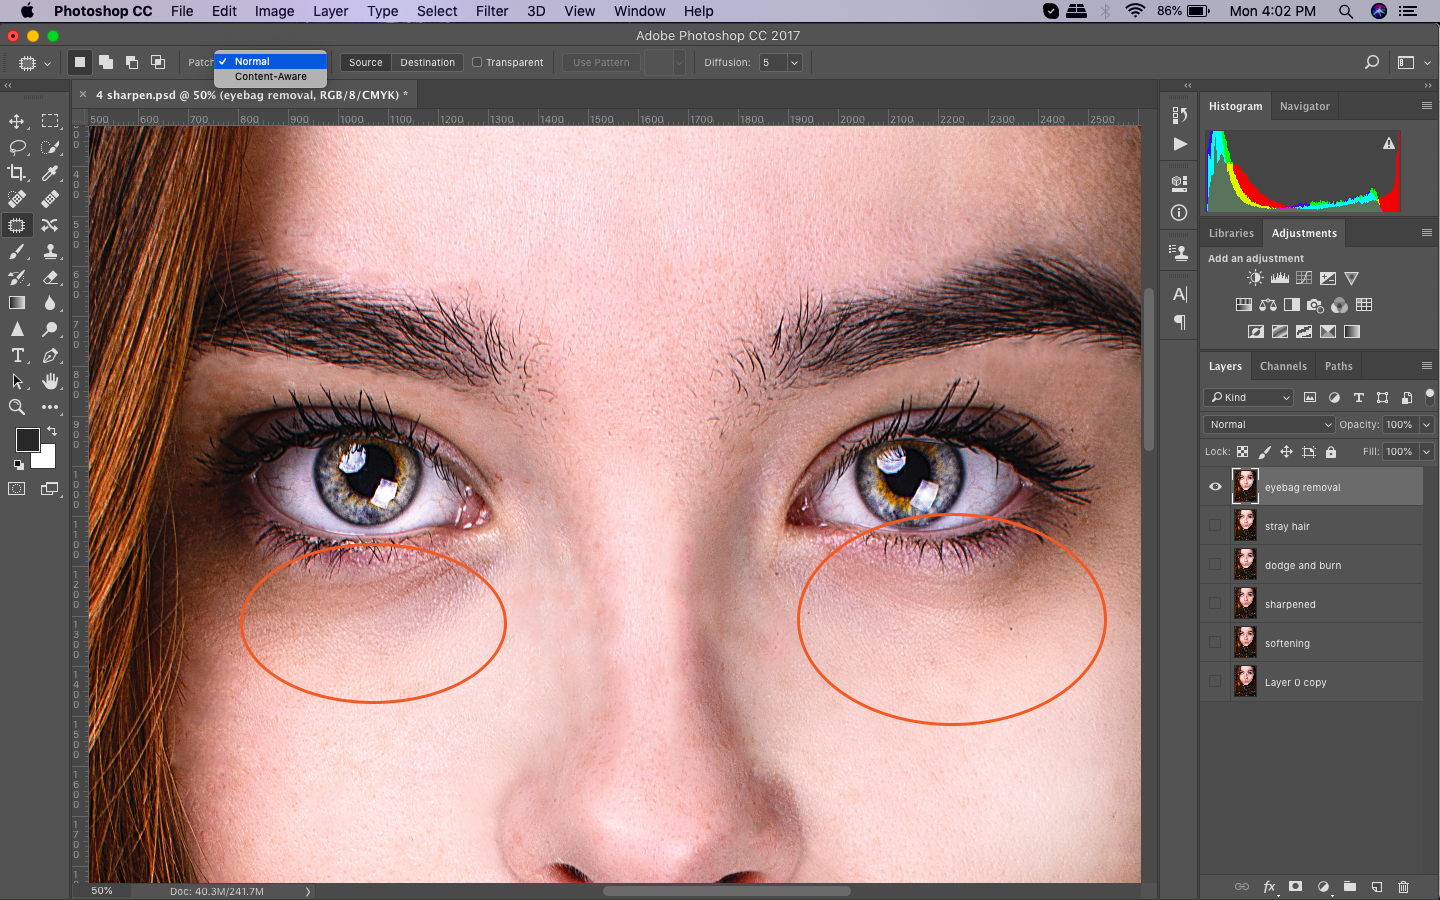
Duplicate the Background layer by pressing Ctrl/Cmd+J. Select the Patch tool. Set the tool options to Normal instead of Content-Aware to retain the natural texture. Use a dark patch to make a rough selection then drag it over a clean skin area. A blemish-free forehead is a good source for this purpose.
Click on Ctrl/Cmd+D then lower the layer opacity on the Layers Panel. Play around with the opacity until you achieve a natural finish. You can also switch and use the Cone Stamp to clone the opacity up to 20% and smooth out the rough areas that remained.

Tip: Working with a tablet is better when doing a headshot retouch. A pen lets you make precise actions compared to using a mouse. Program the hot keys to have your favorite shortcuts and actions ready.
Related Tutorials on How to Retouch Headshot in Photoshop
Now that you learn the basic technique on how to retouch portrait and headshot photos, you can explore more other techniques (from basic to advanced). Below are a few resources to help you improve your editing skills.
Tutorial 1 – The Art of Headshot Retouching — Using Affinity Photo
Tutorial 2 – The Art of Headshot Retouching — Dodging & Burning
Tutorial 3 – Professional Headshot Retouch Tutorial in Photoshop
Tutorial 4 – Photoshop Tutorial – Headshot Dramatic Retouch
With the number of Photoshop retouching techniques available, there are endless possibilities of doing a high-end retouching of photos. In this tutorial, you will have an idea about the different Photoshop tricks that will work best with headshots.