
When selling online, it requires good effort and innovative ways to effectively promote products. Sellers should be creative in presenting their products to customers. Since these kinds o products are only available to view online, ghost mannequin are especially important for products such as garments and clothes.
The use of mannequins is one great way to present products. With the help of a ghost mannequin, clothes are able to hold the product shape during photography. It makes the presentation look complete and professional. This way customers could clearly see all the important details of the product.
But using mannequins, per se, can be distracting and there are even people who find it a bit terrifying. To avoid shooing the customers away, an online entrepreneur must master how to create a ghost mannequin effect for product images.
What Is Ghost Mannequin Effect in Product Photography?
The ghost mannequin effect, or invisible mannequin/ hollow man effect, is a professional way of presenting the fit and shape of products without visible models or mannequins. It is important in the apparel industry that customers are not distracted when looking at the clothes. As a seller, you need to ensure that the potential buyers can have a clear picture of the product beyond the usual images that show the clothes as either flat or folded. Creating a 3D effect by using the ghost mannequin effect will provide another level of detail. Customers will then be able to see how the clothes or products will look when worn.
Simple Steps in Mastering Ghost Mannequin Photography
It may look complicated but ghost mannequin photography is actually simple to achieve. This post-production technique requires the use of powerful editing software, like Photoshop. Unlike other photo editing services, like clipping path service, there are more processes involved in creating the ghost mannequin technique. It basically involves taking multiple photos of the product. First is a picture the product/garment placed on a mannequin. Then, another picture of just the garment flat on a surface. After that, combine the two shots, and then remove the mannequin int the final photo.
Here is a simple step-by-step guide to show you how to do it using Photoshop:
1. Selecting the Mannequin/Model and the Posing
Just like fitting clothes on an actual human being, you need to have a mannequin that will best fit with the product. Mannequins come in different shapes and sizes. So, you must have one that will fit the garment just right.
If you want to have the perfect ghost mannequin effect, you need to position the mannequin or a live model to a static pose. This will give the customer a better view of the product. This is better than when a model does a live movement pose, i.e. putting the arms or body in a certain angle.
Another important thing to remember is to have minimal styling on the model or mannequin. This will prevent having a lot of details on the photo so that only minimal editing will be required later. If having a live model, the hair should be tied up and not be included in the shot.
As for using a mannequin, there are plenty of mannequins to choose from. You can have one that has arms, legs, neck, head, and limbs, or without them and have just the torso. One tip to consider is to choose a white matte mannequin. This is essential if you do not want to have unnecessary reflections that will make it more difficult to edit out the mannequin later.
2. Preparing the Equipment and Setup
High-end retouching can be achieved if you already have high quality photographs. This is possible through taking photographs in a pro or studio setting.
It is essential to prepare the right equipment, such as lights, cameras, effects, etc., to make the ghost effect more appealing. DSLR cameras have different settings that can be set according to how you would like the photographs to turn out. Play with the settings by having test shots on different products and see what settings work best.
3. Taking Product Photos
One way to keep product photos look accurate is by taking the photos from a correct angle. For example, for shirts, the camera should level directly towards the chest area. This will give a clear view of how the shirt would look like when worn. Bottoms, on the other hand, should be photographed across from the hip area.
When you take photos using an incorrect camera position, the garment will look unappealing and may even give the impression of being inaccurate. Photos will look more flattering, when you take the shot from the correct angle. A telephoto zoom lens can aid in minimizing distortions and will give you more freedom to get either as close to the subject or as far from the garment.
The studio size should also be big enough to accommodate both the products and equipment. Mannequins are life-sized so you must factor its size when choosing the area to photograph your products. There should be ample space for lighting fixtures, umbrellas, backdrops, and other equipment.
To create a 3D image, you have to take a shot of both the front and back views of the product on the mannequin. After capturing that, hang the product and style it on a white foam board and have another round of front and back view shots. This will serve as the inner part of the garment when combining the photos.
Collared shirts and garments with other details may need to be photographed inside out, or with the top parts open and inner back visible.
Post-Processing Steps
After successfully taking photographs at multiple angles, it is now time to “stitch” the photos to create the ghost mannequin effect. Photo editing services post-process images according to the specifications of the client. High-end retouching services, like a clipping path service, are common along with a 3D effect in invisible mannequin photos. Follow these steps to do it correctly:
1. Create Layers in Photoshop
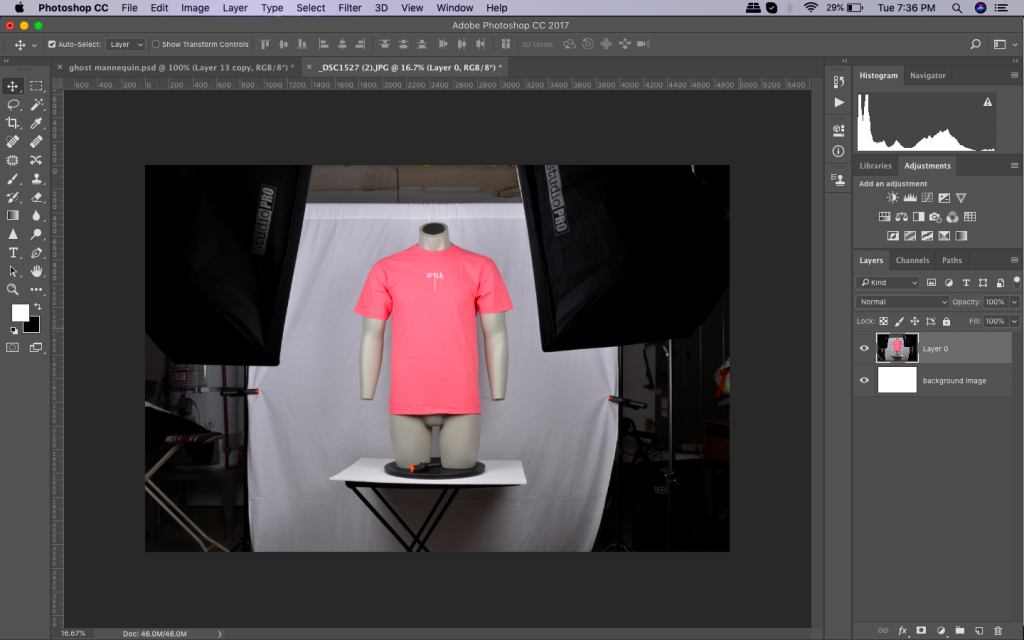
Locate and open both the mannequin and foam board images in Photoshop. Select the mannequin image then use it to create a new background layer then fill it with white. It will be the overall background for the final photo. Remember to label all the layers in order to tell them apart.
2. Select the Product in the Mannequin Image
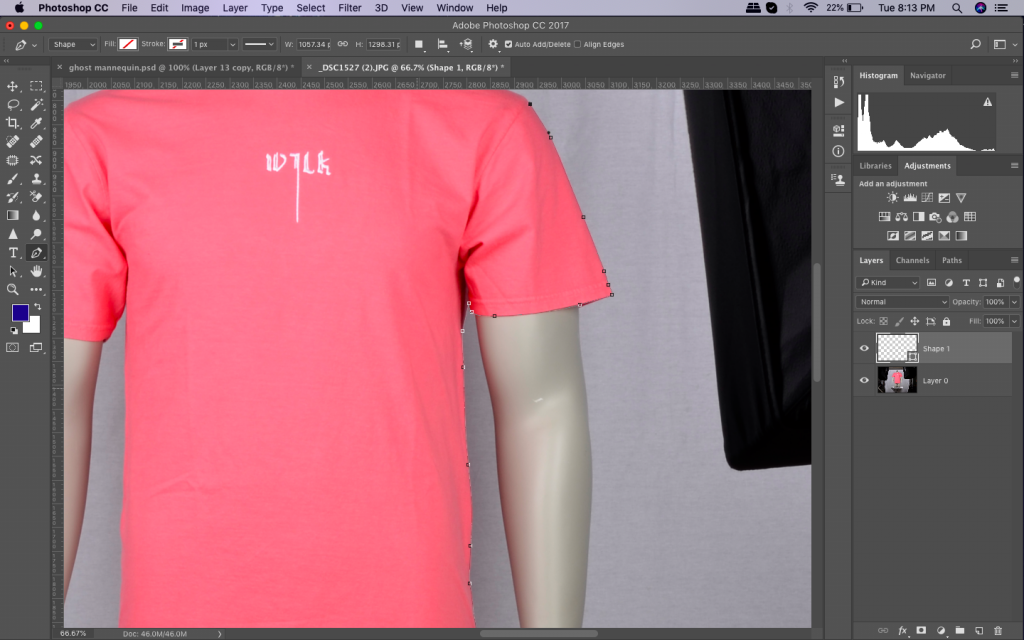
Using a selection tool (quick selection, magic wand, lasso), separate the garment from the mannequin. This will be easy if you use a white background during product photography. Zoom in tight to perfectly isolate the product from the background.
3. Refine the Mask
After selecting the product, refine the mask to ensure a nice and tight finish. The background and mannequin should be completely removed from the garment. You may use the “Refine Edge” tool from the “Select” menu. Place a mask on the garment layer and you will see it floating freely.
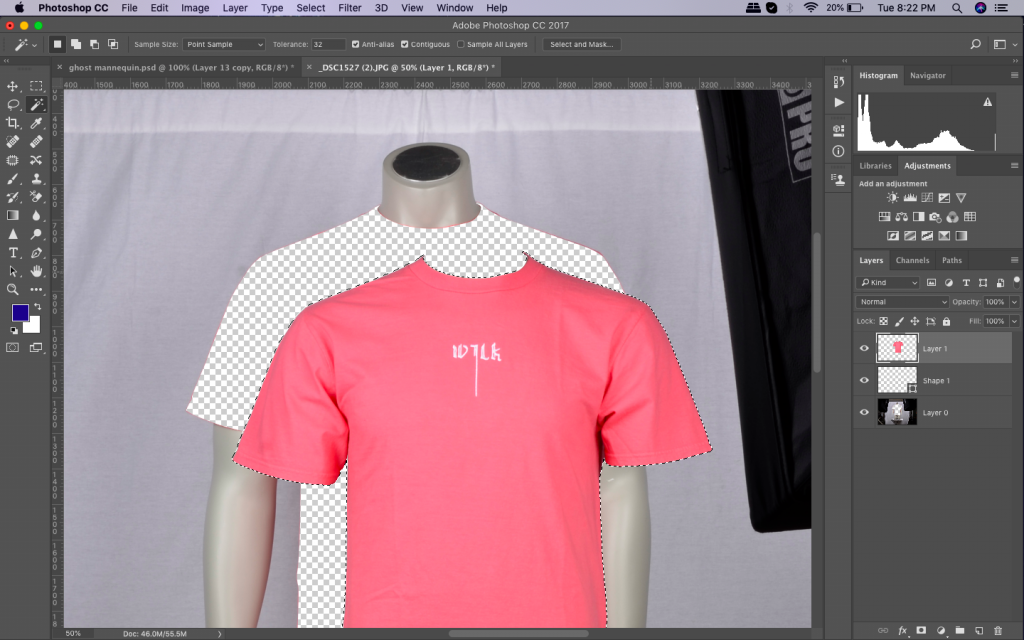
4. Rinse and Repeat the Same Steps Using the Foam Board Image
Do steps 1,2, and 3 but this time, use the foam board product image. It may seem odd to do it on the different images but this is important in creating the illusion of having an invisible mannequin wearing the product. Again, create a layer, select the garment, and refine/ create the mask.
5. Combine the Images
Once the mannequin image and the foam board image have tight and clean masks, drag the foam board layer over the mannequin product image. The foam board image should be below the mannequin image. Adjust the layers accordingly so that the proportions perfectly match together.
6. Clean the Foam Board Layer
Some areas of the foam board layer must not be showing in the final photo. Brush off the excess parts but remember to keep the neckline triangles that are between the shoulders.
Always check if the layers look clean and not unnecessary parts are sticking out or are out of the alignment. The neck and shoulder areas should be perfectly aligned to have a seamless photo.
7. Adding Shadows and Saving the Final Image.
Shadows can create depth to the photo. Add a shadow in between the two layers and save a copy of this Photoshop file, layers and all, to be safe.
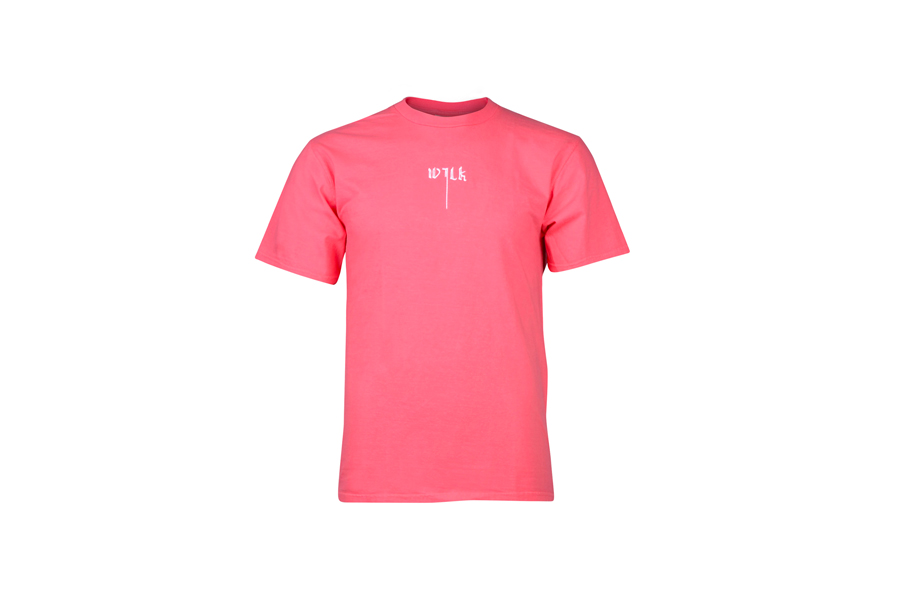
After having a copy of the layers file, you can either merge or flatten the layers before saving it as a different file. If done well, the result will look realistic and more professional. And you are done! The image will have the 3D ghost mannequin effect that you want for your products.
Conclusion:
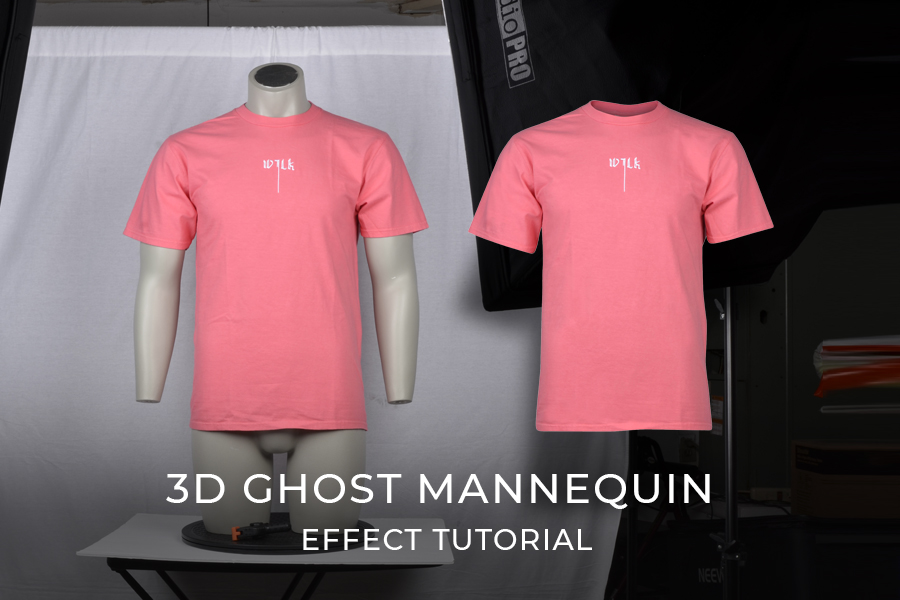
Basically, ghost mannequin photography is combining images where the first photo is the on-body photo. Other photos are the flat views or the interior parts of the garment. It usually involves two or more photos depending on the shape of the product and its details.
Ghost mannequin photography is an upscale photo retouching service where products should show a lifelike presentation. This type of product photography directs all attention to the product itself. Because of the invisible effect on the mannequin or model wearing the product, the customer can focus solely on the product. This is a great strategy in elevating your product presentation. It will ensure an attractive and unique staging of products to make them look more appealing and help elevate sales.
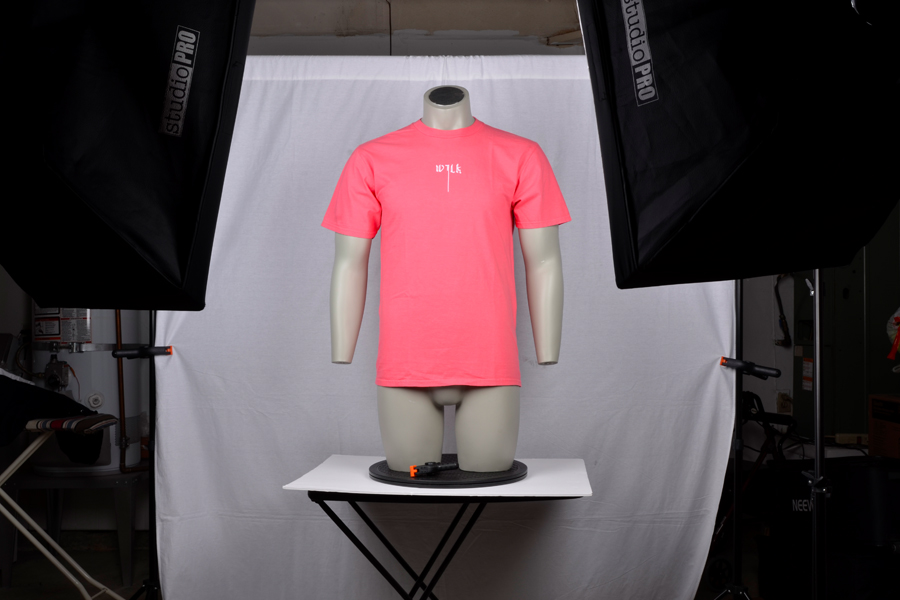
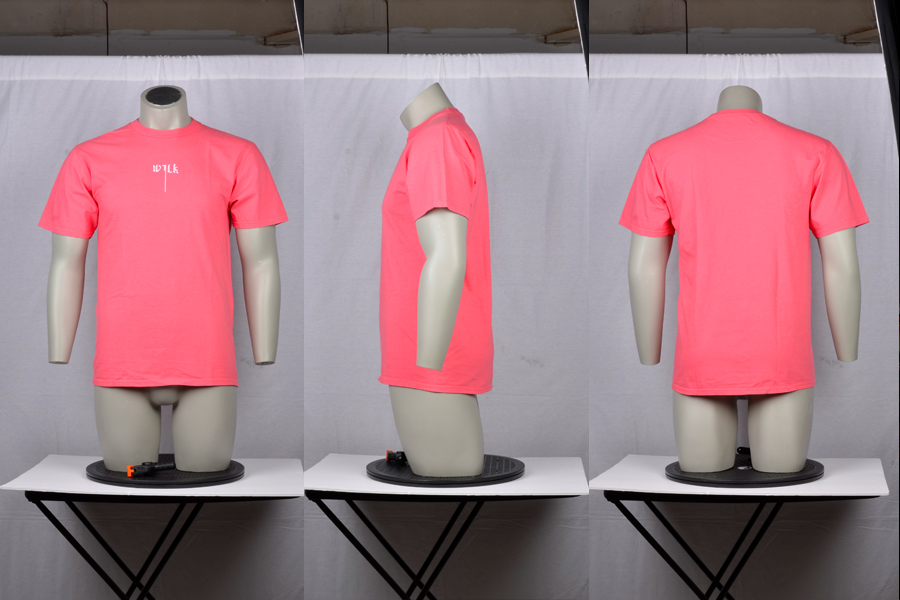
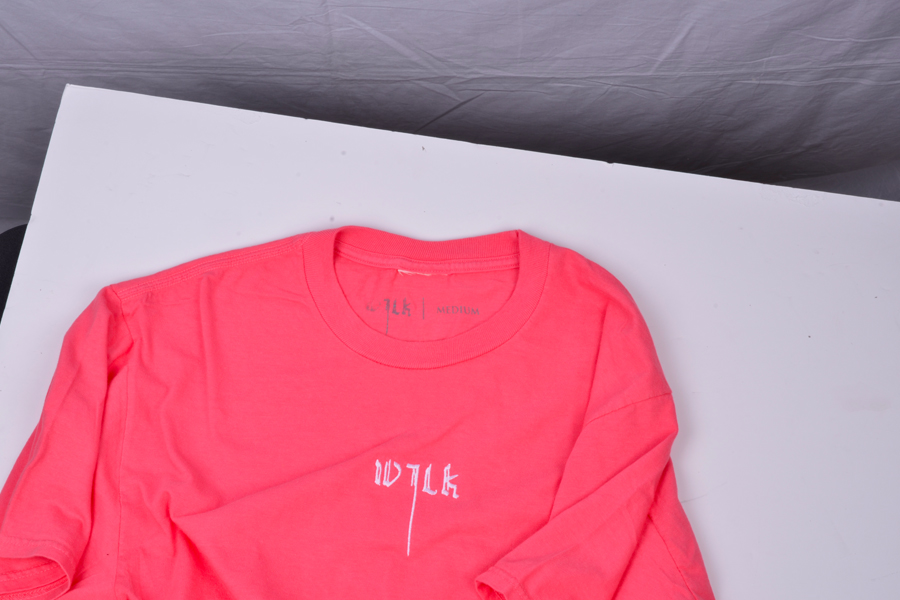
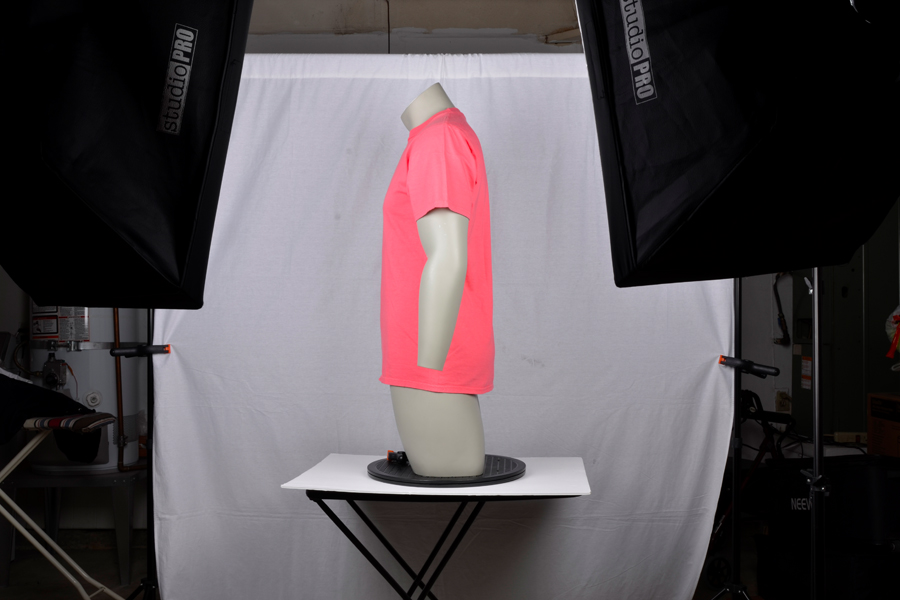
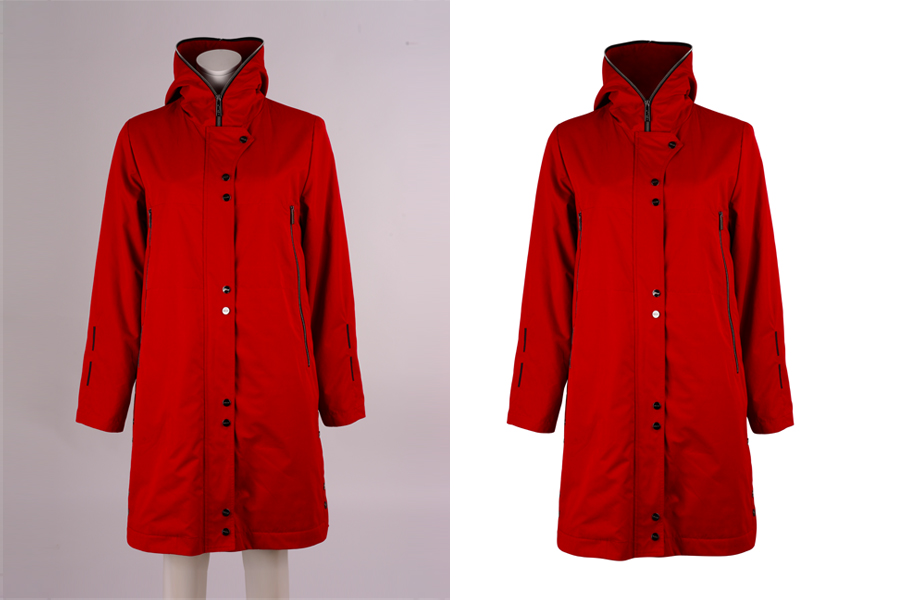
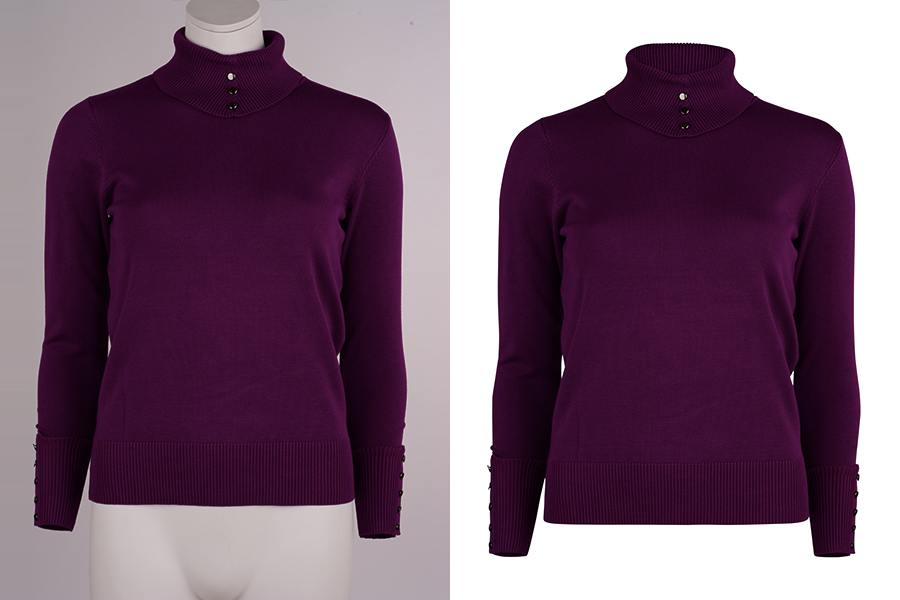
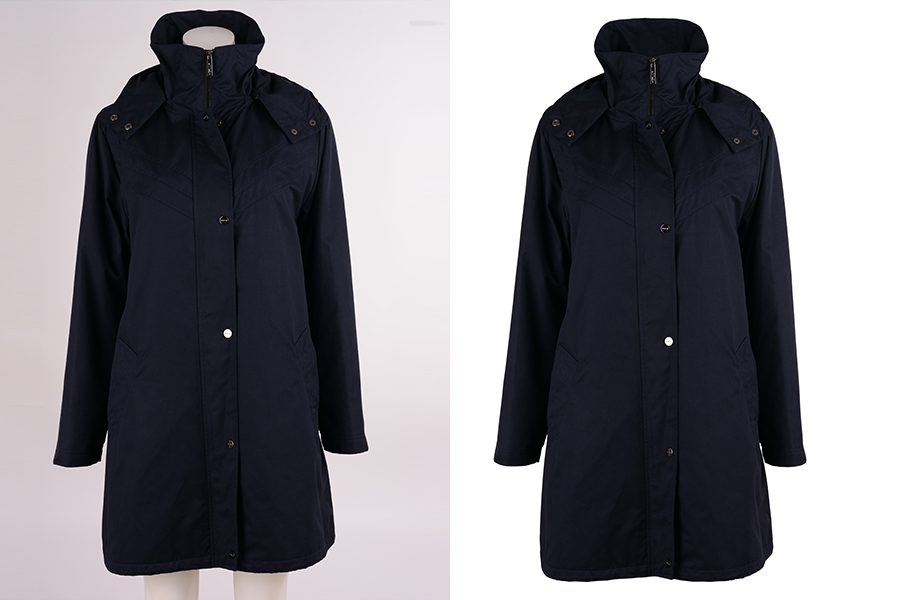
Here are some samples we have worked on for some clients.
Need assistance with ghost mannequin photo editing?
There is nothing more satisfactory than a clean and professionally edited photo for ecommerce, advertisements, portfolio use, presentations and more. Ephotovn offers a wide array of services in line with these needs. If in any way you would require this kind of work done, You can upload a test image and Try the free trial now.