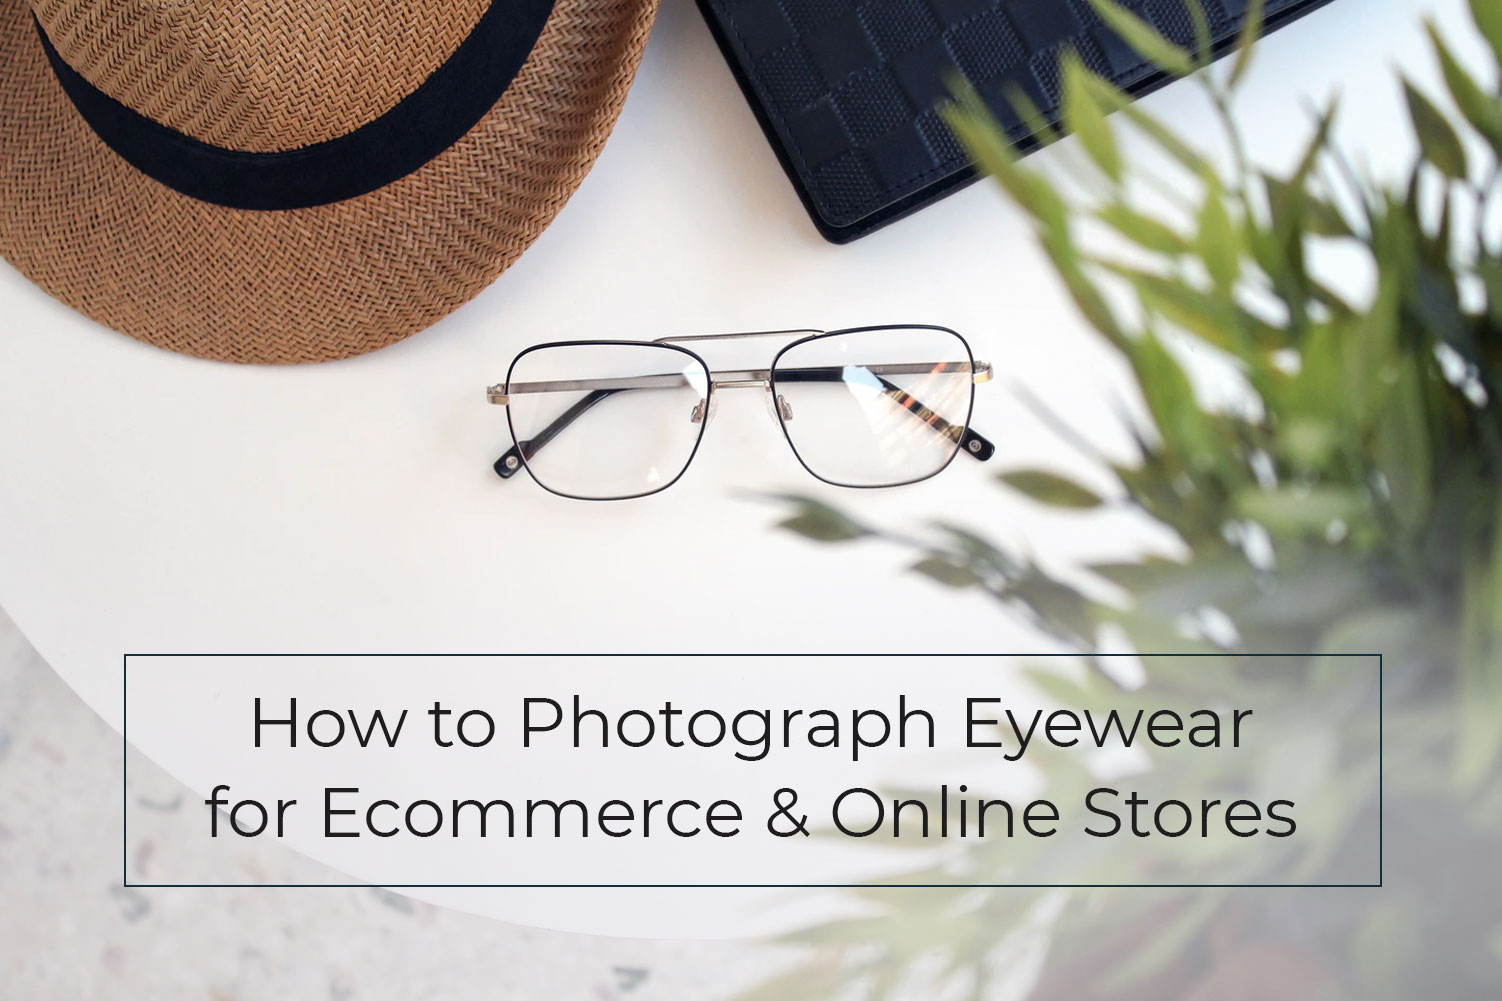
Eyewear, such as sun and eyeglasses, are made of highly reflective materials. They tend to have glares and reflections once photographed. Suffice to say that using flash is not the best idea for this kind of product photography. Well, this is true; however, it might be tricky to do but there are, in fact, ways to minimize glare and reflections when shooting highly reflective surfaces.
Here are tips and ideas that you can use when doing eyewear product photography:
1. Prepare the Products
Preparing the products beforehand ensures that you have a seamless shoot later on. Although you can do product photo retouching at the end of the shoot, having clean glasses will be more helpful. Wipe off the glass surfaces so that fingerprints are removed. You must wear cotton gloves to prevent new prints from showing up on any of its surfaces. There will be less need to do product photo editing when smudges and fingerprints are kept to a minimum.
2. Prepare the Set up
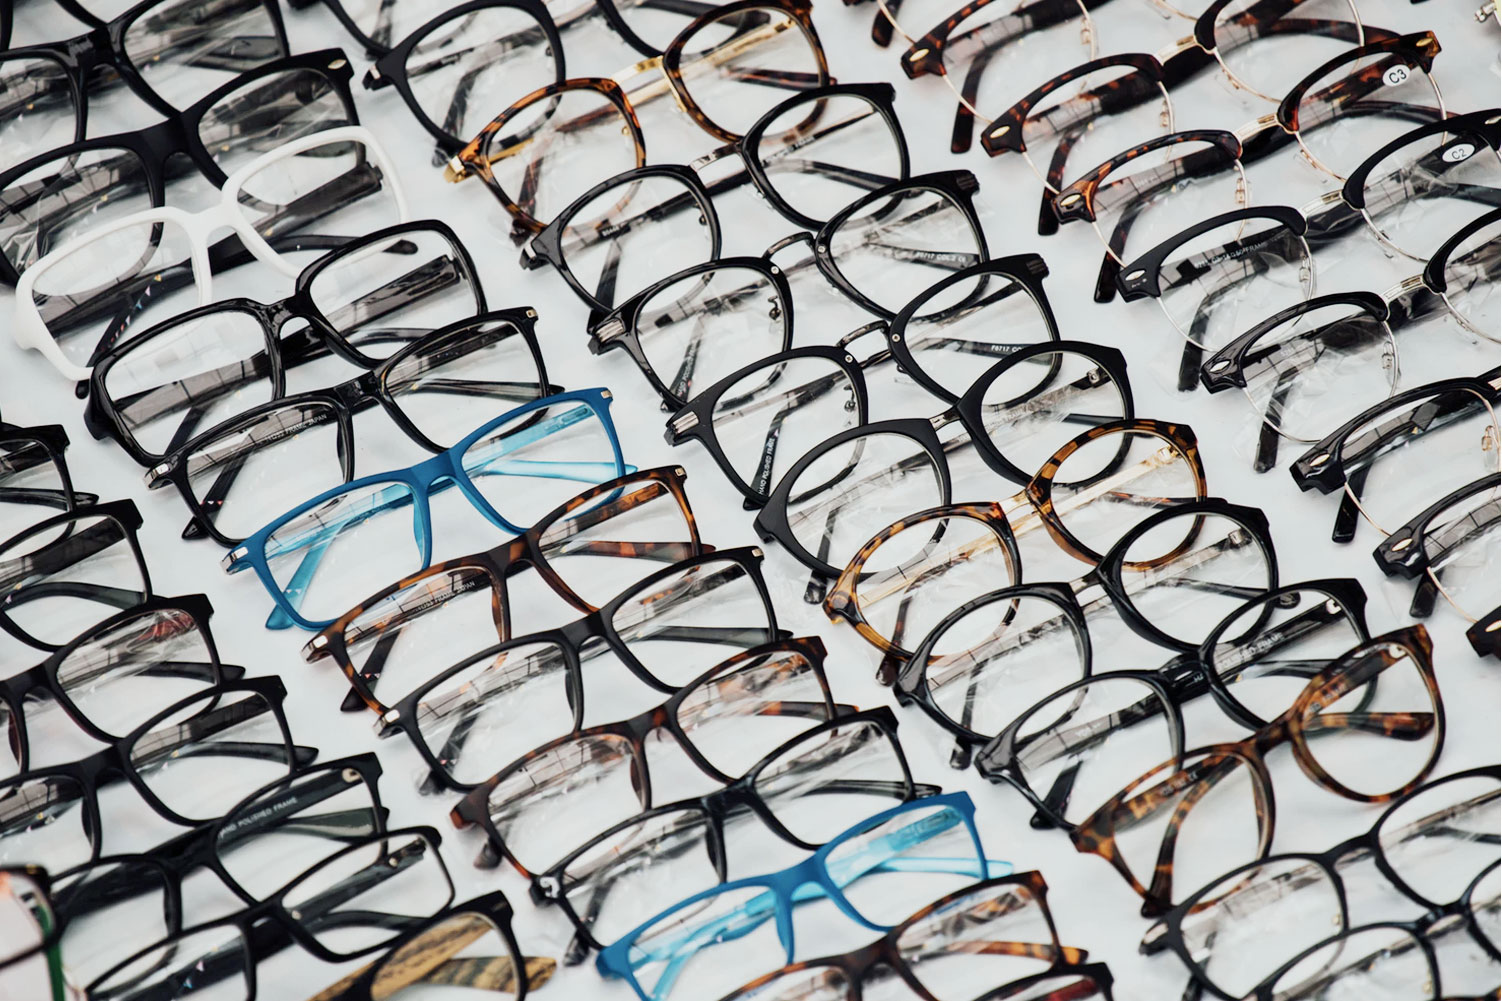
Organize the glasses to make it easier and faster to see which product is up for the next shoot. It is encouraged to use a lightbox with a plain white background. There should be a sturdy surface to hold everything up. The camera should be on a tripod too to ensure less movement during the actual product photography.
3. Control the Lighting
Although it seems difficult to use lights for eyewear product photography, having plenty of it is actually ideal. The technique is to know where to position the lights so that fall off reflections is blocked and what equipment to use to control the harsh lights. Unwanted reflections will be blocked if you extend the white background underneath the product and end up at the bottom of the camera. All lights should also be attached to umbrella diffusers so they do not give off a too harsh light.
4. White Balance Set up
Photo retouching services can fix anything but it can be challenging to correct problems that are caused by ineffective lighting. One way to achieve an all-white background is by setting up the white balance on the camera. You do not even need to be confused by this since most cameras have an automatic white balance function and choose which one to have for the particular light that you have in the studio. This will ensure that the camera will work well with the light source that you have set up for the shoot.
5. Camera Set-Up
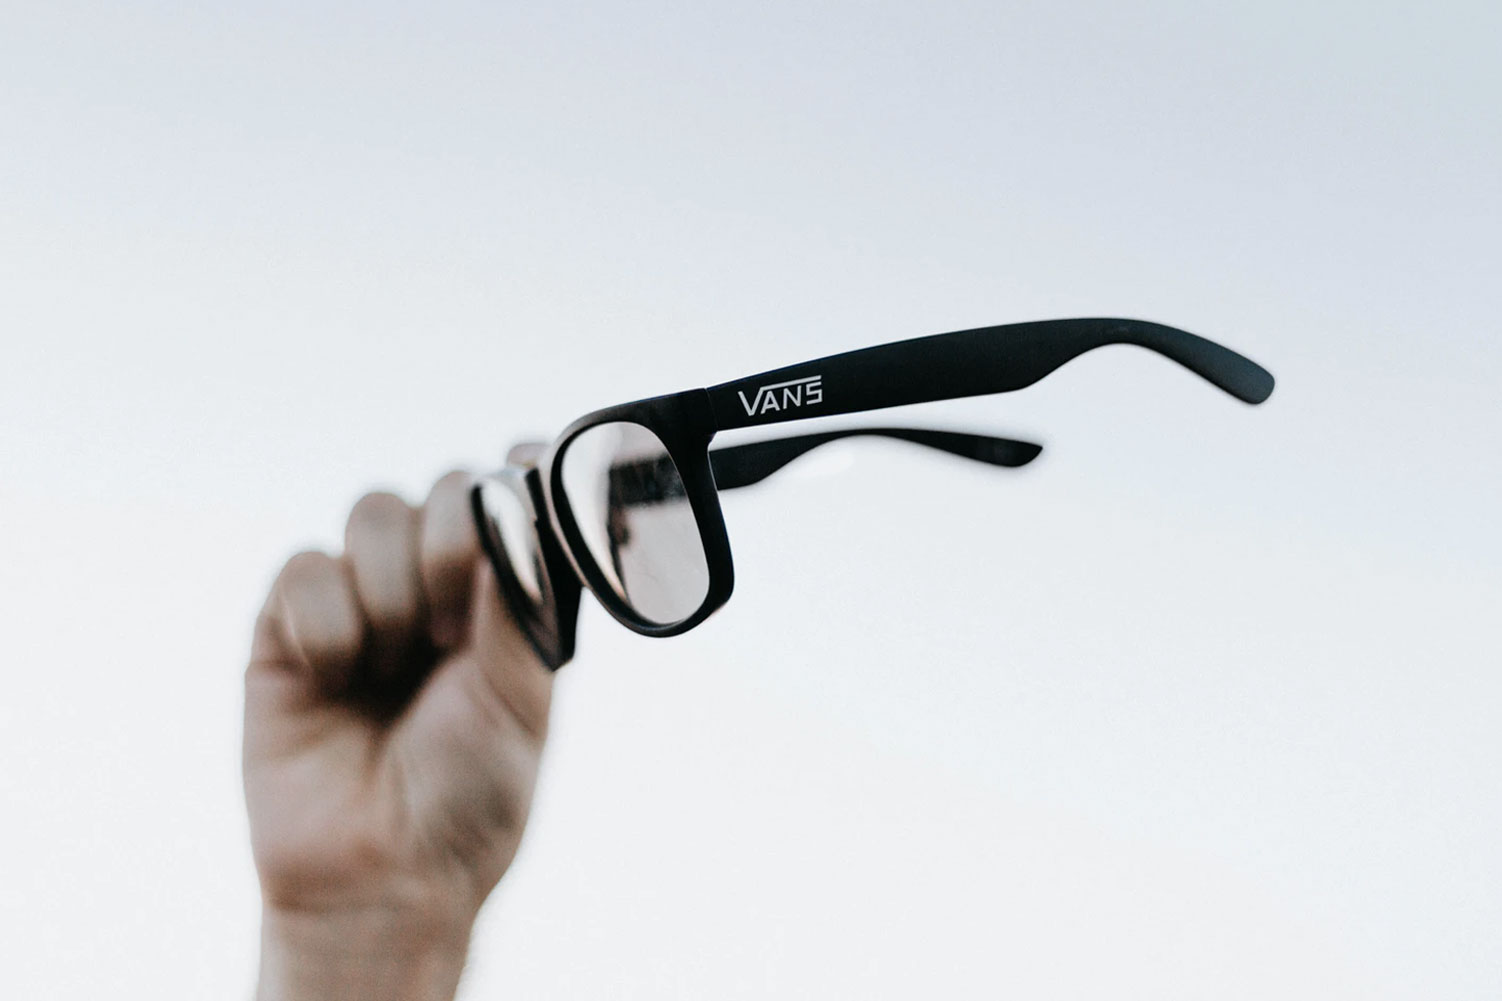
Another way to minimize the photo editing services needed for eyewear photos is by correctly setting up the camera. A large aperture, preferably f/11or higher, a shutter speed that is based on the camera’s viewfinder, a low ISO (ISO 100 is fine), and focusing on the center will get you that most flattering photos for eyewear product photography. You can, of course, play with your camera’s settings to see which would deliver pleasant results. What you have to prioritize is having a camera that gives high-resolution photos in order to help capture the perfect photos.
6. Position the Eyewear Well
Across all types of products, every detail count. You need to remember this as you position the eyewear for the shoot. You must experiment around with the angles by changing the camera height, do nice close-ups, tilt the camera, and choose angles that show off the lenses, arms, and frames.
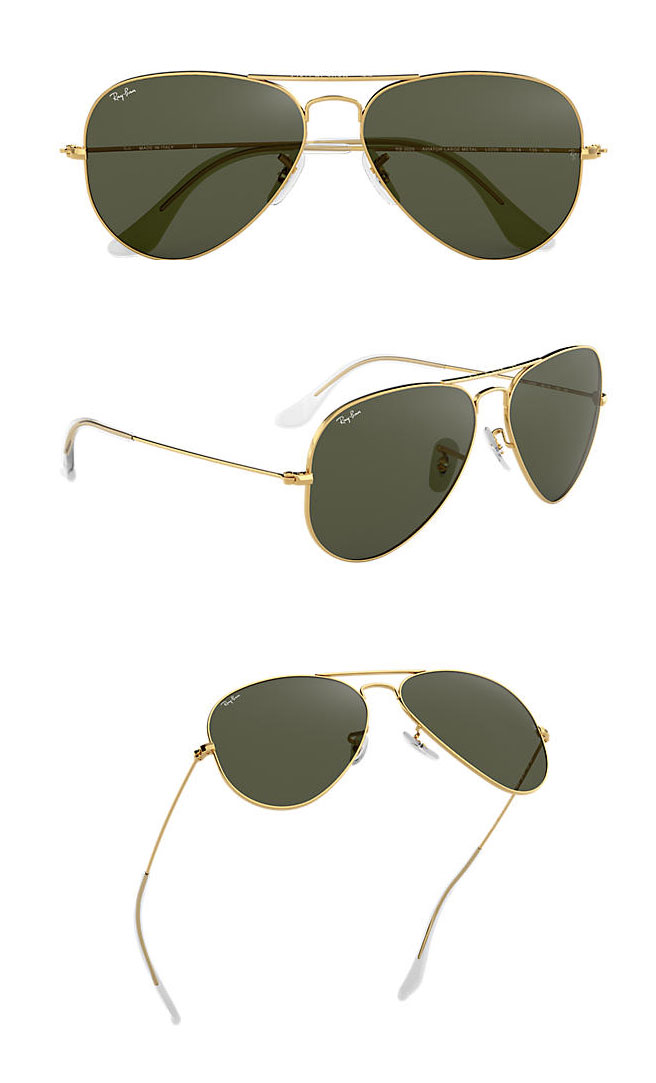
Image via ray-ban.com
7. Watch out for Reflections
Since the eyewear surfaces are reflective, you must be aware that everything around it can accidentally show up in the picture. Check the photos for such reflections after every change of angle. It can be frustrating to see yourself or the studio as a reflection on the sunglasses’ frames later.
8. Create a Context
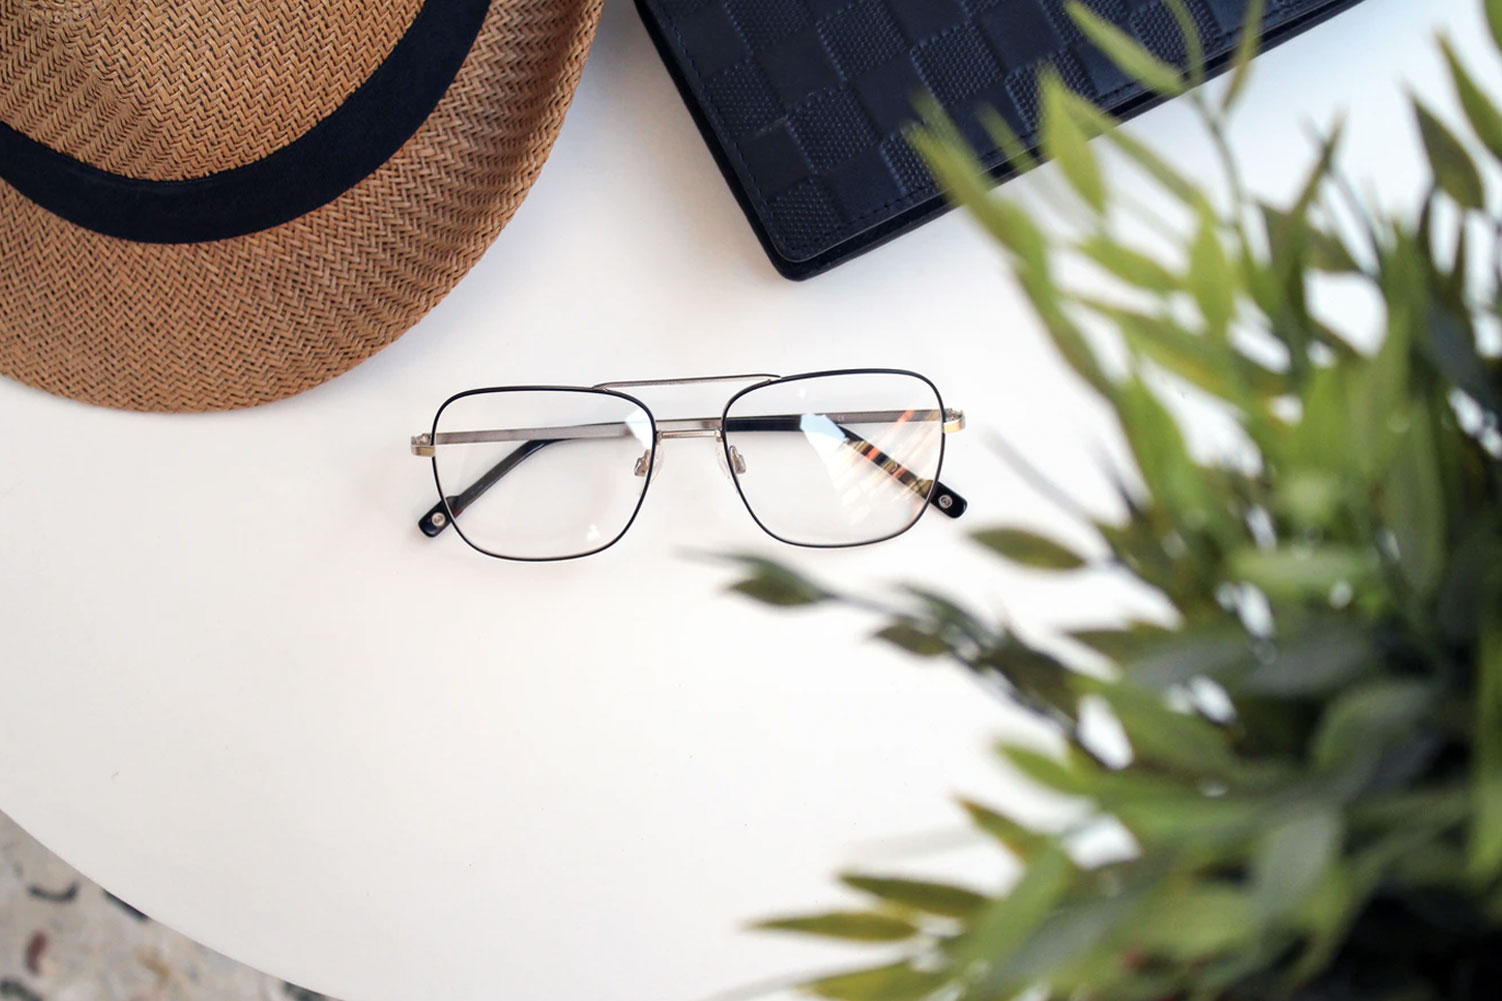
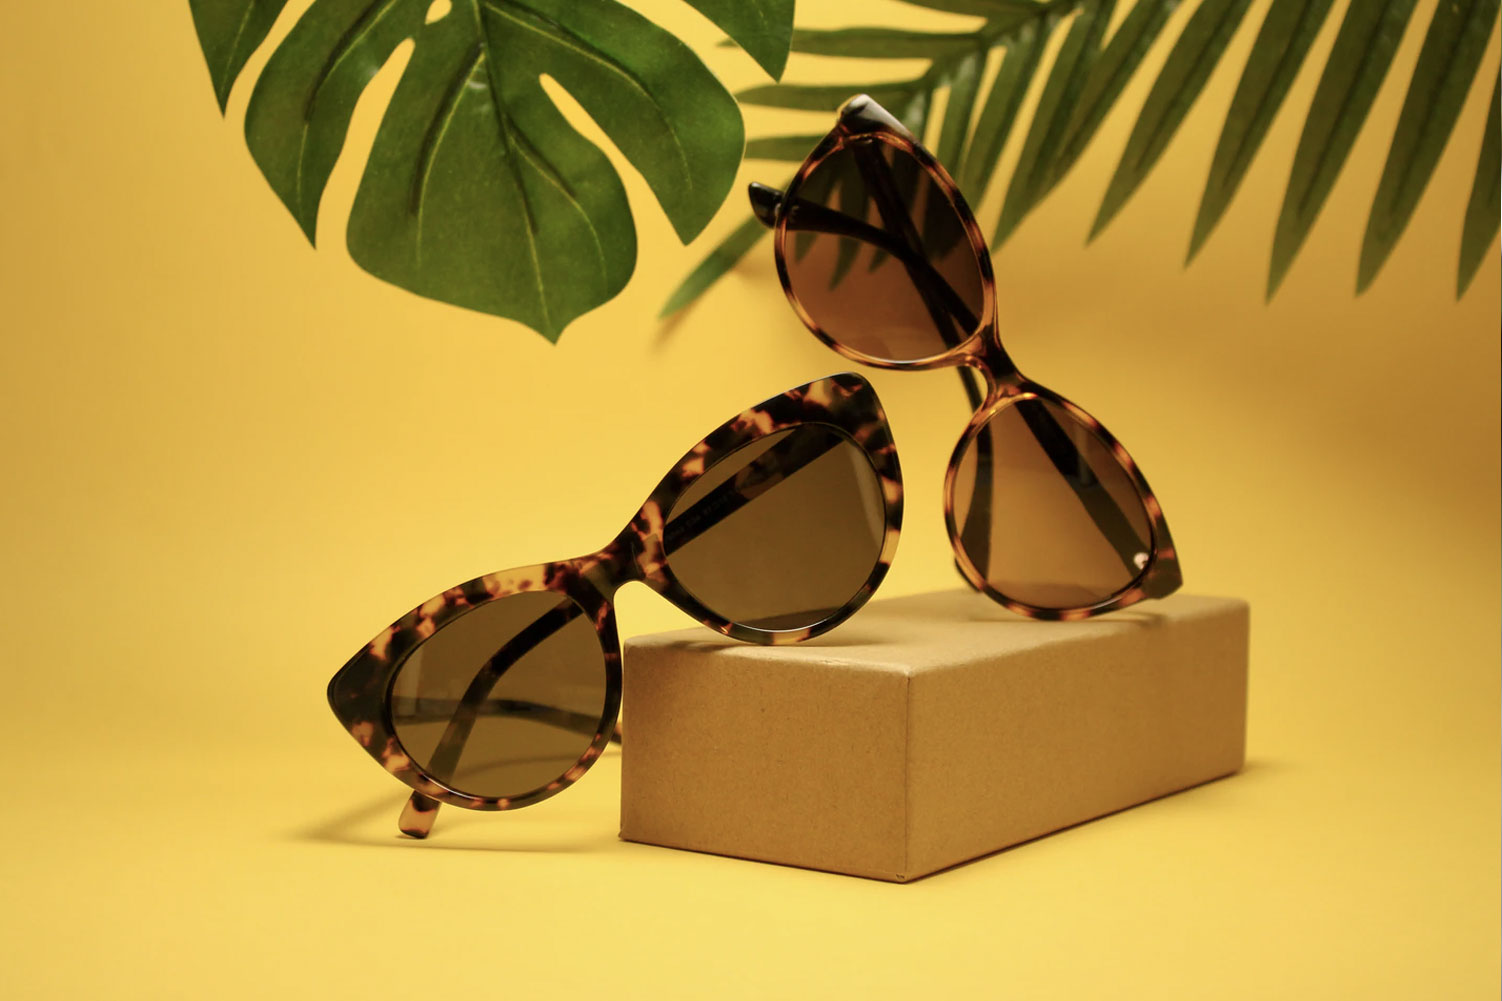
Most photo editing services suggest having a clipping path and background removal for product photos. This truly helps in making the eyewear the main focus of the photo. There are also instances when having props can be helpful especially if you are trying to create a context for the shoot. You may use the box that came with each eyewear to have the product something to lean on. A bit of the logo, the case, or even the store’s branding is perfectly acceptable.
9. Make it More Special
Try to create a more interactive way for the customers to check out each eyewear by having 360° photos or videos. Do sequence shots that will be later on stitched together to make a nice video of rotating eyewear. You may also play with the light as it moves during each photo as it will give a nice color and light transition effect on the video.
10. Post-Production Processing
It can be overwhelming to do eyewear product photography, especially because there are too many things to watch out for. If there are mistakes along the way, such as bad lighting, wrong positioning of products, and stray reflections, do not fret just yet. You still have the post-processing stage to correct those.
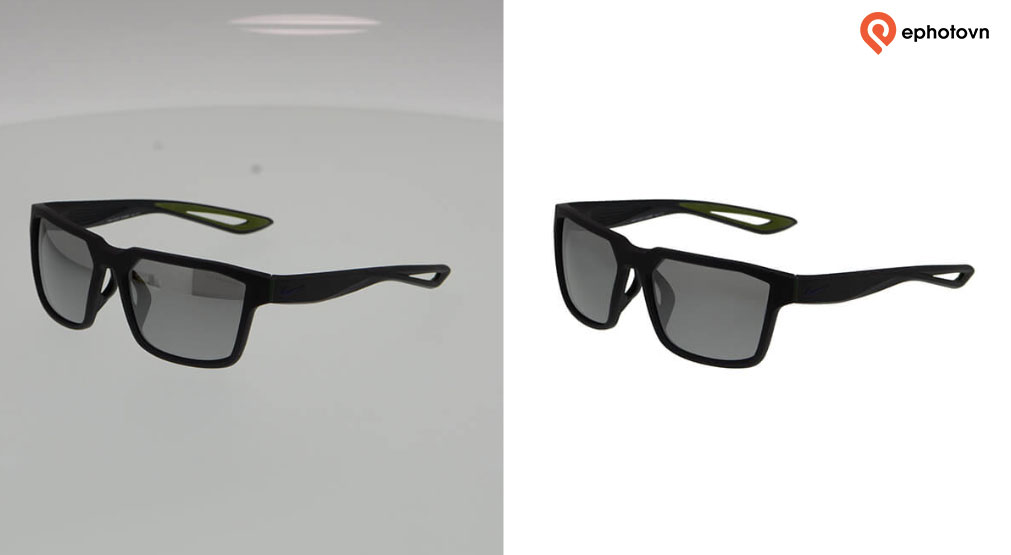
There are times when everything looks messed up but there are also moments when you get almost perfect shots. These happen not only with newbie product photographers but also with professionals. This is why post-production is important with every shoot since it is the time where you can adjust everything, digitally. Correct the exposure, lights, and even wipe off smudges and other eyesores from the photos.
Related Post: Top-notch Eyeglass Image Editing Services for Ecommerce & Online Stores
Bottom Line
There are many creative ways to photograph reflective objects. As long as you follow the tips that were earlier discussed, then you should not have a lot of problems regarding eyewear product photography. If you are having trouble with your shoot, take comfort in knowing that there are experts who can help you save the photos so you will have the best one for your product pages.
Need help with your eyewear product photography pictures? Ephotovn can do the rest of the post-processing so you will have professional-looking eyewear photos for your website!

