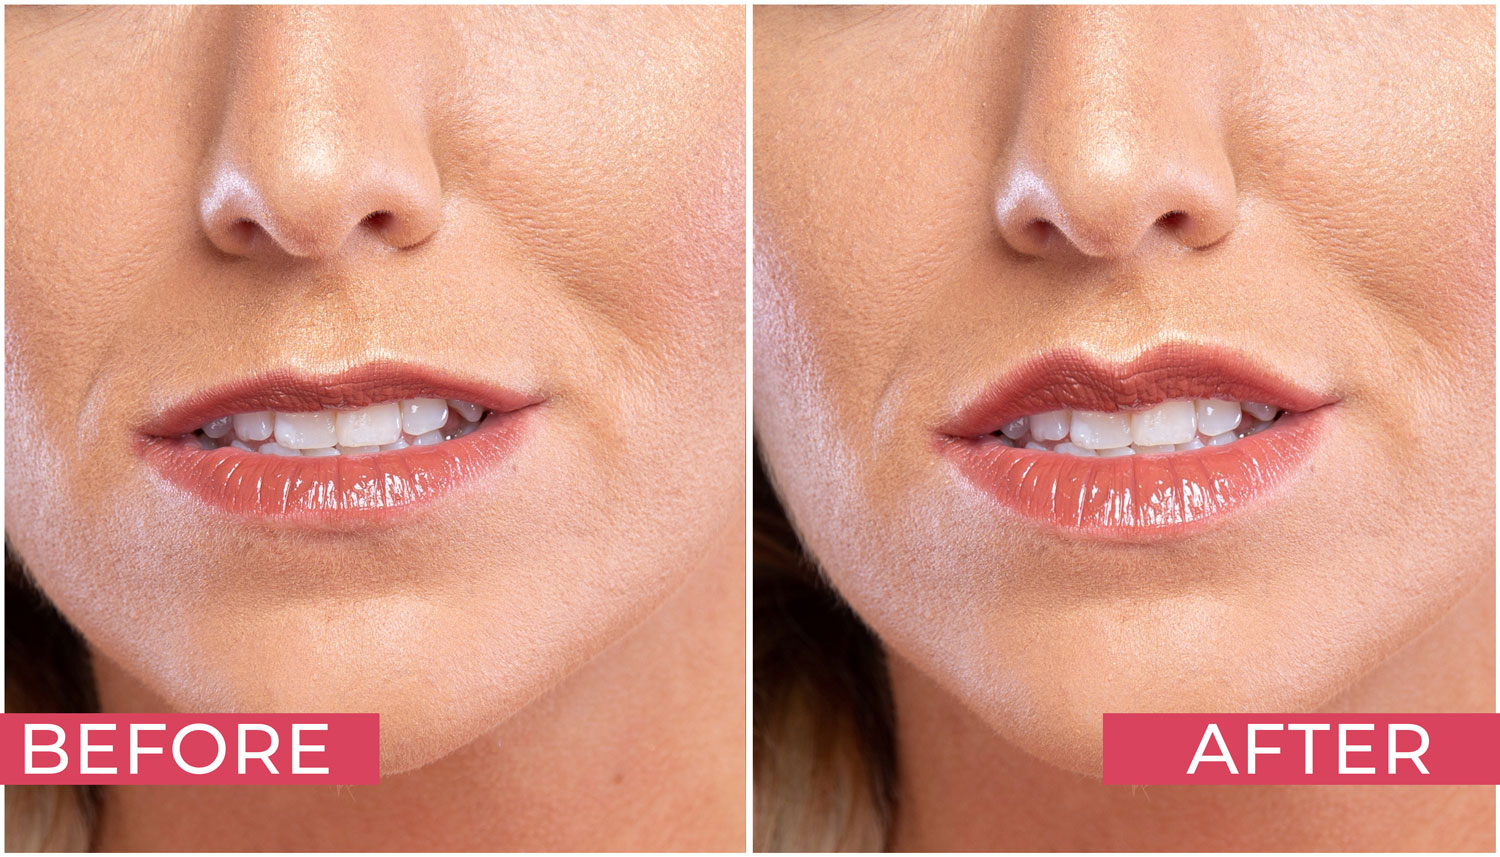
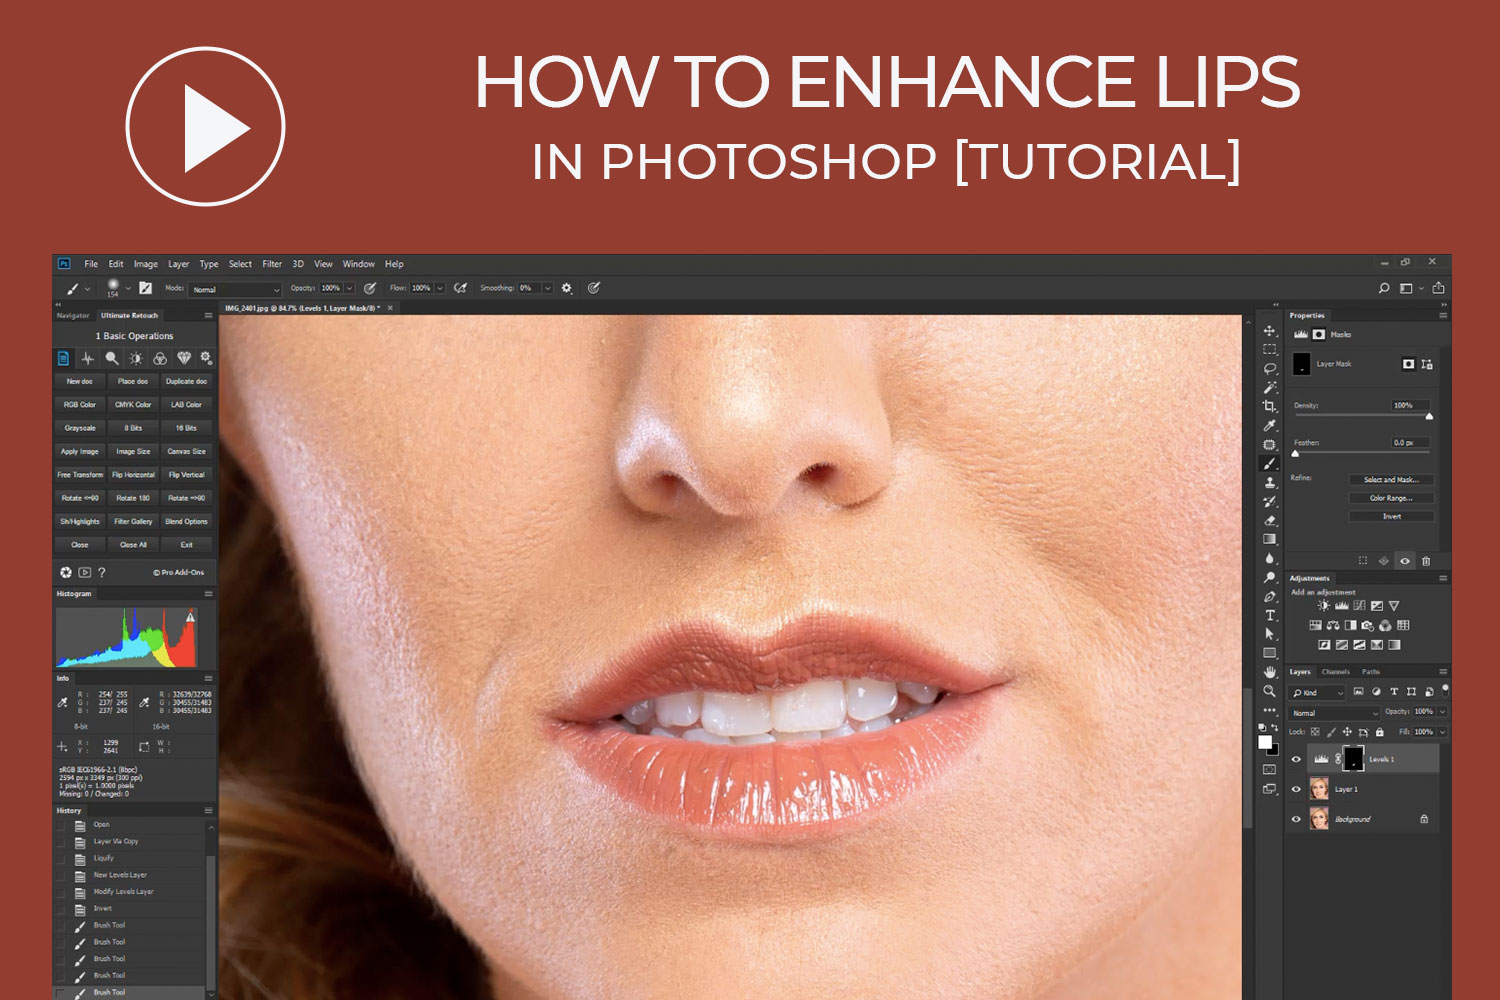
Understand how you can use Adobe Photoshop to achieve a sexy outlook for your portrait. In this beginners Photoshop tutorial, I’ll show you how you can do lip enhancement by adjusting its shape and improving lip colors. With a few straightforward methods that will be used in this video, you will know how you can make your images’ lips to appear shiny and perfect!
Whenever it has to do with retouching lips in portraits, irrespective of how the lipstick or any other lip color has been applied on a model courtesy their make-up artists, when you are on set, you are likely to discover color running down the lip as well as other imperfections that are capable of playing the shape of the lip. This normally presents a challenge, becoming more visible in close-quarter beauty photos.

Lip retouching may be a very time-consuming and tedious aspect of an image, hence my focus is to advise you on where you can start from as well as the tools that will function best. We will use the Liquify filter tool within Photoshop to fix lips that are cracked, so that they can look better and perfect, adding some shine on the lips as well as defining lip line.
Liquify filter could be one of Photoshop’s most used filters. Liquify filter lets you carry out pixel distortion in certain images without compromising the quality. It allows you pull, push, reflect, rotate, bloat, and pucker any part of any image. The created distortions can be drastic or subtle, making the Liquify as a potent tool applied for fleshing out artistic effects and retouching images. You can use the Liquify on 8-bit per channel or 16-bit per channel image types. You can use Liquify to achieve a charming lip shape.
Learn more from our other Photoshop Tutorials.
Subscribe and watch more Photoshop video tutorials in our YouTube channel about Techniques on Photo Editing and Retouching.
► CONNECT WITH US:
Facebook: https://www.facebook.com/Ephotovn/
Twitter: https://twitter.com/ephotovn
Instagram: https://www.instagram.com/ephotovn_official/


